This post will act both as a testimony to the power of DIY Repairs and the quality of Apple products. The iPod I repaired got run over by a car. Everything seemed to work, but the glass was completely crushed, hence the repair. Being a young student, I have little financial resources, and spending $150 to ship the iPod to Apple was out of the question. Instead I decided to try my luck and repair the iPod myself.
The parts I purchased for this repair are:
iPod Touch 2G Glass and Digitizer
There are numerous video tutorials, and extensive picture tutorials on the internet explaining how to fix an iPod’s glass. Instead of doing a full tutorial, I am simply going to say a few things that I wish I had known, and present a gallery containing a few photos with descriptions of the work I did.
- The parts on Amazon seemed more reliable than another source, but they are still risky. The glass came exactly as advertised, but the midframe came without the advertised adhesive. The button circuitry for the midframe was not advertised so I did not expect it, but you should know that it was not included. Only a filler piece of metal was shipped.
- This is extremely hard. That pretty much sums it up. The Easy Open Tools were worthless. I was able to get the bottom of the case open, but I pretty much had to manhandle the rest. It was a difficult process, and I risked completely destroying the LCD. In the end, I gave up on tools and essentially pried and ripped the midframe off the case.
- When opening the case, recognize that the rubber is attached to the midframe. If you want to remove the glass, the midframe has to go. Insert your screwdriver or other tool between the rubber and the silver edge. Not between the rubber and the glass.
- If you remove the glass, you will also need a midframe. Unless you order a new one, you will need to melt the glue holding the glass to the old one with a hairdryer. I tried this,but it didn’t really work. Just buy the midframe.
- Finally, be careful not to bend the circuit board. There is a cutout in the bottom right corner of the midframe. This cutout is where a circuit board goes. The circuit board is not attached to the midframe, so don’t try to remove it. I did, and ended up having to tape down the back corner with some electrical tape so it would still work. Be careful.
- Putting it all back together - This is something that one video covered briefly, and none of the photo tutorials covered. It was a lot easier than I expected. Once you hook the digitizer back in, press the top of the glass/midframe in first. Then work your way down each side, pressing the glass back in. Unless you bent the clips way out of the way, they should still clip into the midframe. You simply have to push it all back together and everything should snap in. This required task required a fair amount of work as well.
That’s all I have for now. Following is a gallery of the process with more descriptions. I hope this was helpful or informative to someone. If I think of other suggestions or notes, I will add them at a later date.
Nathan
Steps/Photos
1. Before
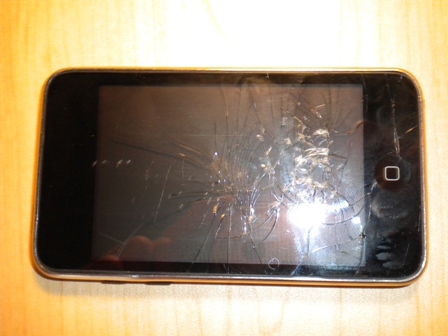
This is what the iPod looked like before I started the process. iPod glass is two layers. The first layer covers the entire front. The second layer is inside, has a digitizer attached, and only covers the LCD area. From what I could tell, only the front layer was broken.
2. Glass and Tools
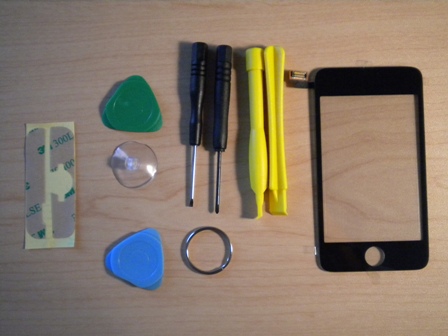
This shows the adhesive, two screwdrivers, the glass, and a bunch of odd tools that seemed to have no apparent purpose. This is what came in the first item I ordered.
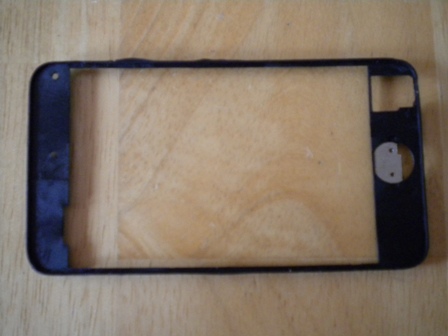
3. Broken Midframe
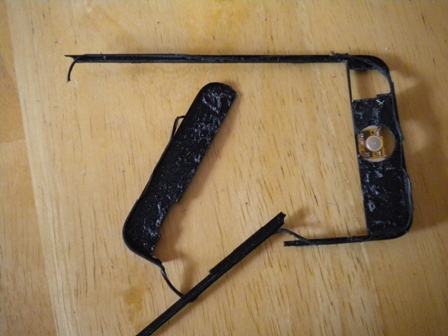
The iPod’s glass is glued to what is called the midframe. The midframe has spots all around its outside edge where the clips on the main iPod hook on. It also has the circuitry that controls the button. Around the midframe is a rubber seal that helps in waterproofing the iPod. As you can see, getting the midframe out without breaking it is quite hard. I would order another frame if you plan on replacing the glass.
4. Clips
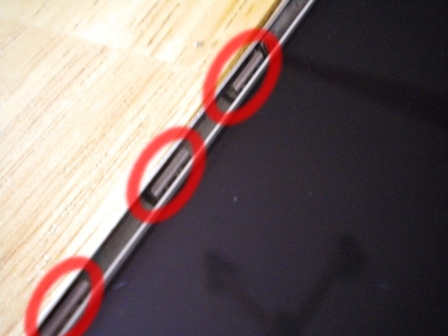
When buying glass, many items claim to come with iPod “Easy Open Tools.” These tools are designed to bend the little clips hooking the midframe back so that the glass can be removed. To say it simply, the tools are worthless. They either break or are made in a way that is difficult to use. I spent quite awhile trying to use the easy open tools before I resorted to just prying it apart with a flathead screwdriver.
To unhook the midframe, you bend the clips back toward the outside edge of the iPod. The clips are really strong, and rather hard to move with a weak plastic tool. That is why the Easy Open Tool failed. Instead I bent the clips all the way back with a flathead screwdriver. I had to put them back where they started before I put the new screen on.
5. New Midframe
If you look on the right side, you can see the silver area where the button logic should be. It is not there. The shipment did not come with it. I had to move the circuitry from the old broken midframe. Keep that in mind. You probably will have to do the same. These third party parts are cheap.
6. Midframe with Button
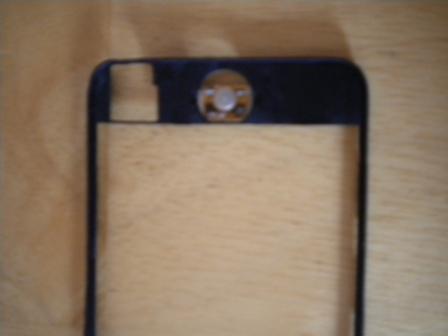
This is quite simply the new midframe with the old button logic.
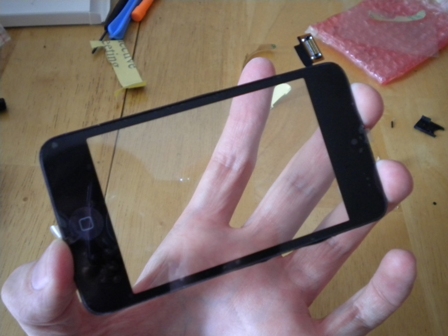
7. Glass and Midframe
8. Working Model
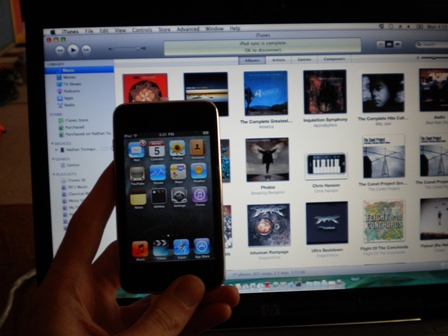
A finished project. The iPod works and is syncing with iTunes. This took place about 45 minutes after I put the glass back in. Initially I got the green screen, which is essentially the Apple version of the Windows Blue Screen of Death. I charged the iPod for awhile, did a few hard resets, and then applied a lot of pressure to make sure everything had snapped back into place. Eventually it worked.