After seeing some awesome videos of infinity mirrors on YouTube I decided that I should build my own for my apartment next year. Check out the video and photos below!
First I cut the wood to size. I mitered the corners and put notches all the way around to hold the glass in place. As you can see, the two panes of glass are different thickness. The back pane is just a normal thin mirror where the front pane would be a thicker piece of one way glass.
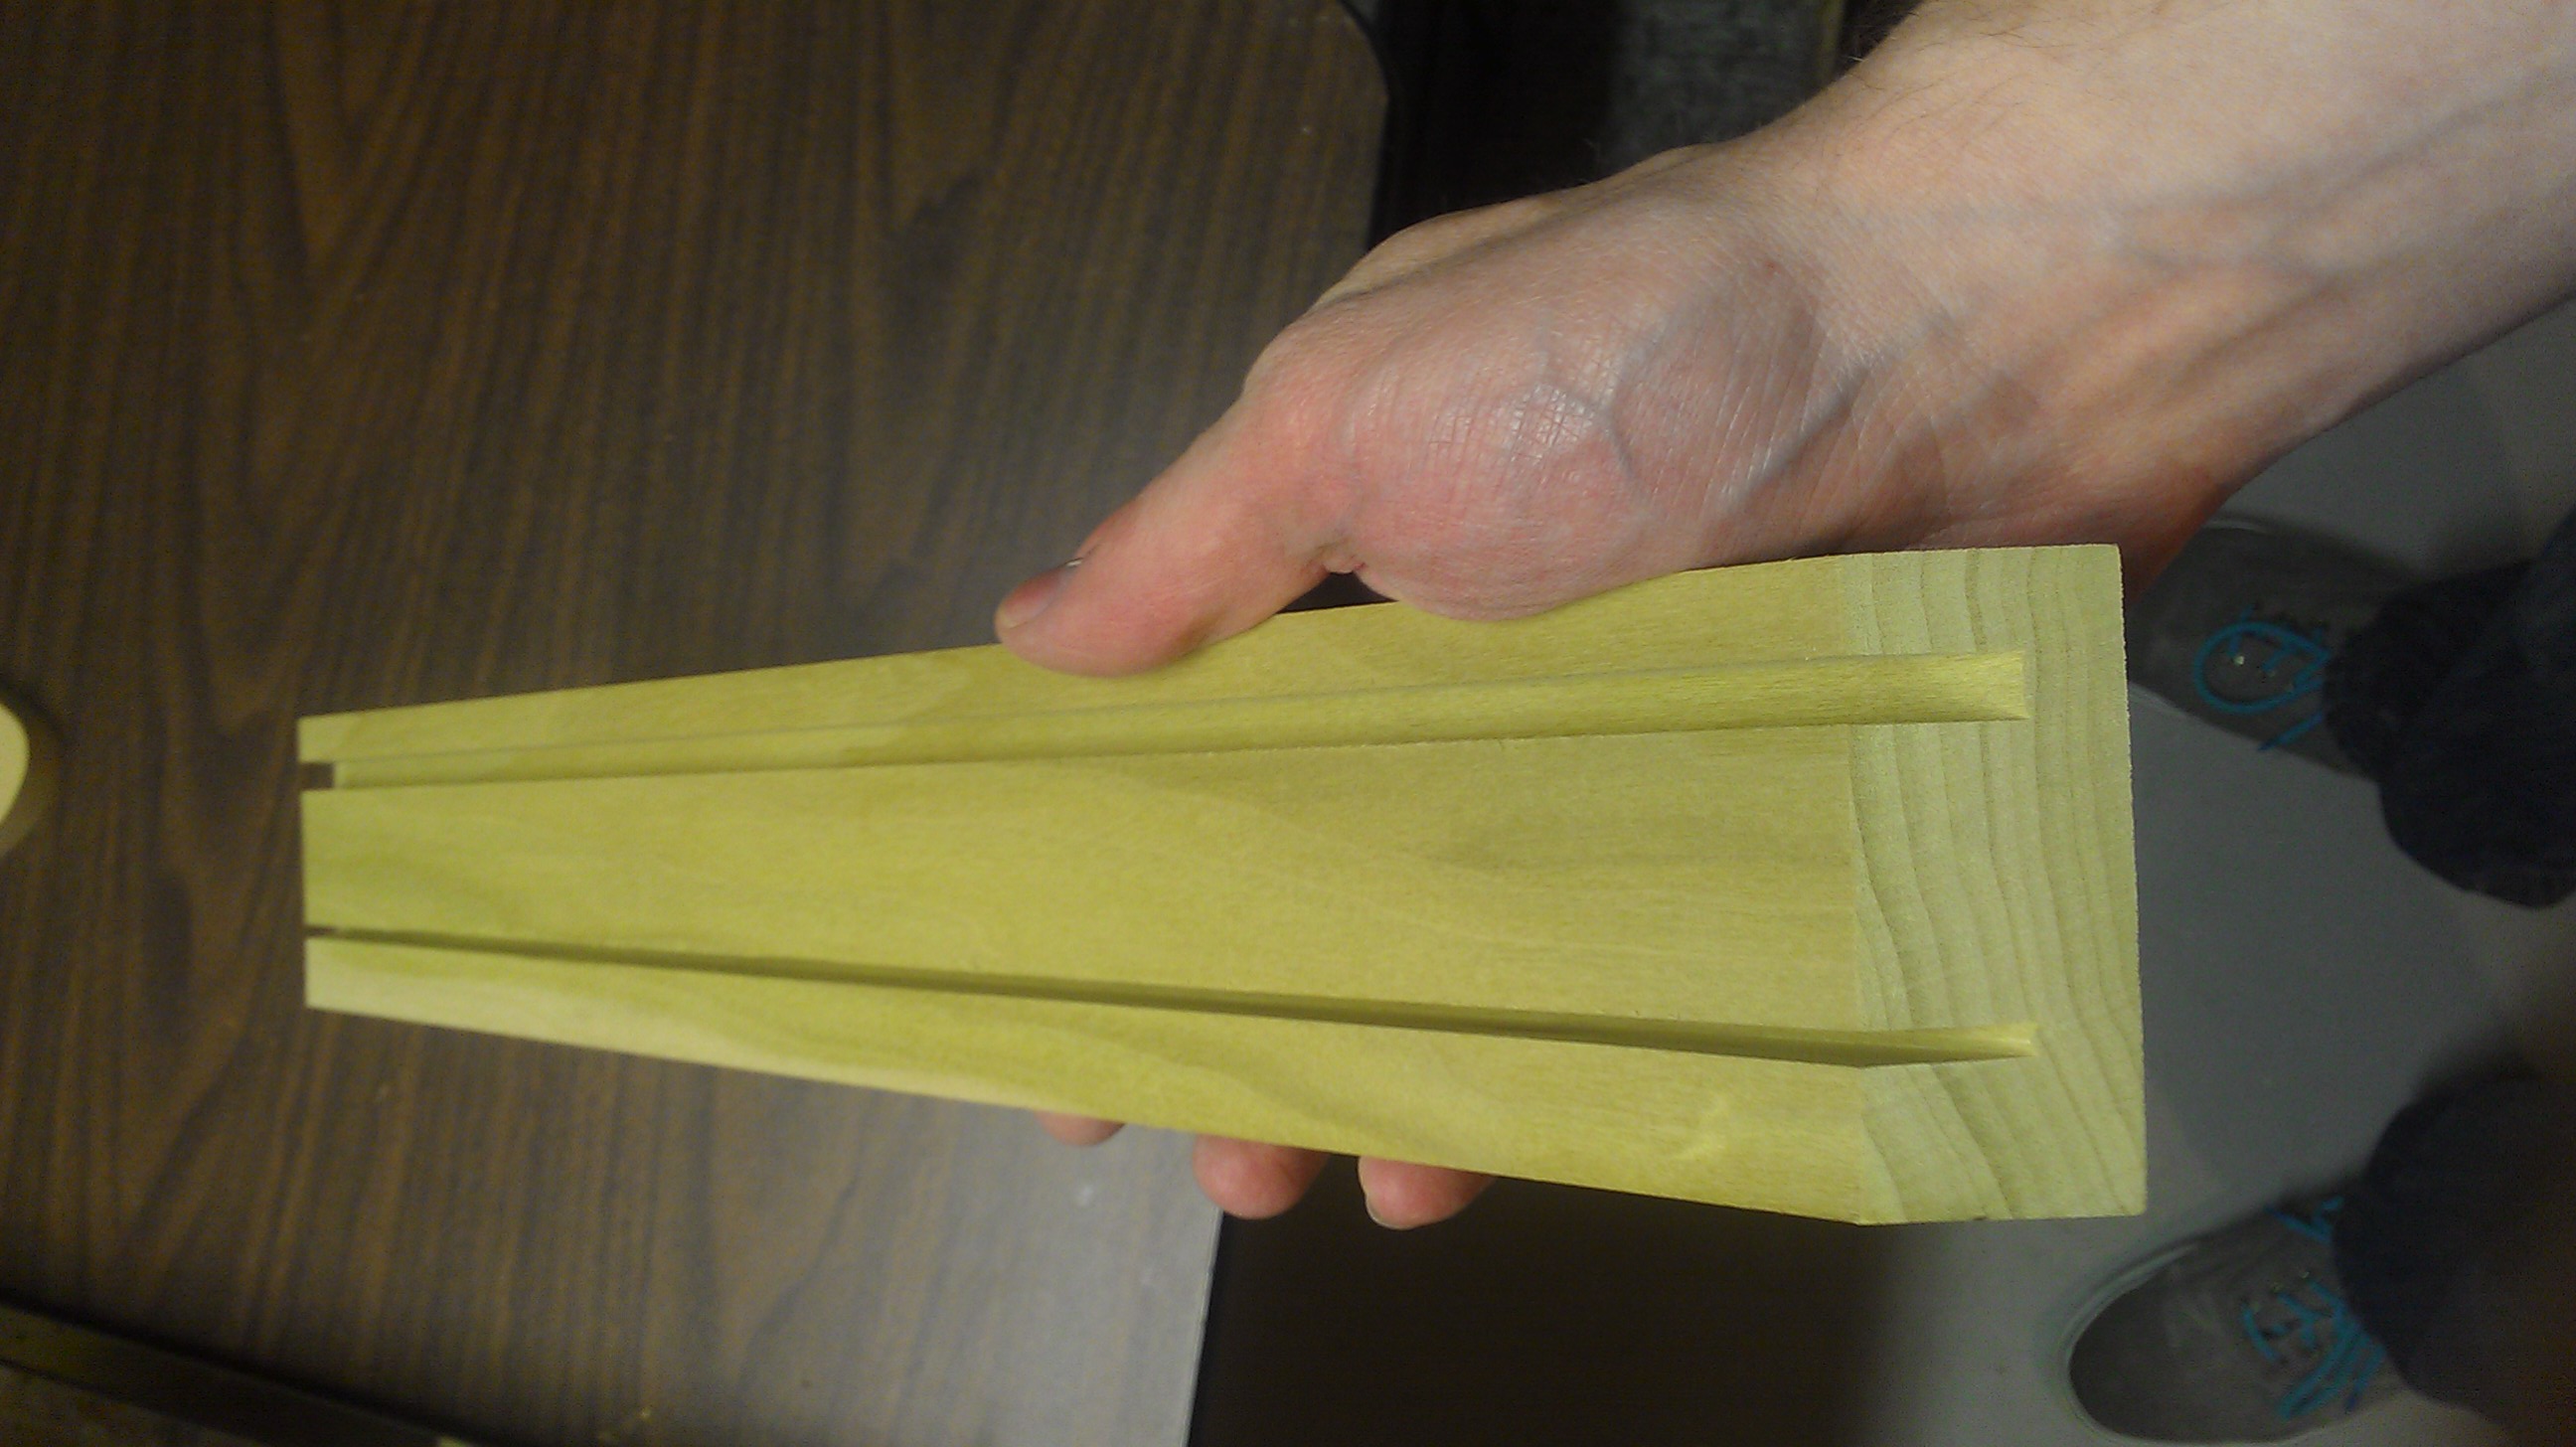
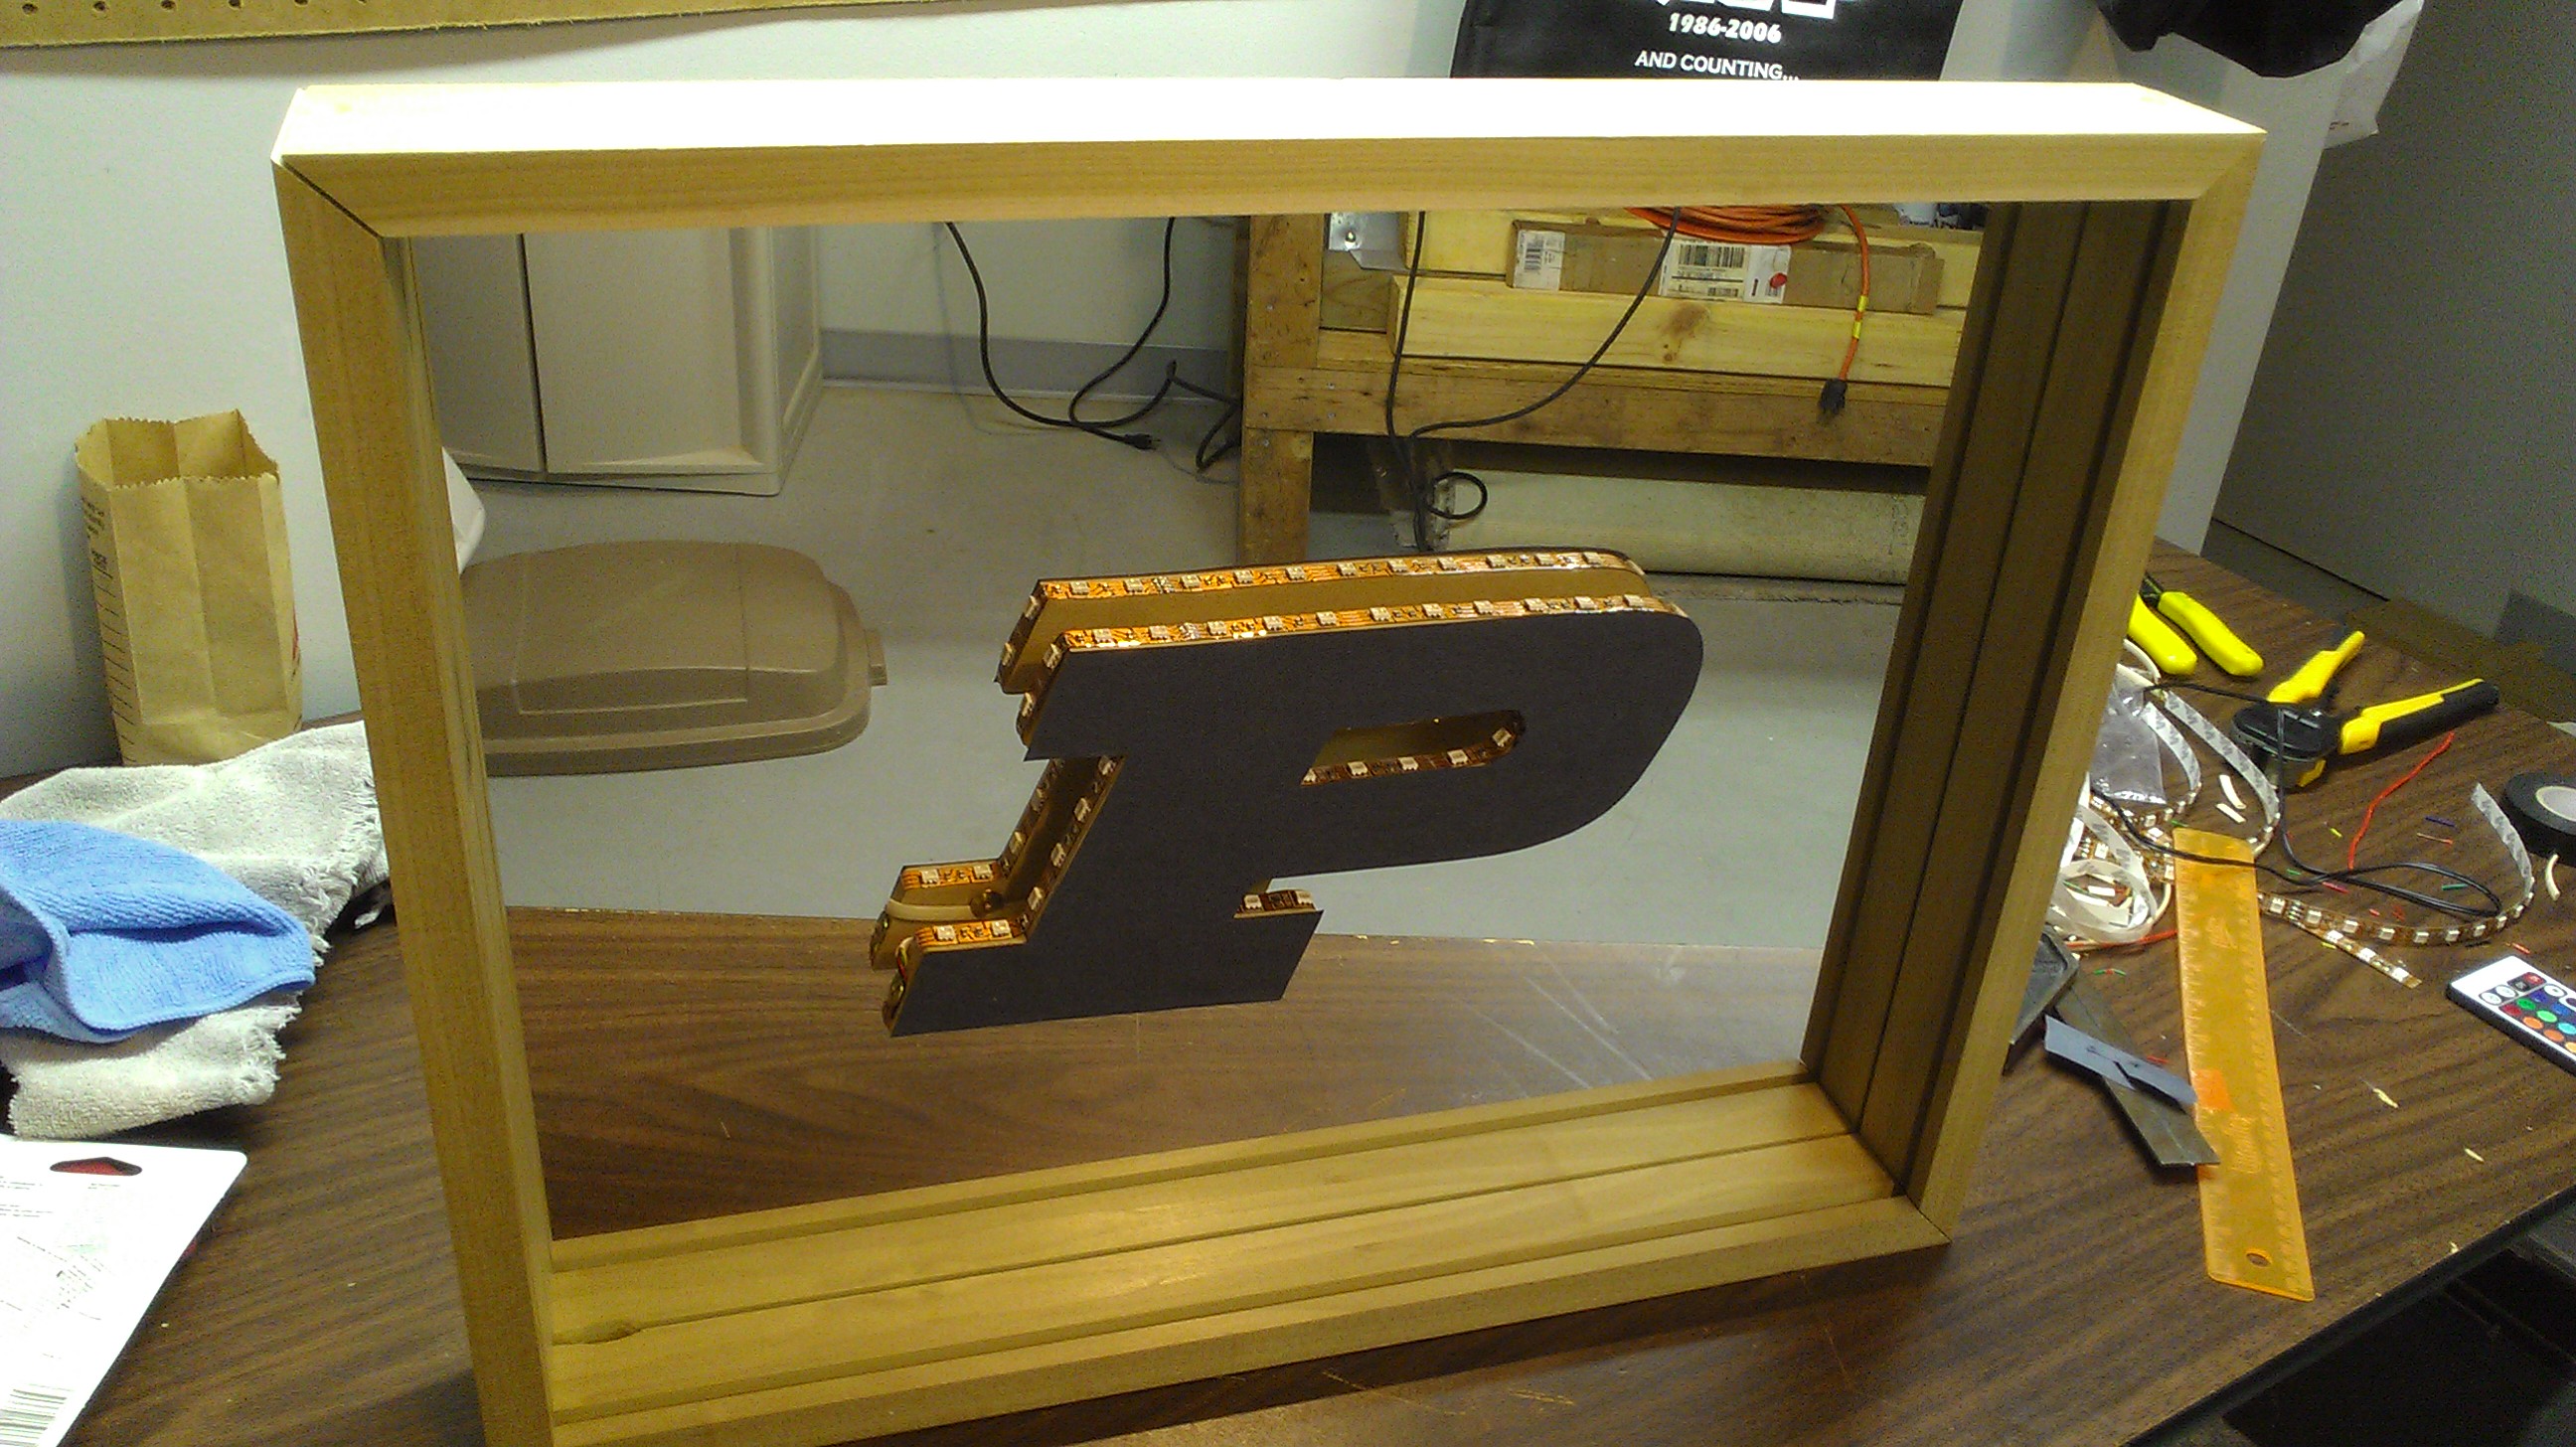
This shows the glass set in the wood frame after it was cut. The gap between the two is where the light reflects back and forth and where the P will be placed. The larger the gap, the larger the space between the lights in the reflection.

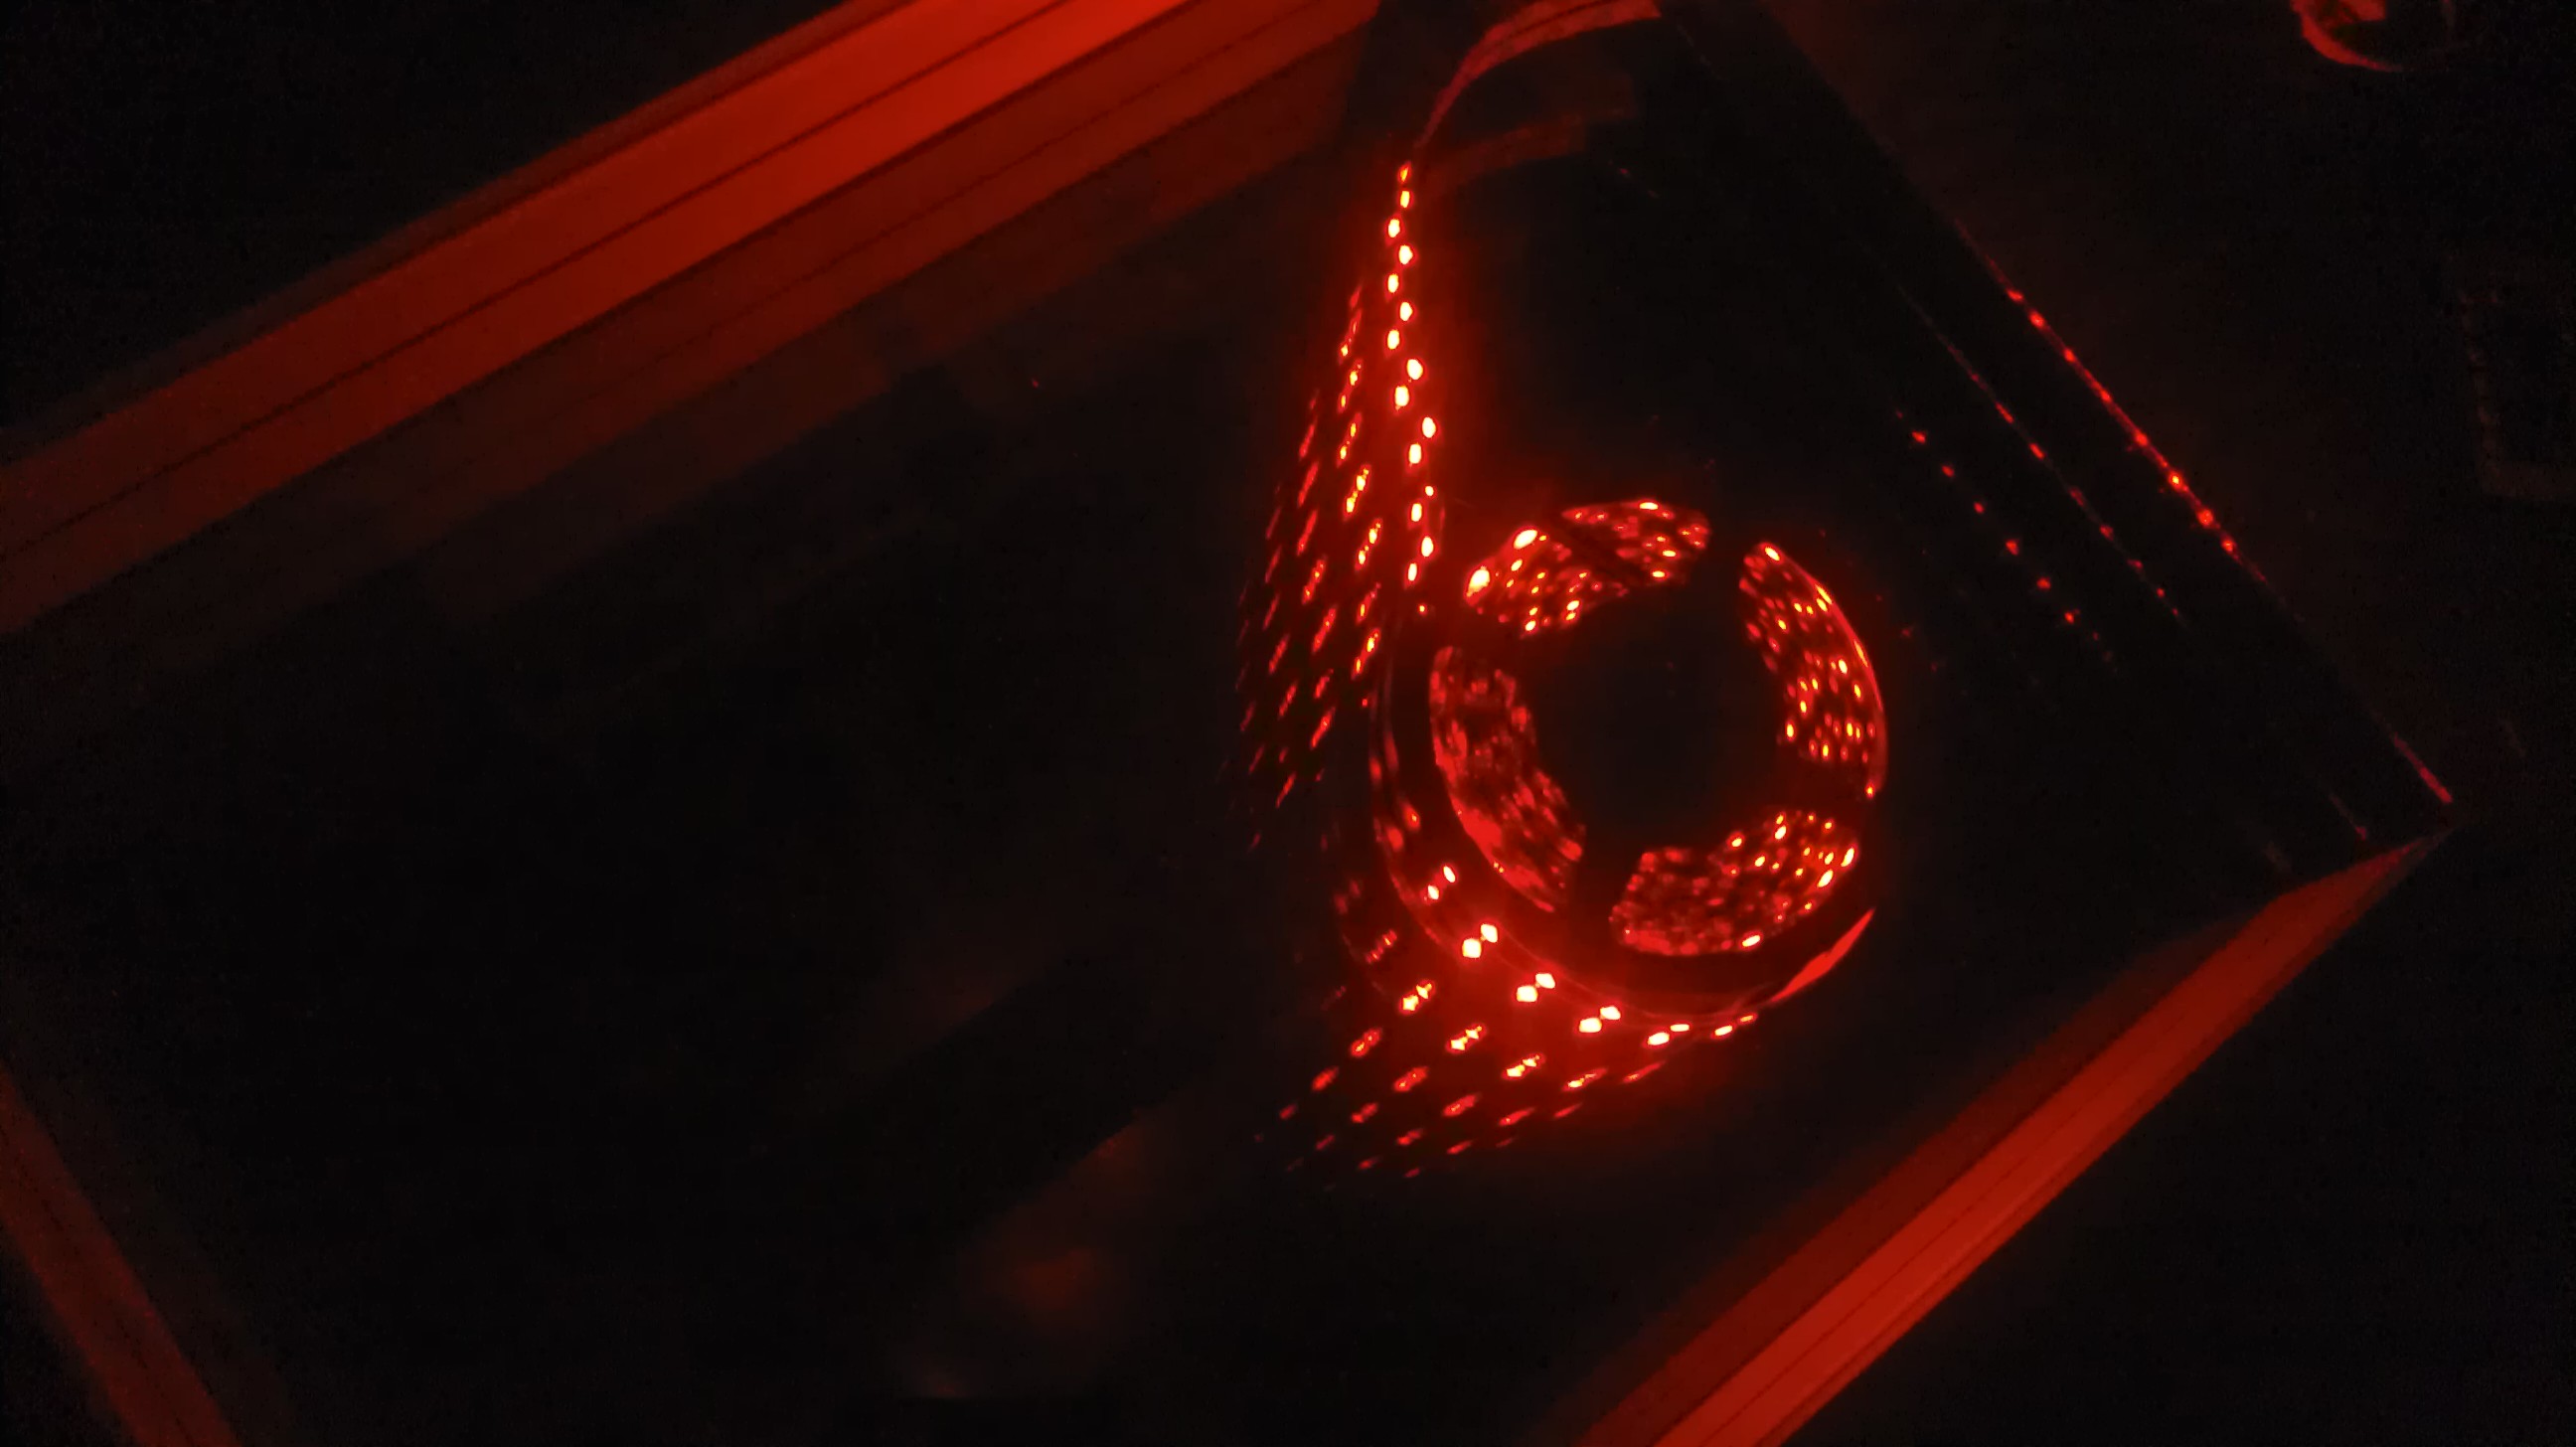
This is just an initial test of the glass spacing to make sure that it reflected the way I wanted it to, and a test to make sure that the lights worked correctly.
I printed off a Purdue logo and then cut it out of MDF. Once the logo was cut, I put the light strips around the edges.
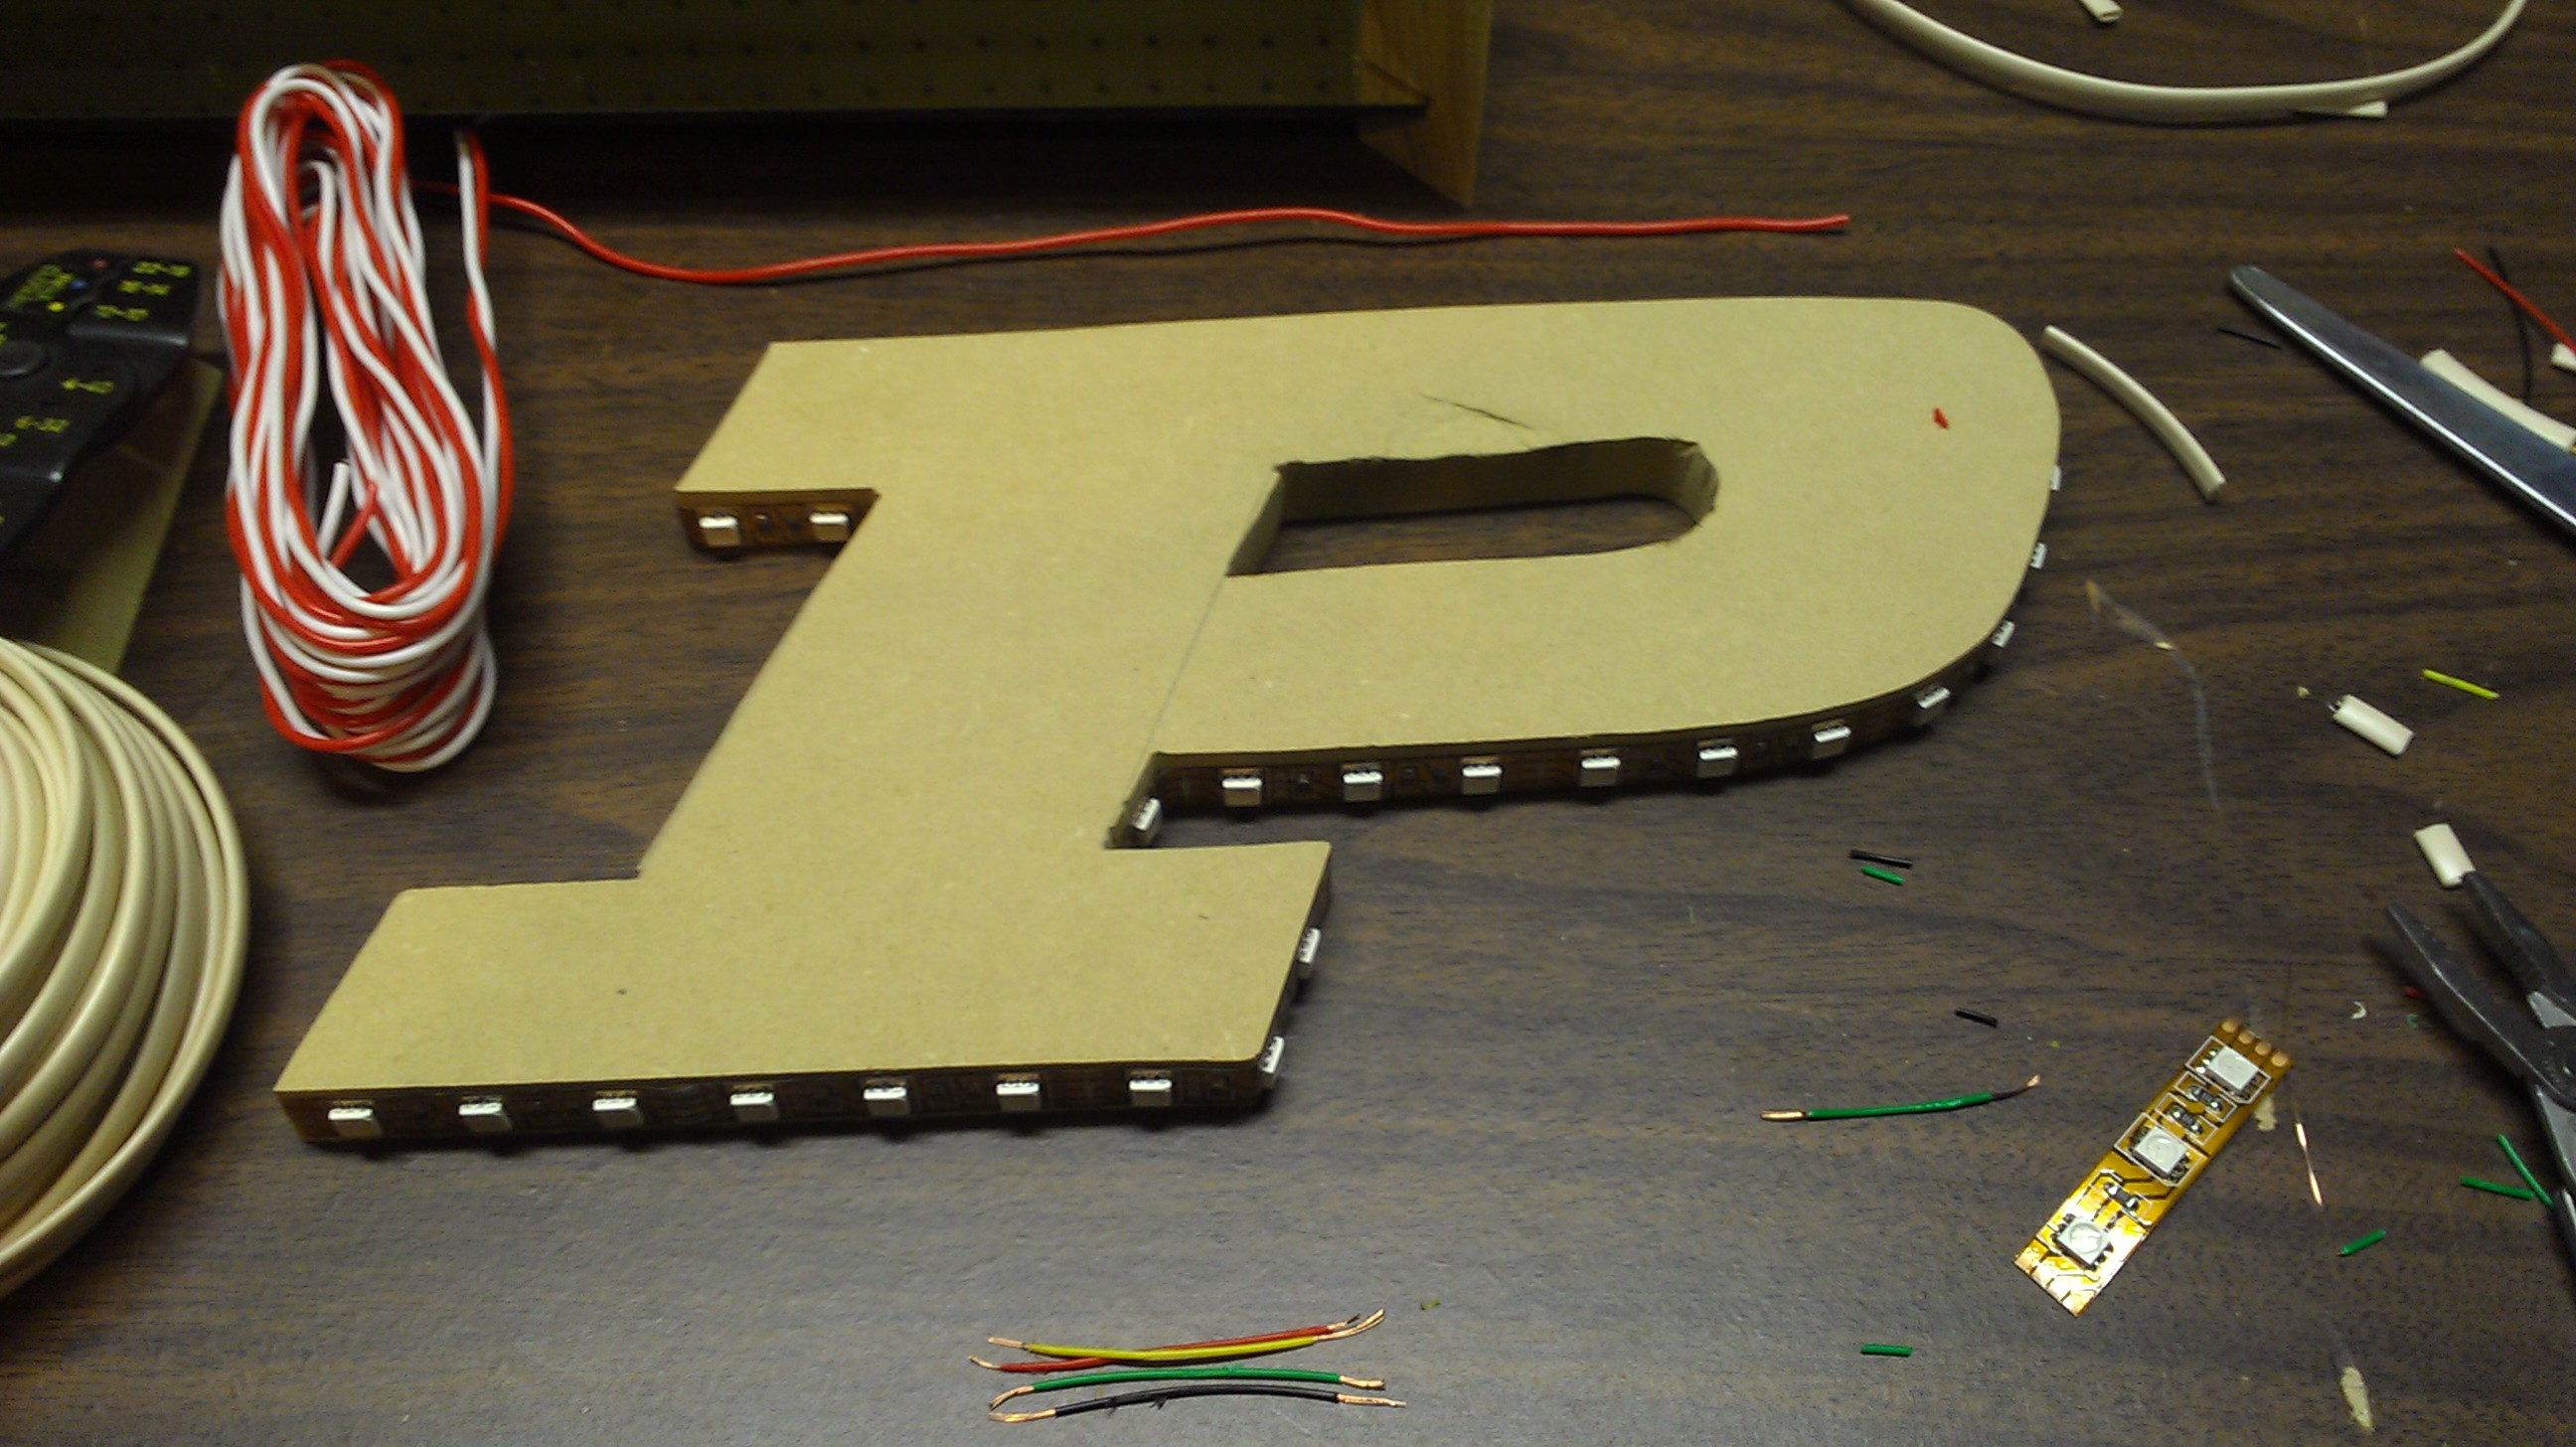
This is an early test of the lit P. To get the cords out without having them drag all over the glass, I had the glass company drill a hole behind where it would be attached, and the wires just feed into that. In this picture the P is not covered yet, it is still bare wood.
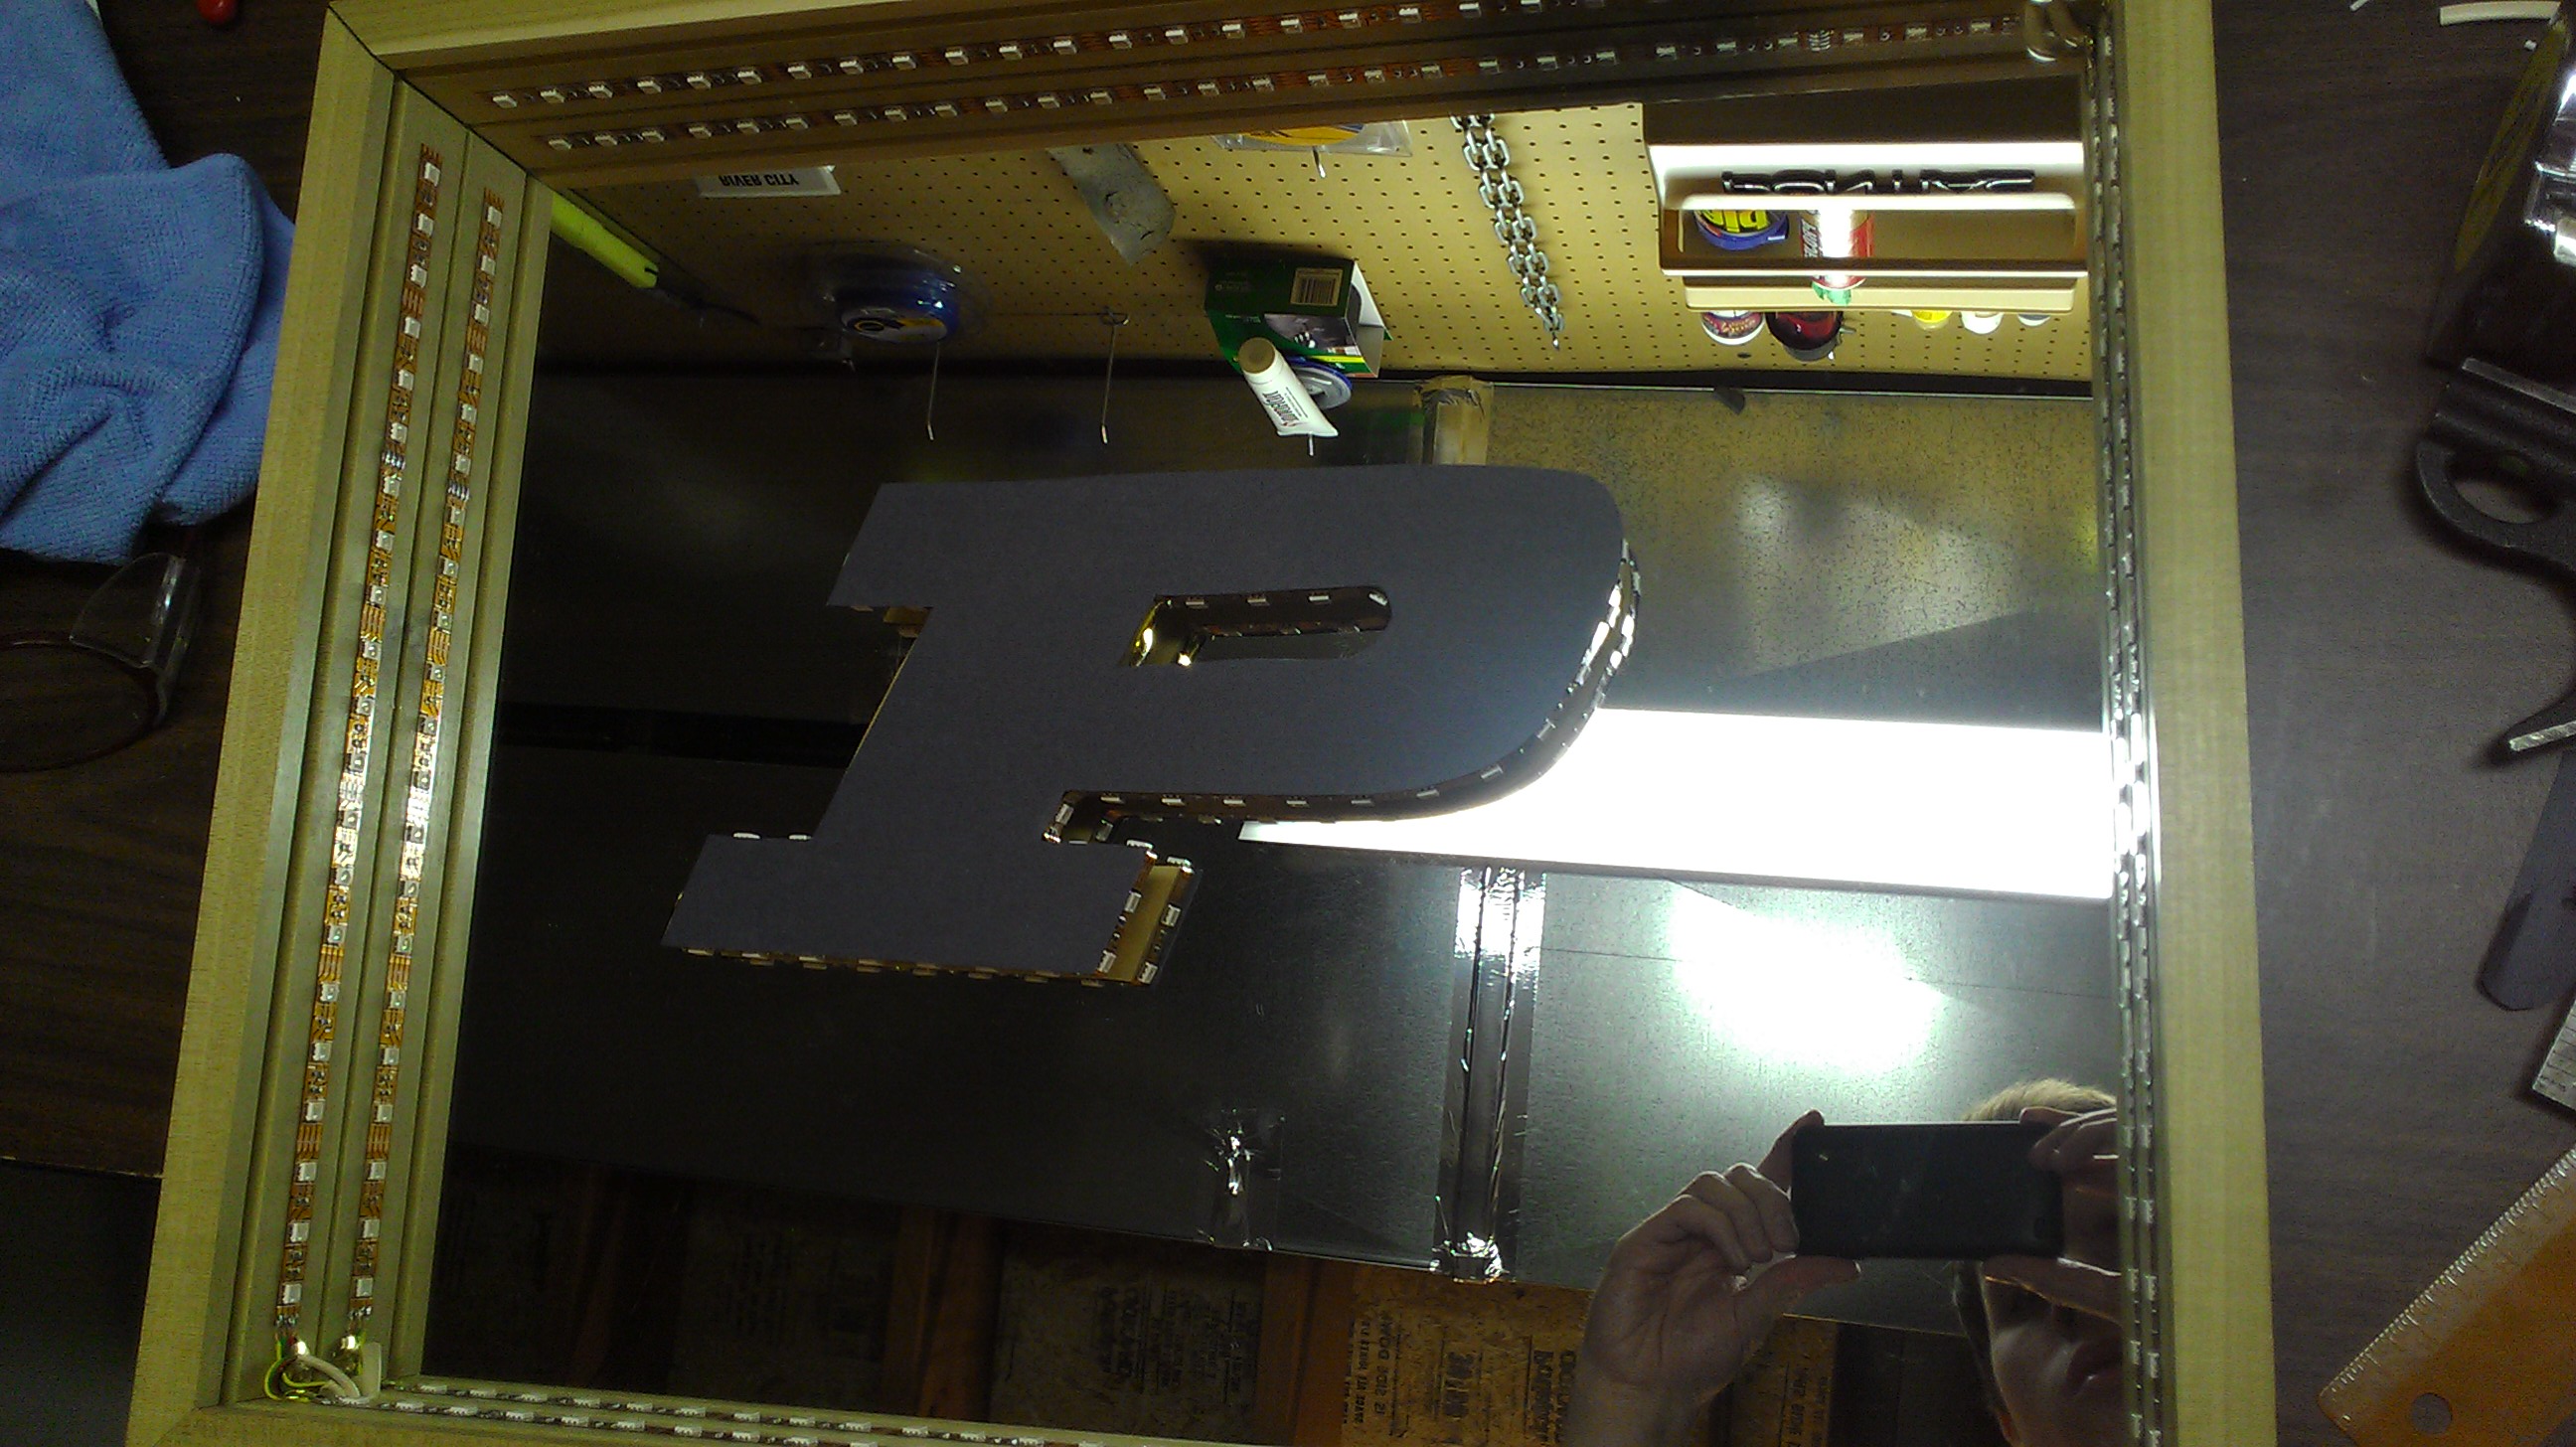
There was a single pencil line and some marring from when the center of the P was cut out. To solve that I glued on a construction paper cover for the P. The material doesn’t really matter here, as you can barely see the logo through the outside mirror when the light is off, and when it is on you pretty much see the area that is lit.
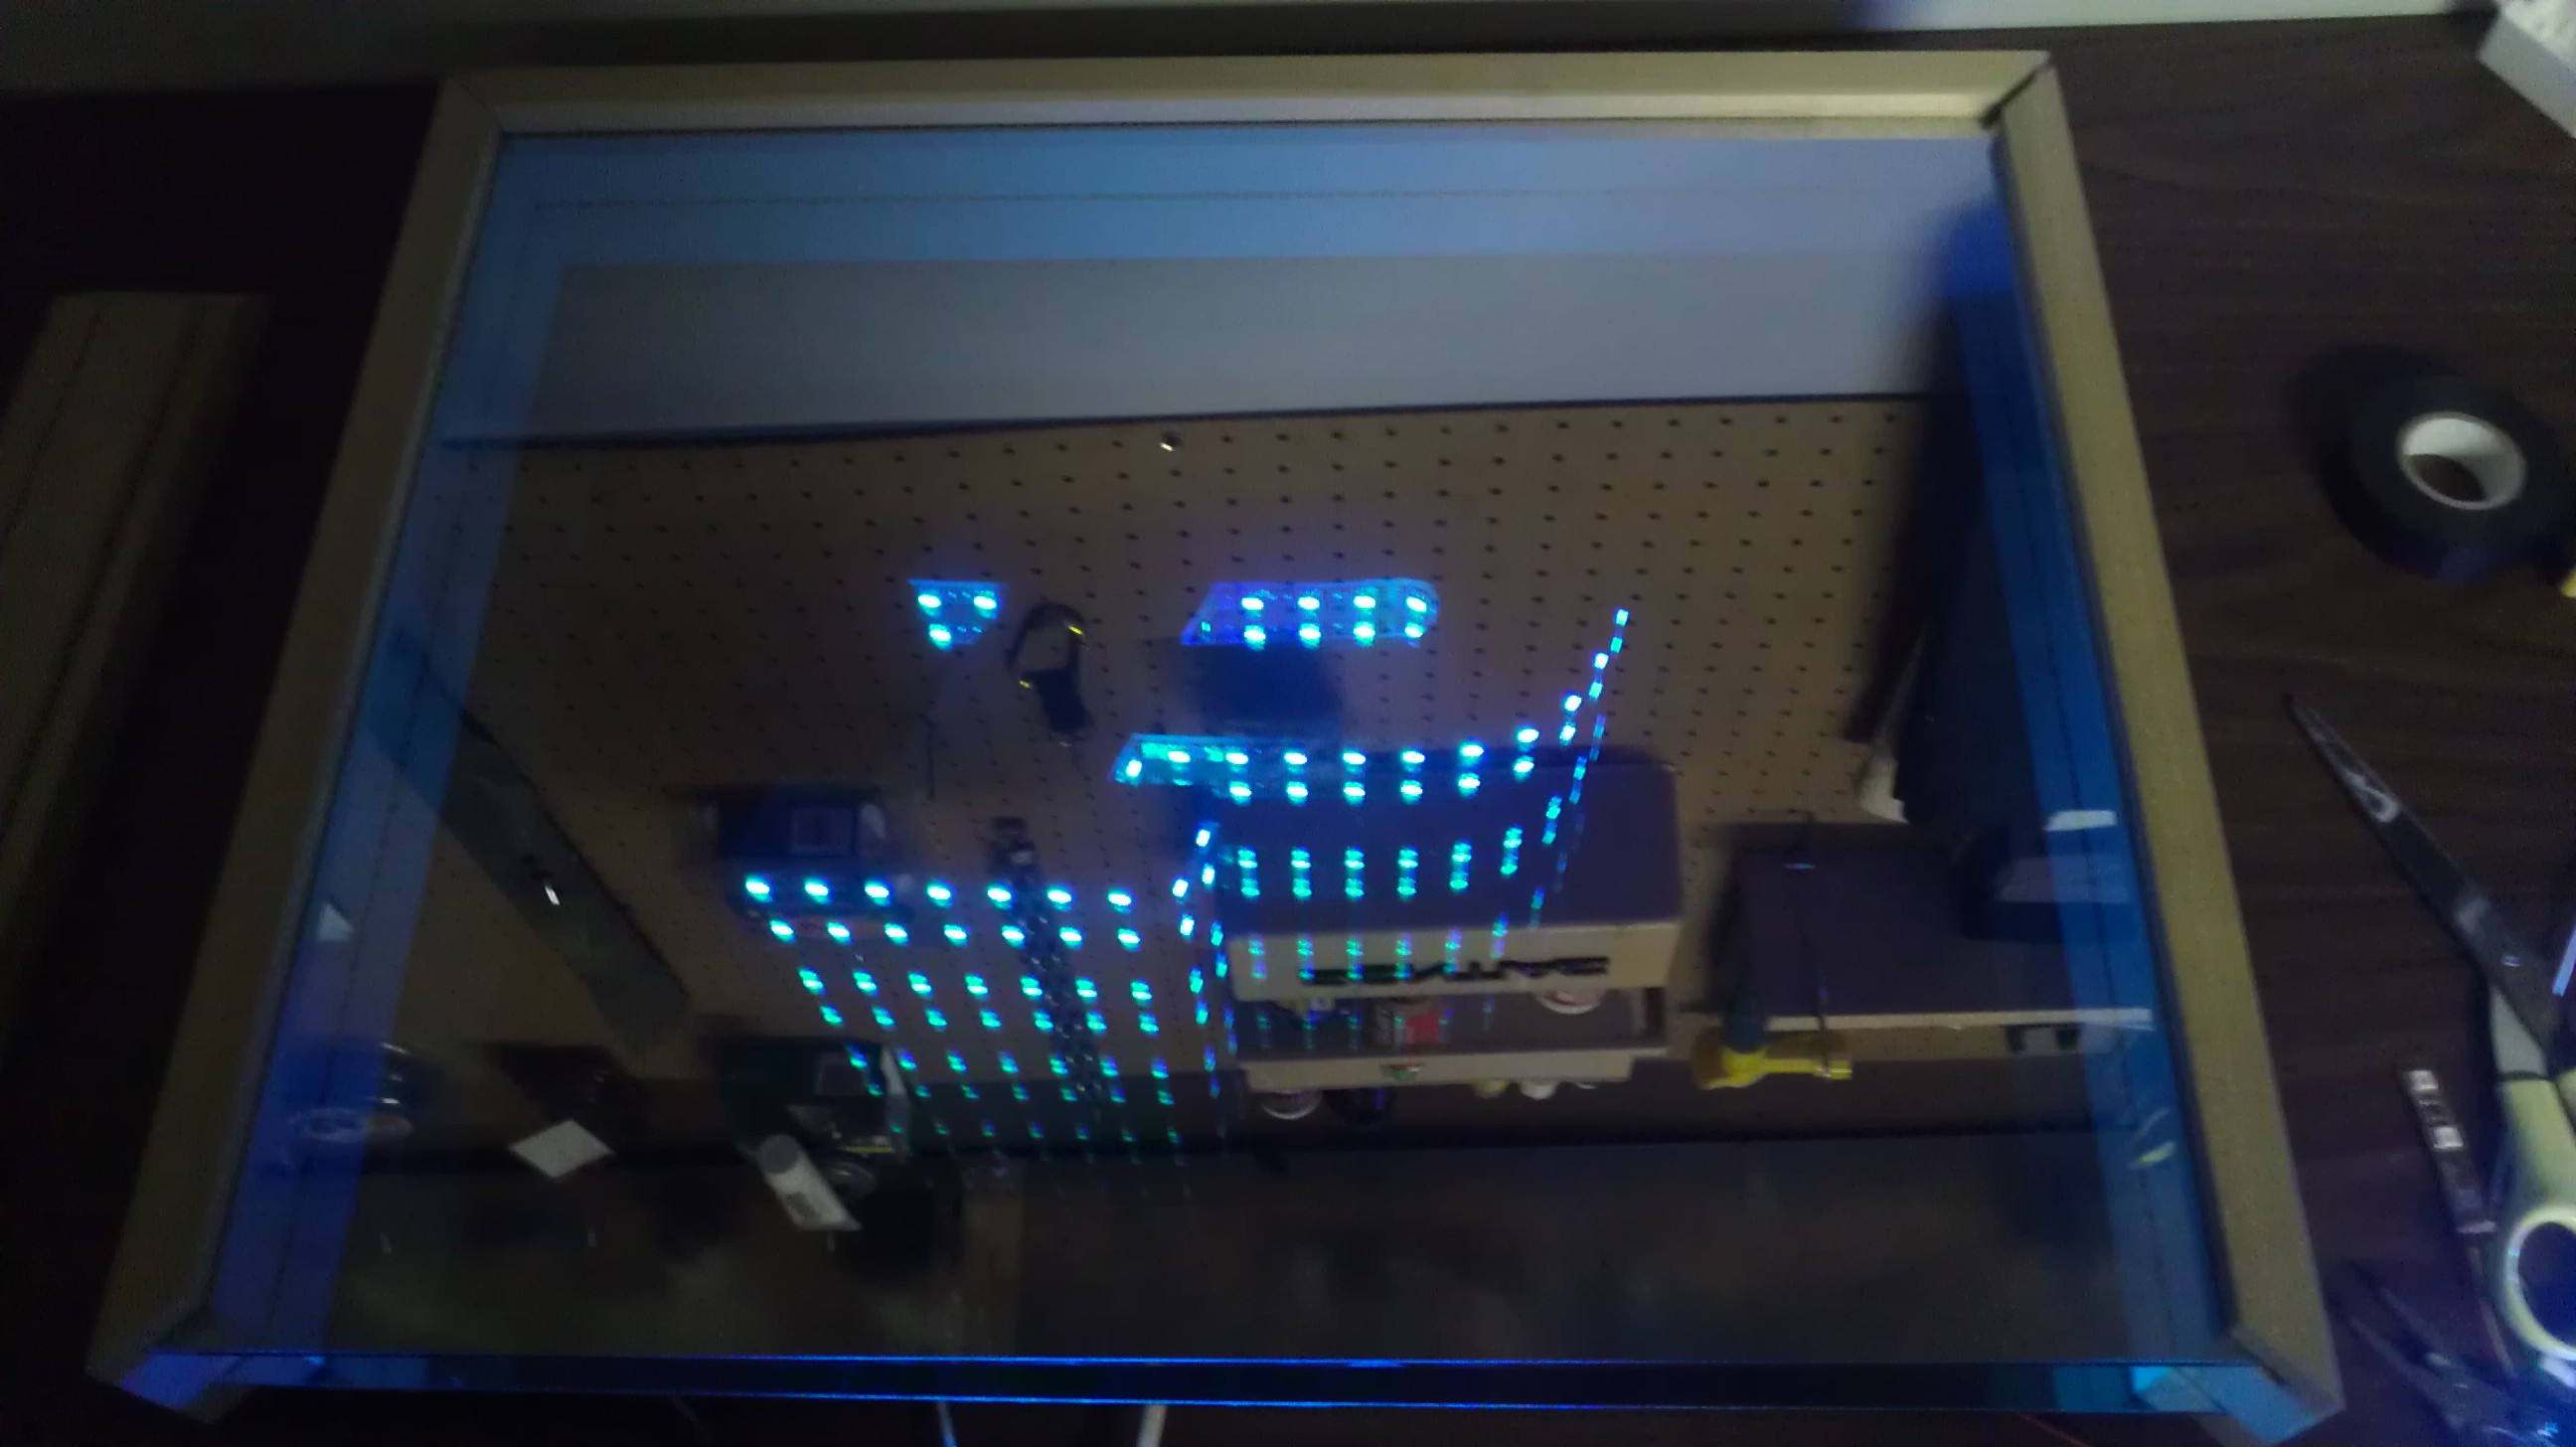
The picture with the lights added around the edges. If you look in the top right and bottom left you can see the wires connecting to the light strips and then going behind the mirror. I cut a larger slot out around where the glass went so the wires wrap around the outside of the glass.
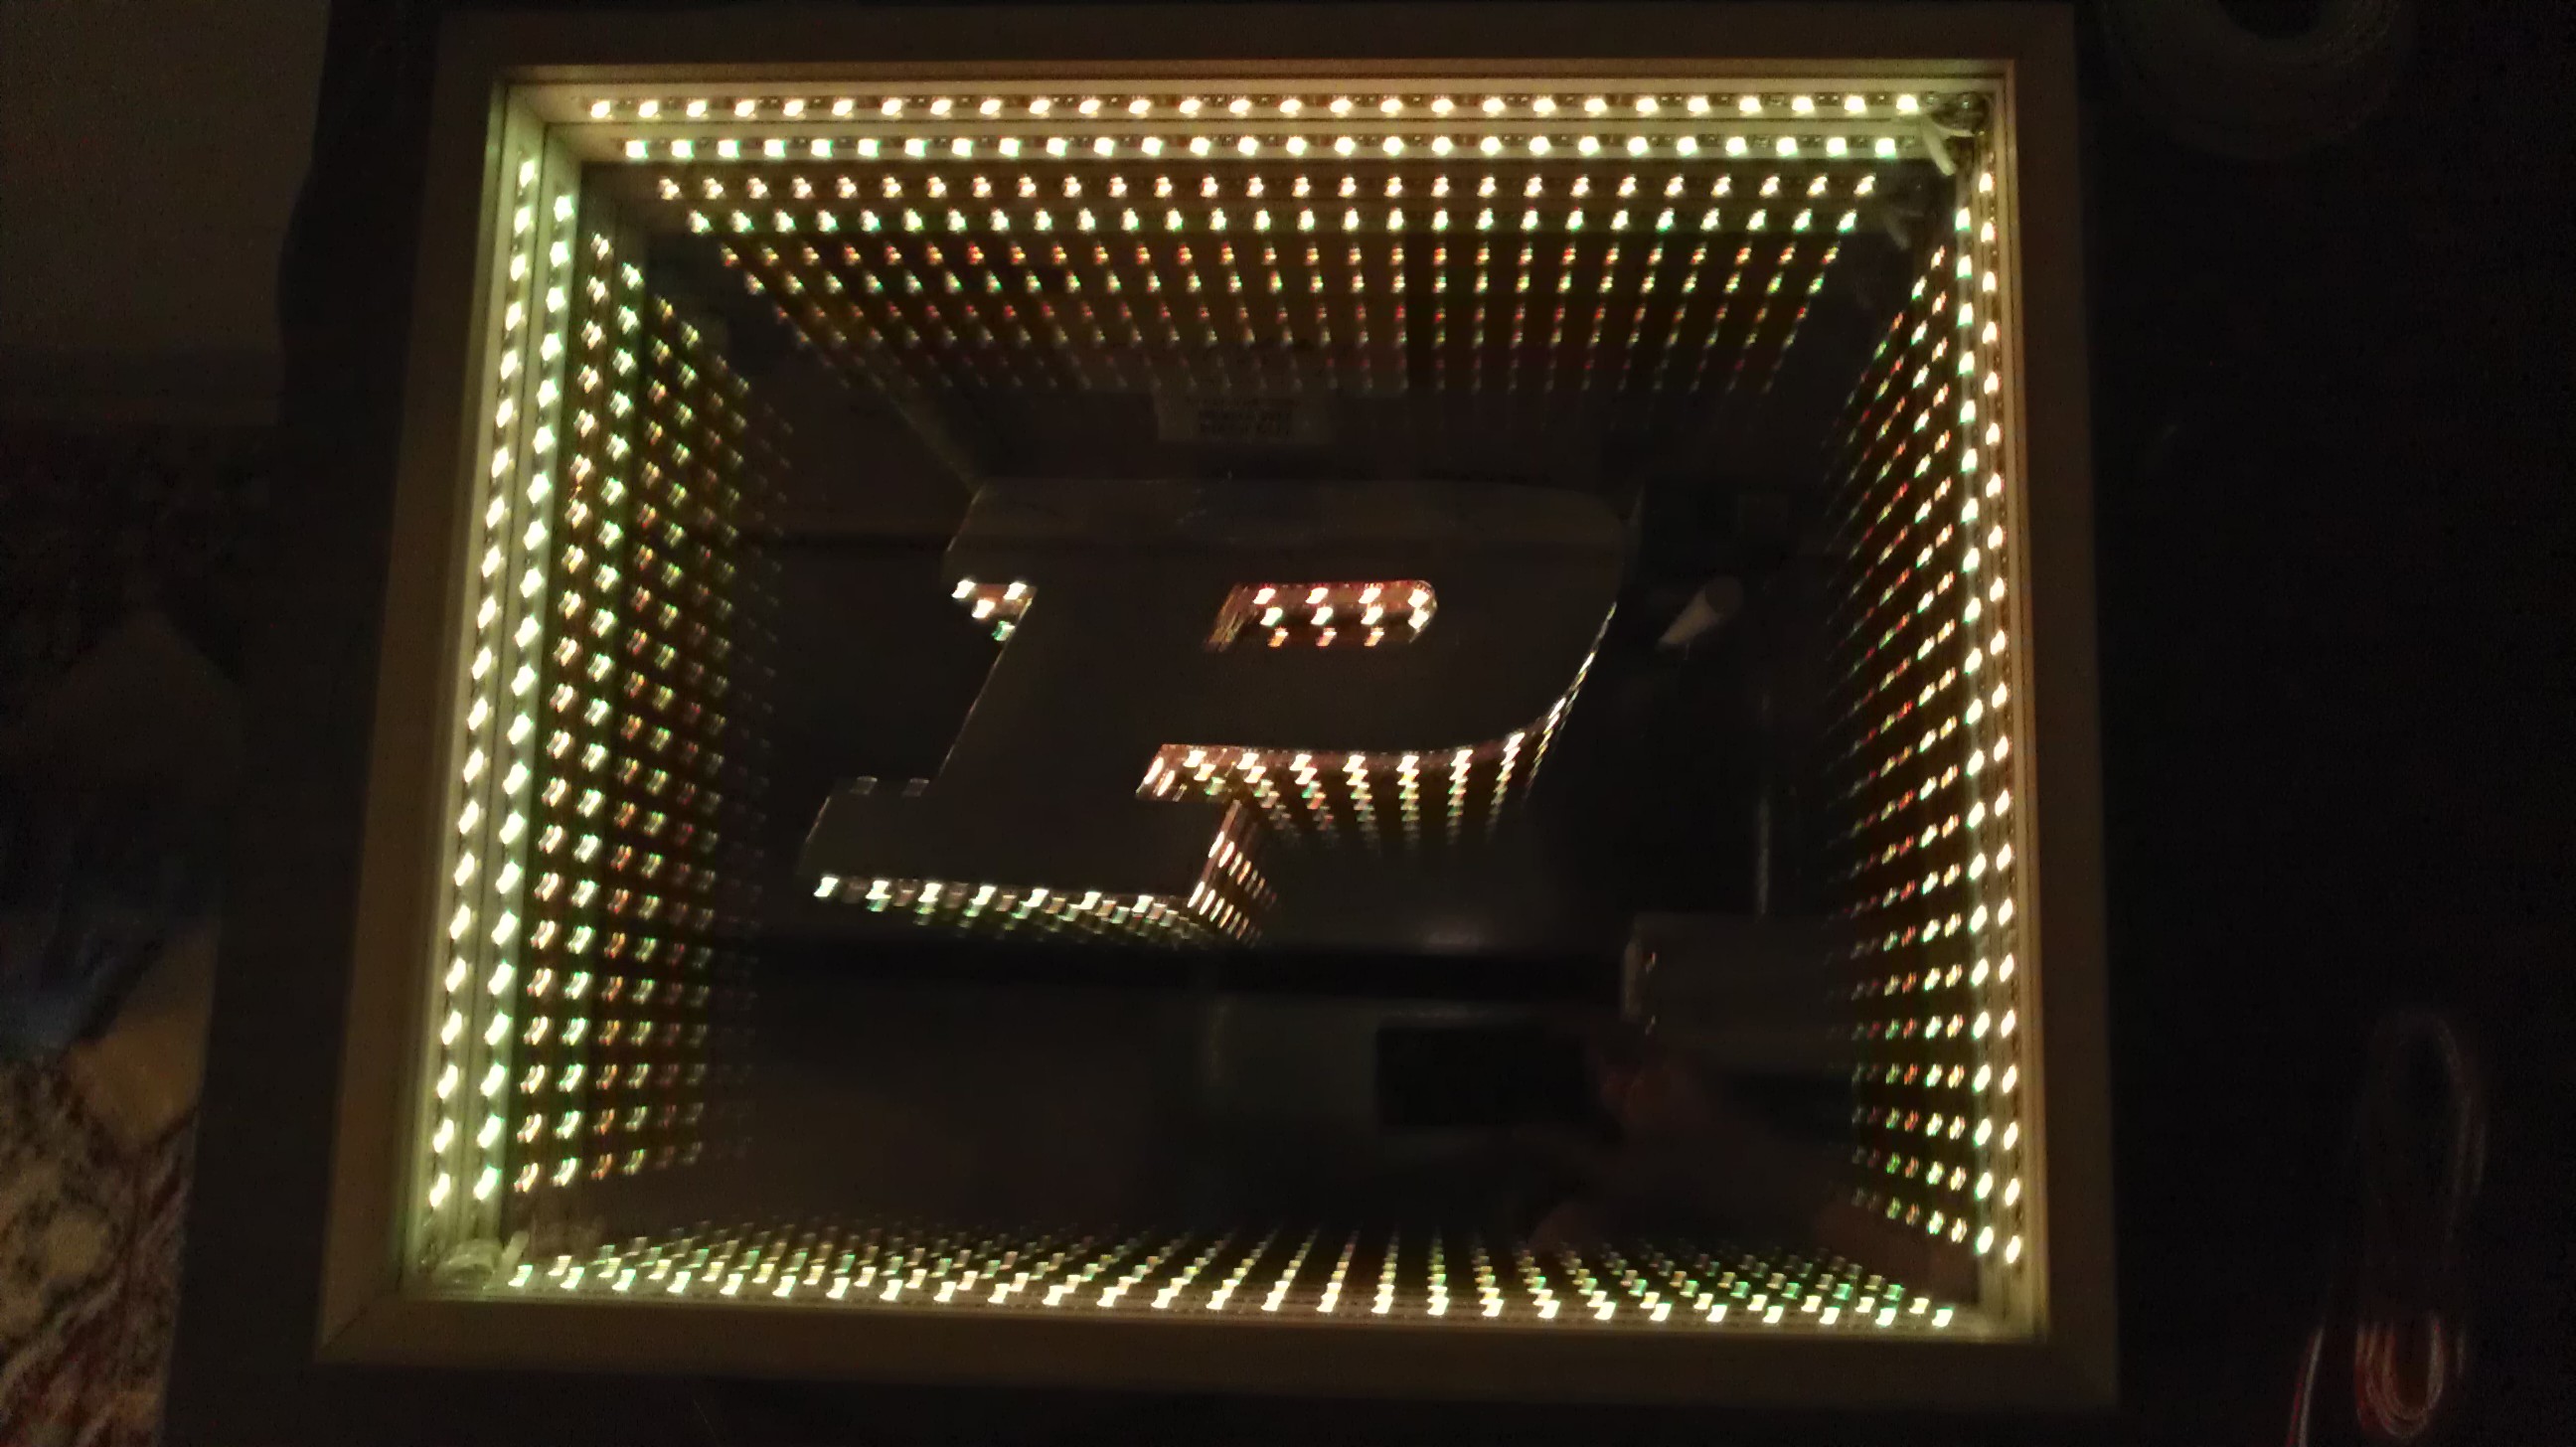
Initial test with full lighting.
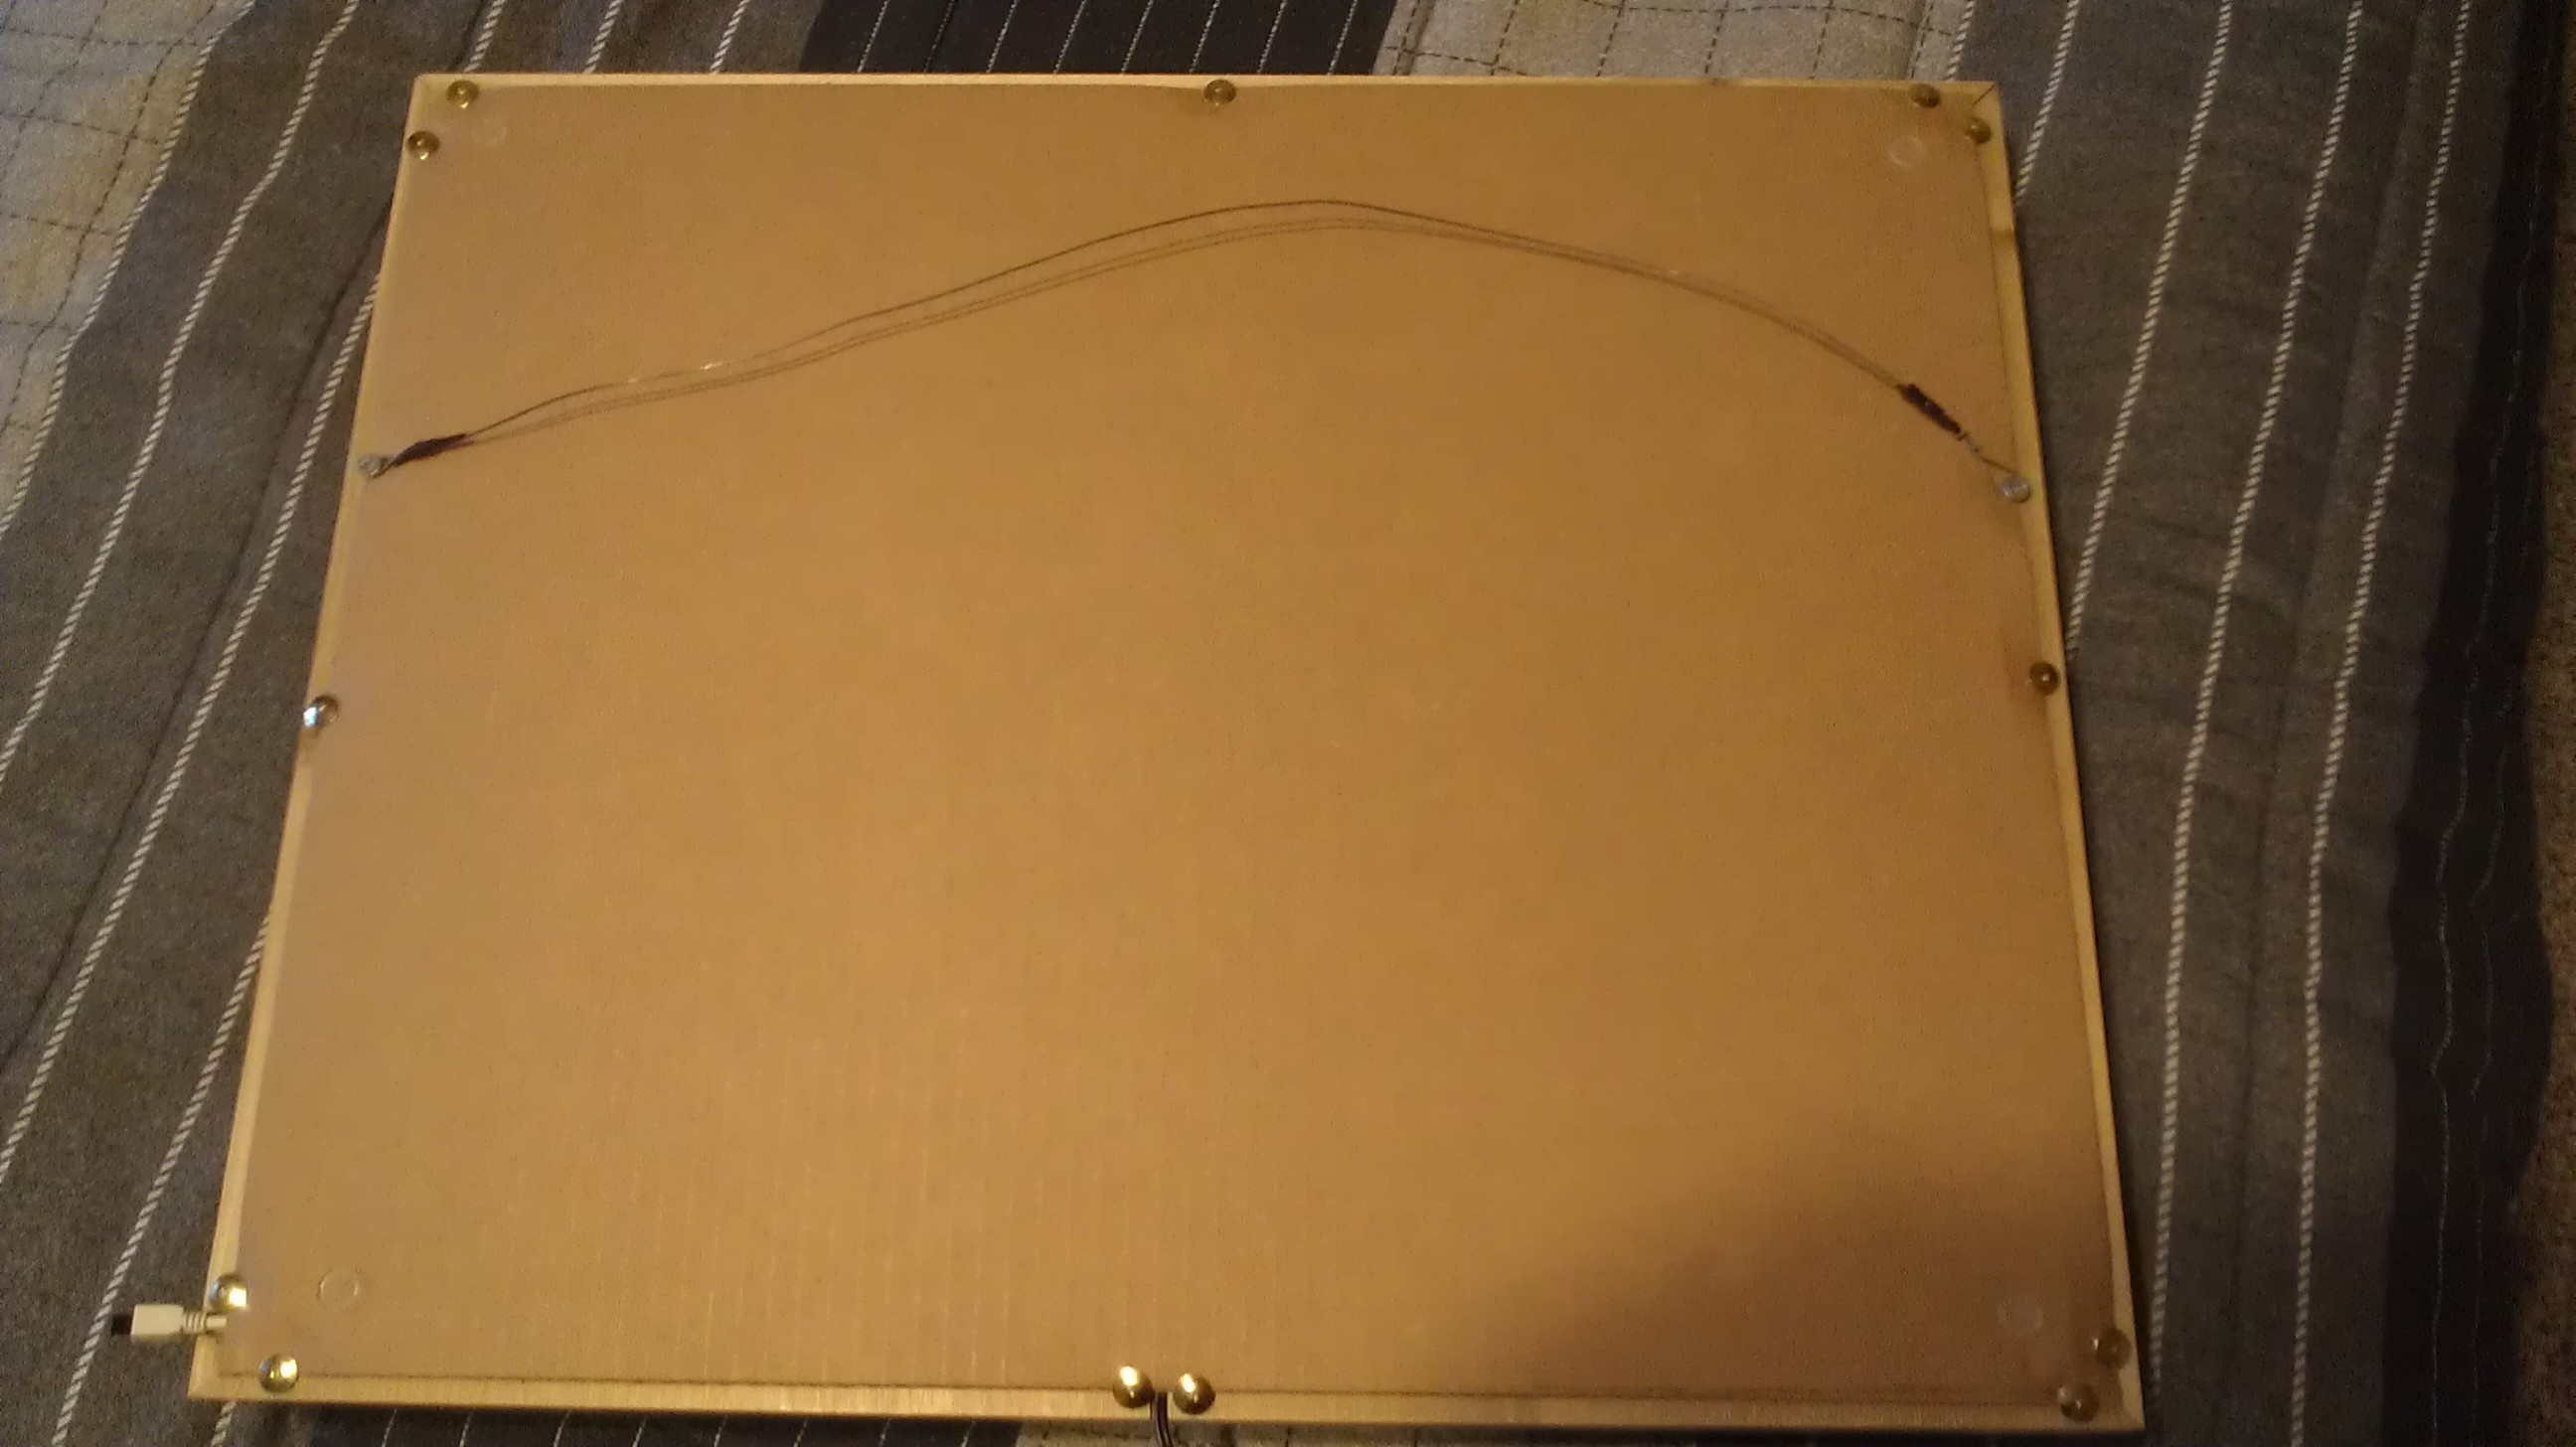
The wiring from being the picture. The slit in the bottom is for the power cord, and the wire on the far left is the IR sensor. As you can see it’s a bit of a mess behind the glass. This doesn’t really matter though as all the connections are strong and I put a back over this.

The final picture, I put a false back on to contain all the wires and attached the wire to hang the picture by.
The picture is much heavier than I expected, but overall I’m very pleased with how it turned out. I made a few mistakes along the way though. I only left 1/4 of an inch between the bottom of the slit and the outside of the wood, which means the slits are all 1/2 inch deep. I had intended to do it the other way, but it ended up working out. I waxed the wood to keep the natural shine nice, but ended up putting two screws in each corner. I would have rather not had screws in it, but as this is my first picture like this I have no idea how the lights and connections will last. I wanted to be able to build it so that I could take it apart and fix it if I needed to.
I am already making plans to build another one. My dad really likes the way that it looks and would like to make a nicer one for his office. In that design we will have the wires exit through the corners of the picture to avoid the small bundles inside the glass and will build a double frame to make everything much easier. We’ll probably build the IR sensor into the frame as well. I had already cut the wood before the lights came though and had not expected a remote control kit to come with the light kit, I actually ordered another wired controller that I didn’t end up using.
So, how much did it all cost to build? That’s pretty important if anyone wants to build their own.
Glass: About $55. The back mirror was roughly $18, and the front pane was more expensive. That comes with the fact that it’s fancy one way glass though.
Wood: The MDF was scrap from one of my brother’s projects, and I spent $6 or so on a 10 foot board of wood at Menards. I wasn’t looking for super nice wood, I just wanted something that would do the job.
Lights: $13 off Amazon. ($6 controller that I didn’t need.)
Screws: $3
I also used a bunch of thumb tacks, solder, and scrap wood throughout the project. It’ll be roughly $80 for a simple project and more if you make it fancier. The biggest thing is tools though, this would be much harder to make if I had not had ready access to a table saw and a bunch of other equipment. Good luck if you decide to make your own, I hope that I’ve given some good ideas.
Thanks for reading!
-Nathan