Over the past month I have grown increasingly interested in mechanical keyboards and have spent countless hours reading about custom builds on r/MechanicalKeyboards. I even went as far as to order a keytester, plan the layout I’d like to build, and find a local laser cutting shop. However, the price was holding me back. I didn’t like any of the premade keyboard options and wasn’t about to drop ~$300 on something that I could easily end up not liking (especially without ever having used one before).
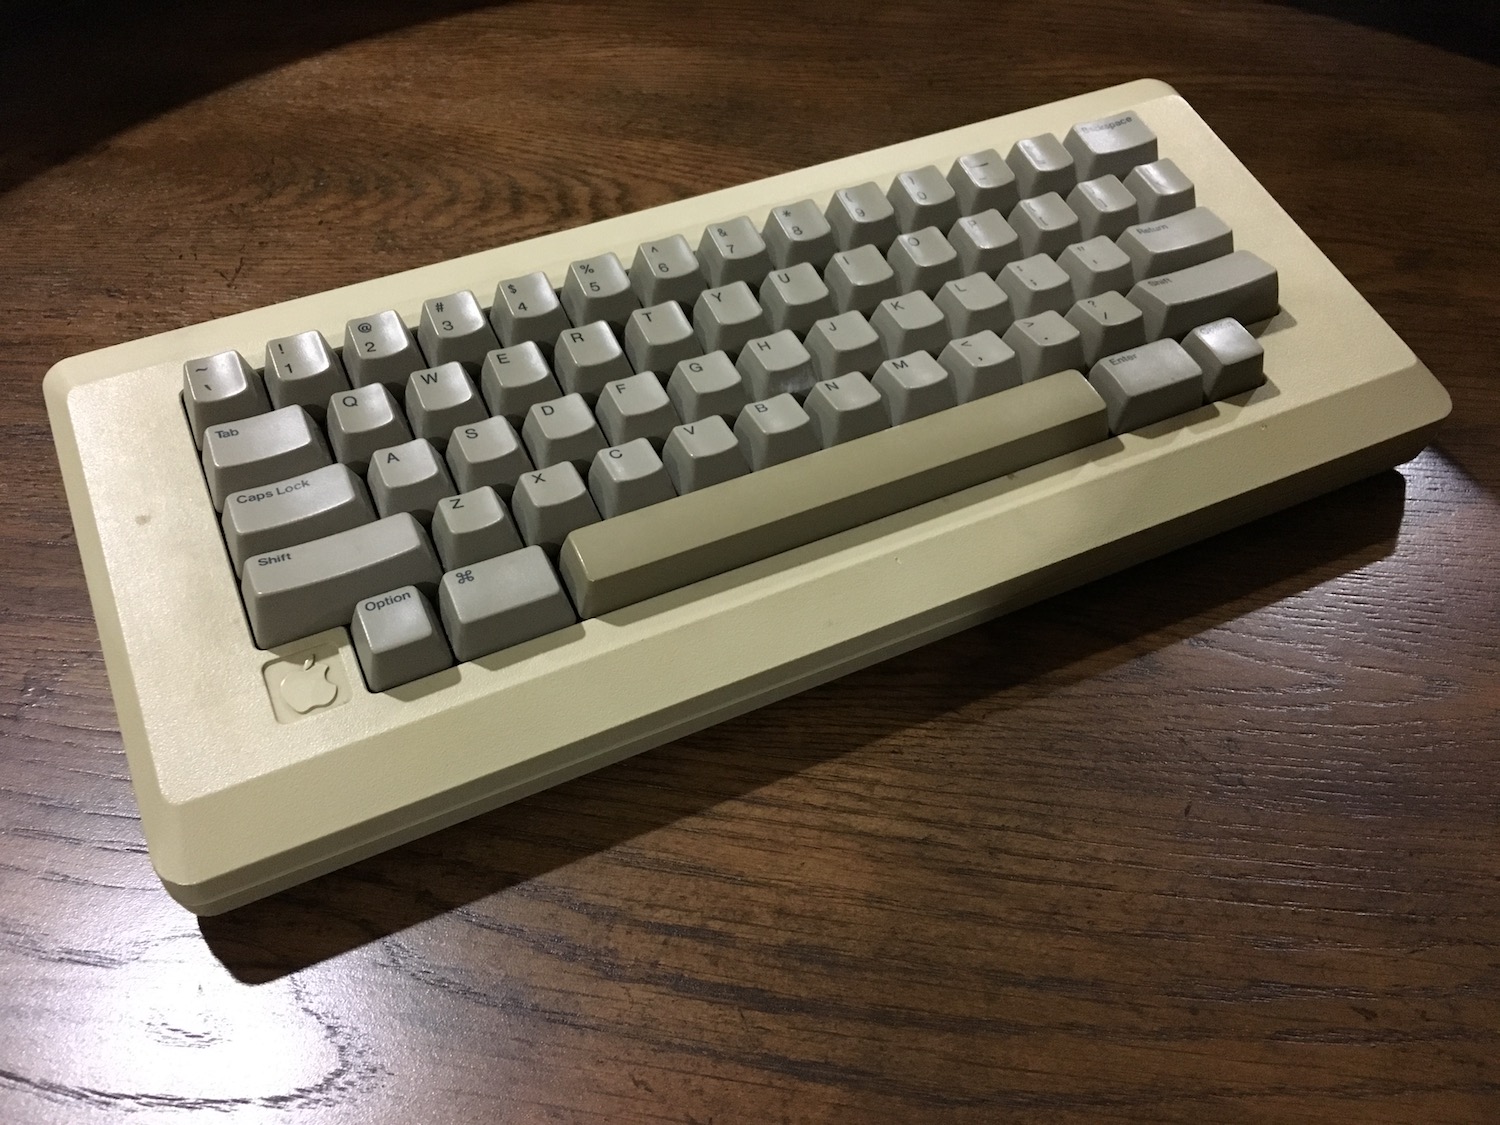
Despite hesitations I still wanted to work on a custom keyboard. At the minimum I wanted to wire one. In April 2011 I repaired the floppy drive of a Macintosh 128k and got the entire computer working. Since then, the computer has happily lived in storage at my parent’s house under the stairs. The M0110 Keyboard that it came with was a perfect candidate to rewire and get working with modern computers.
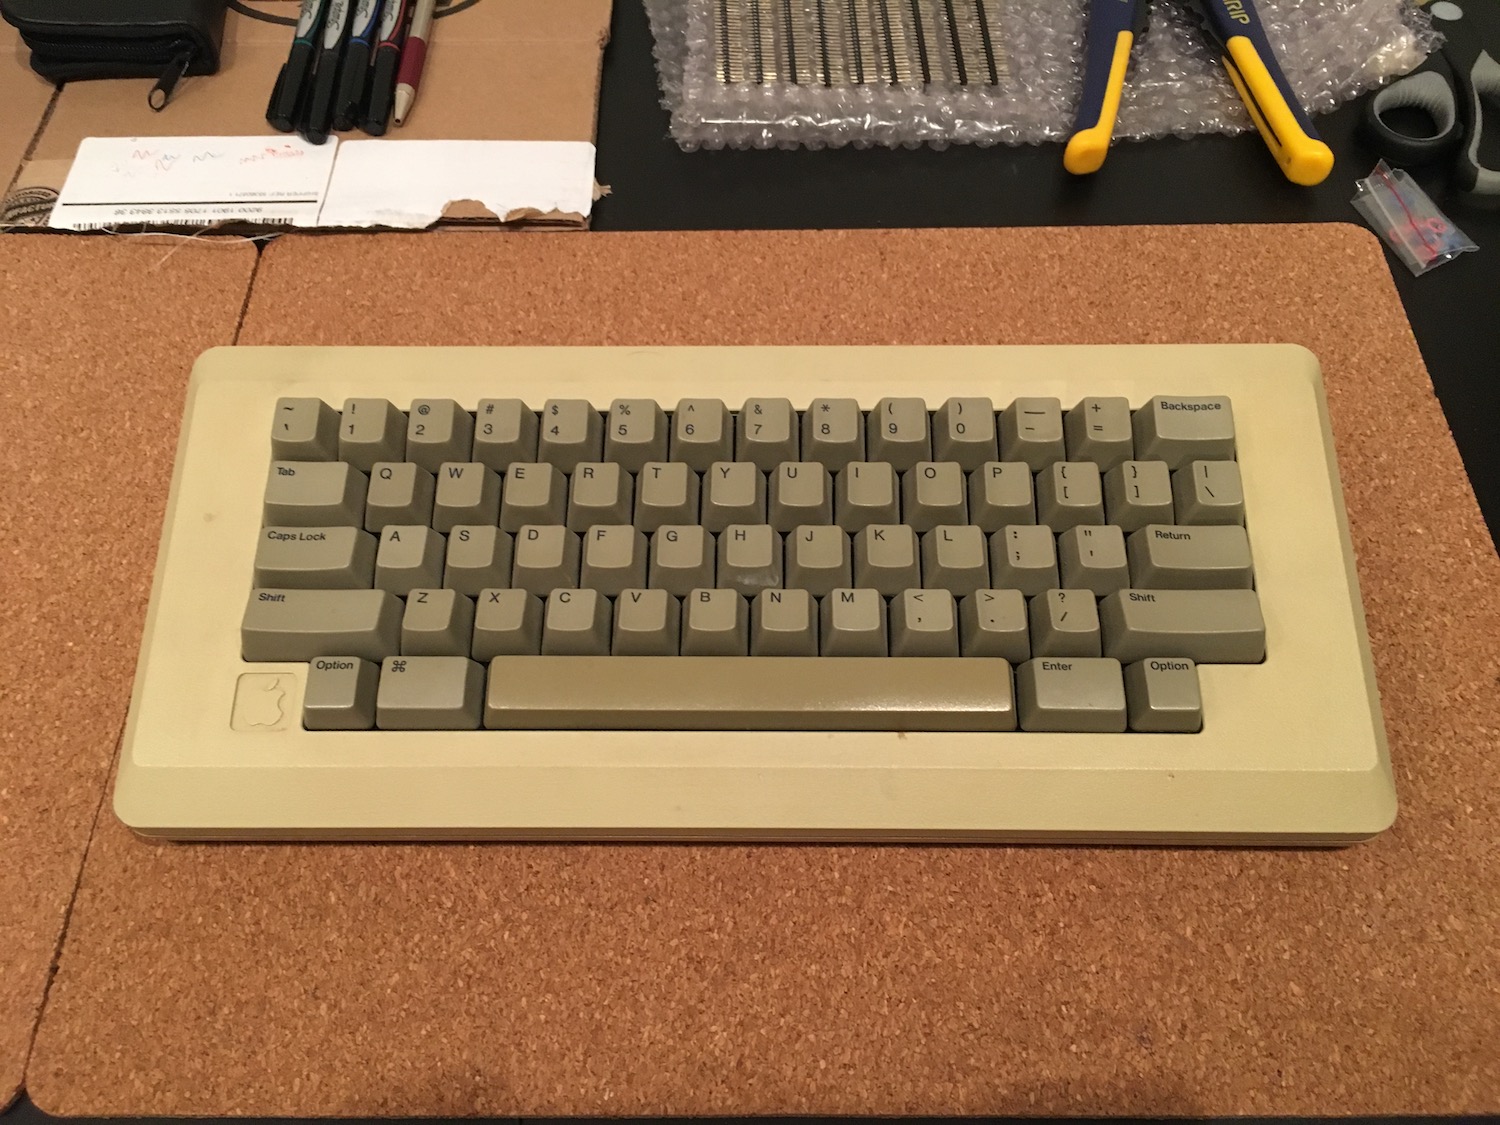
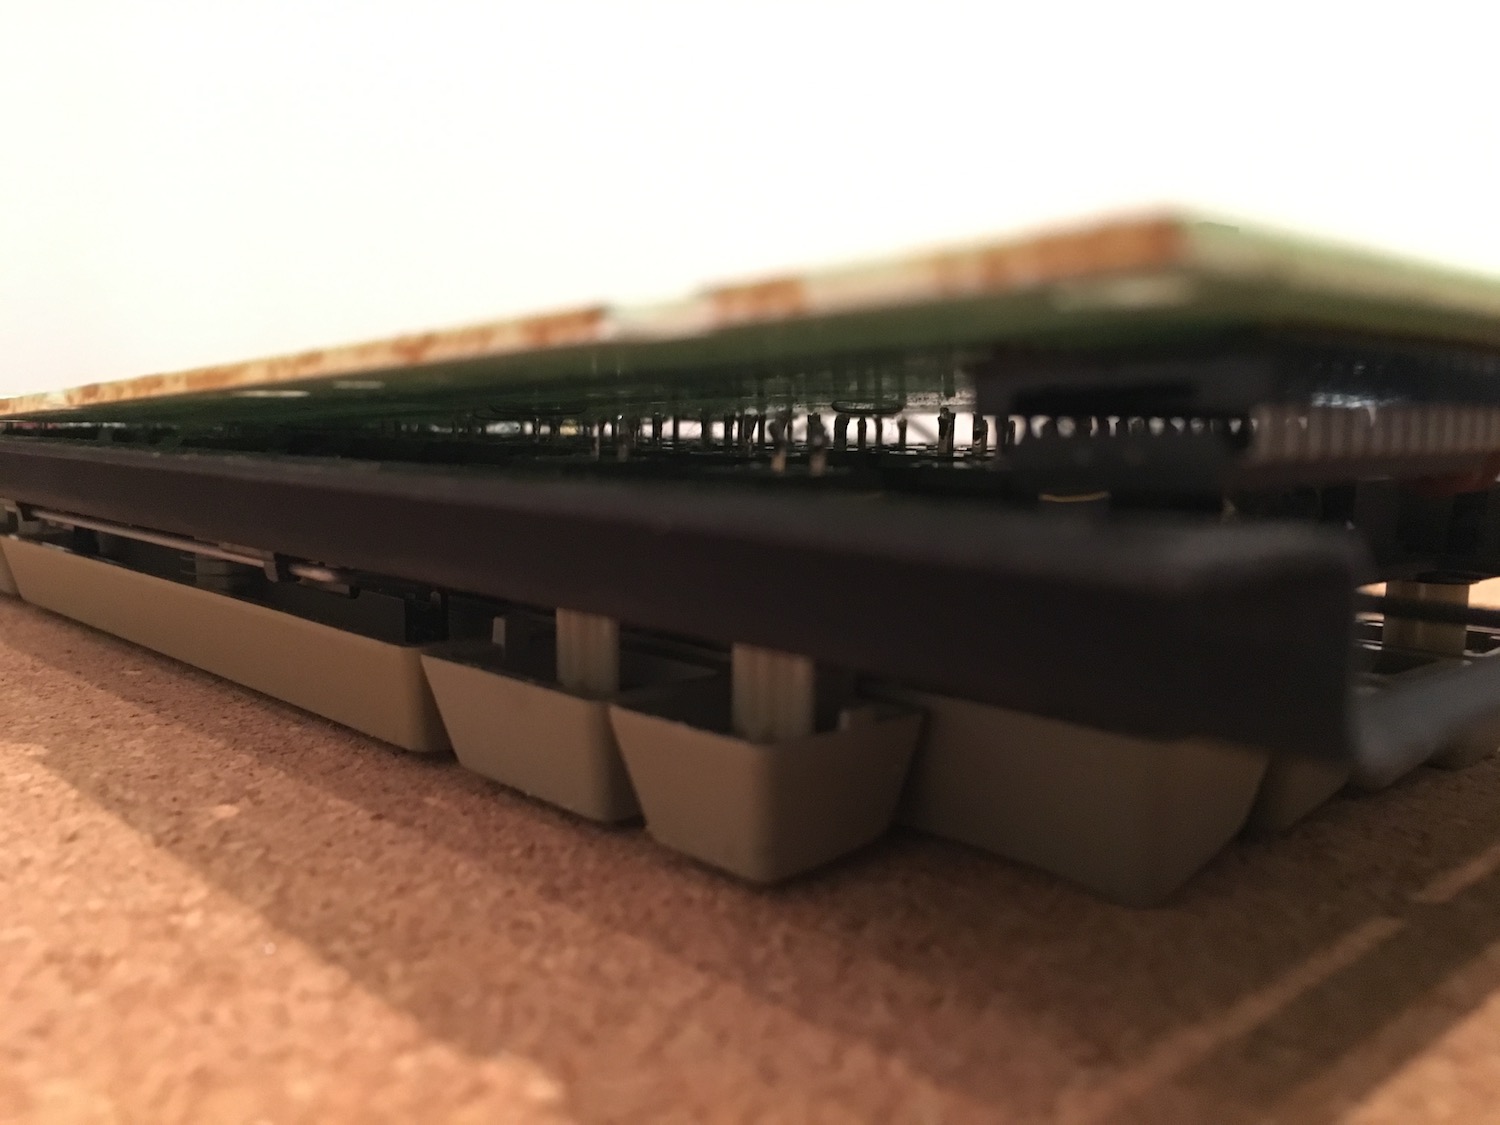
I started by opening up the case and assessing the situation.
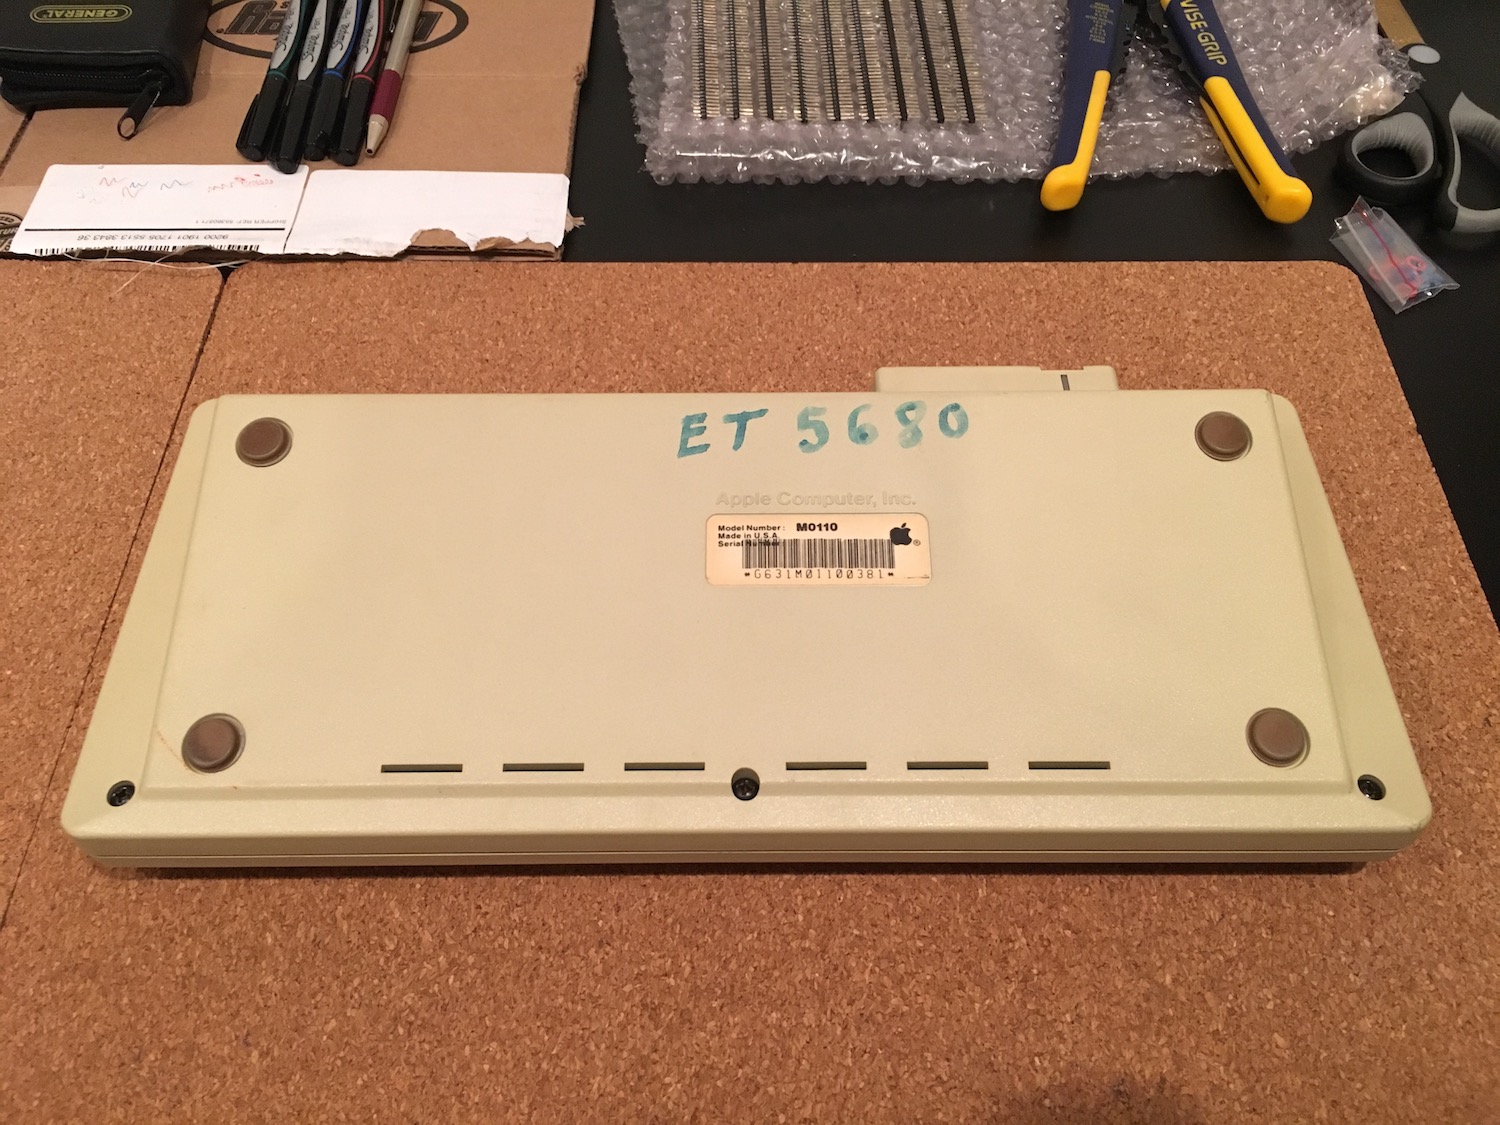
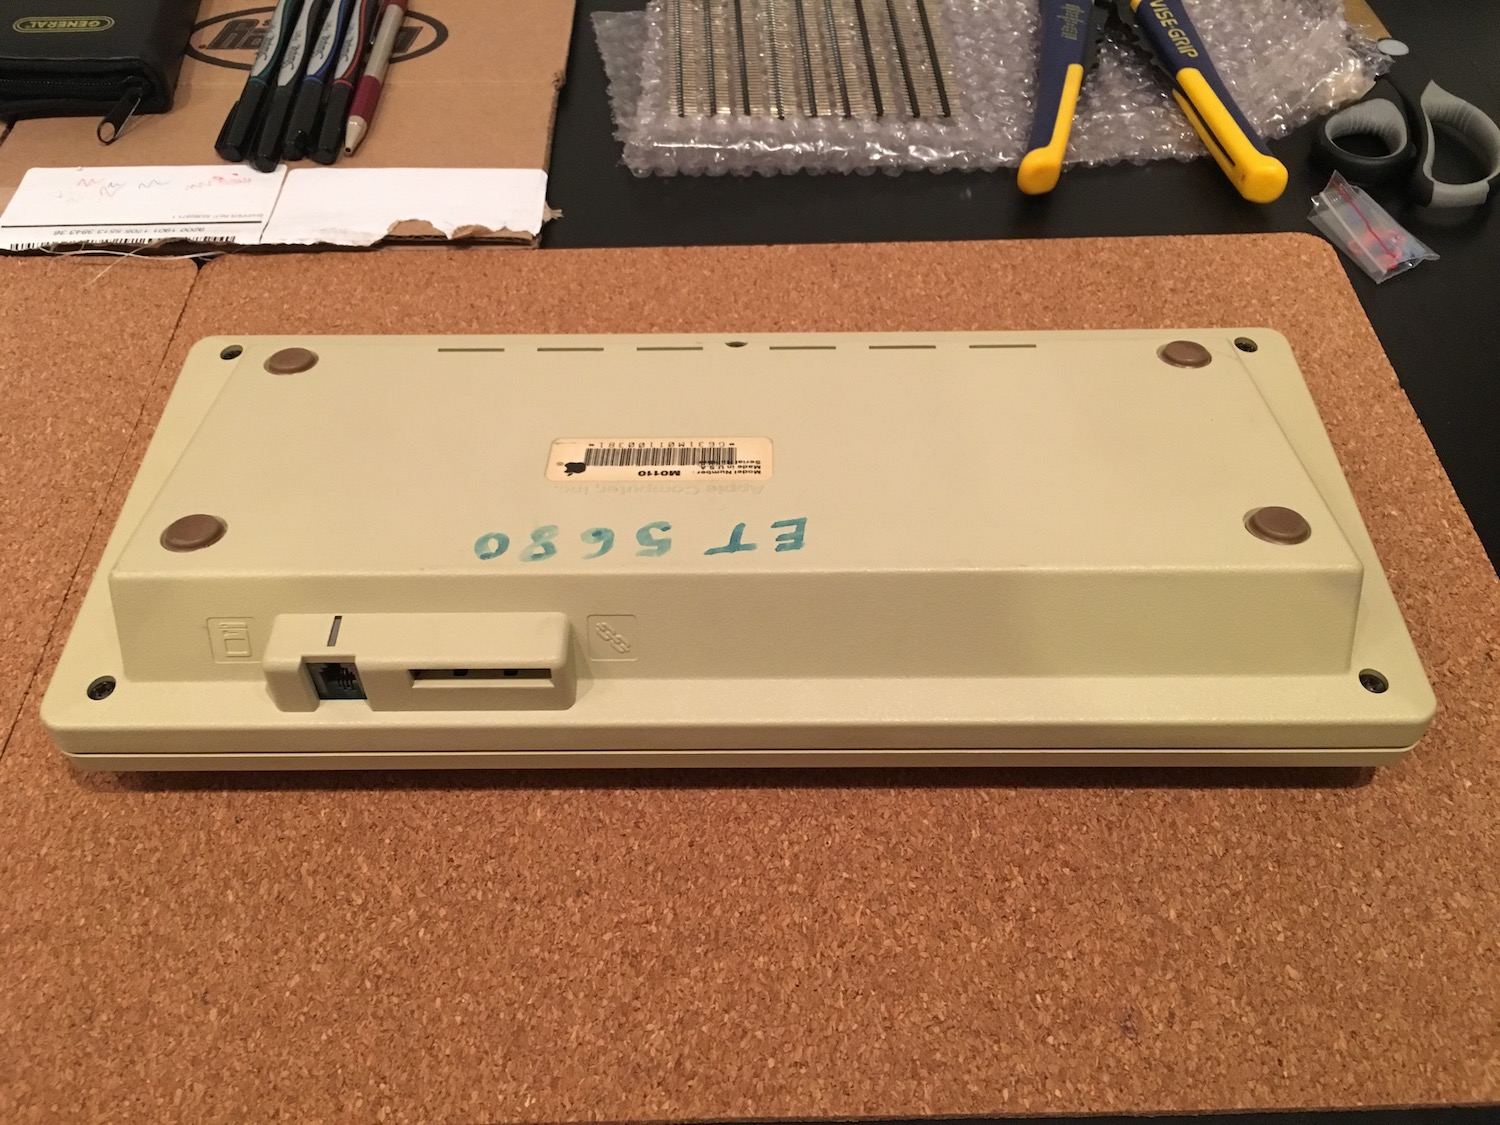

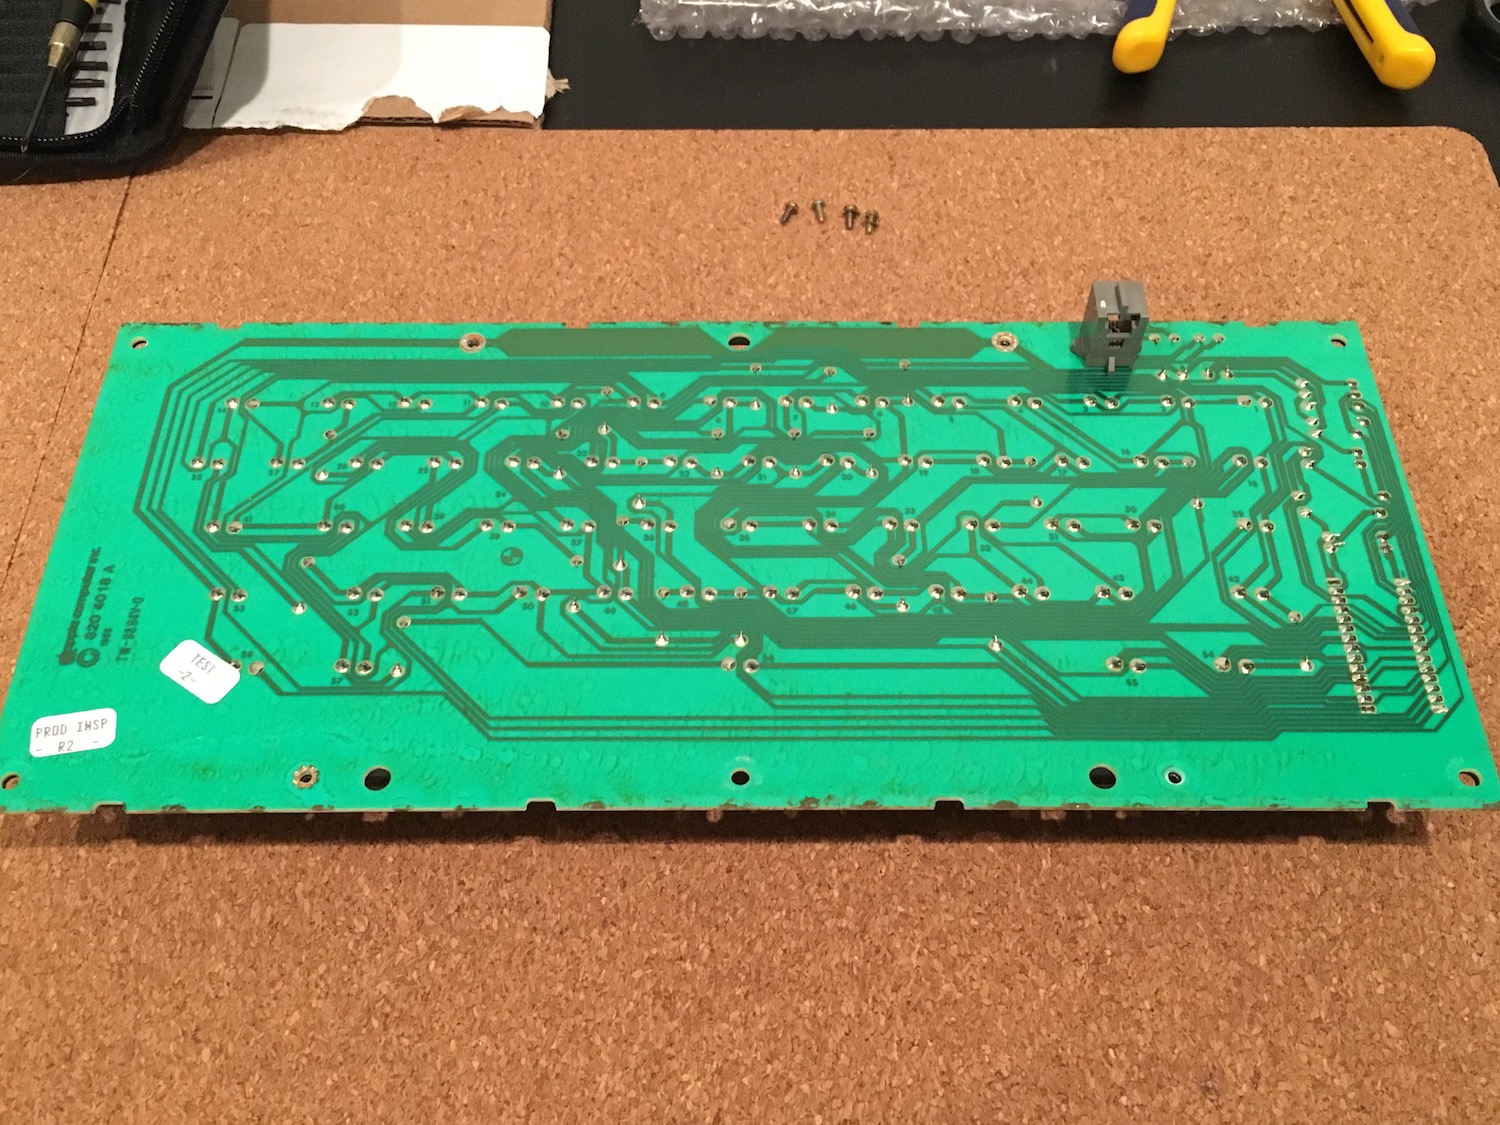

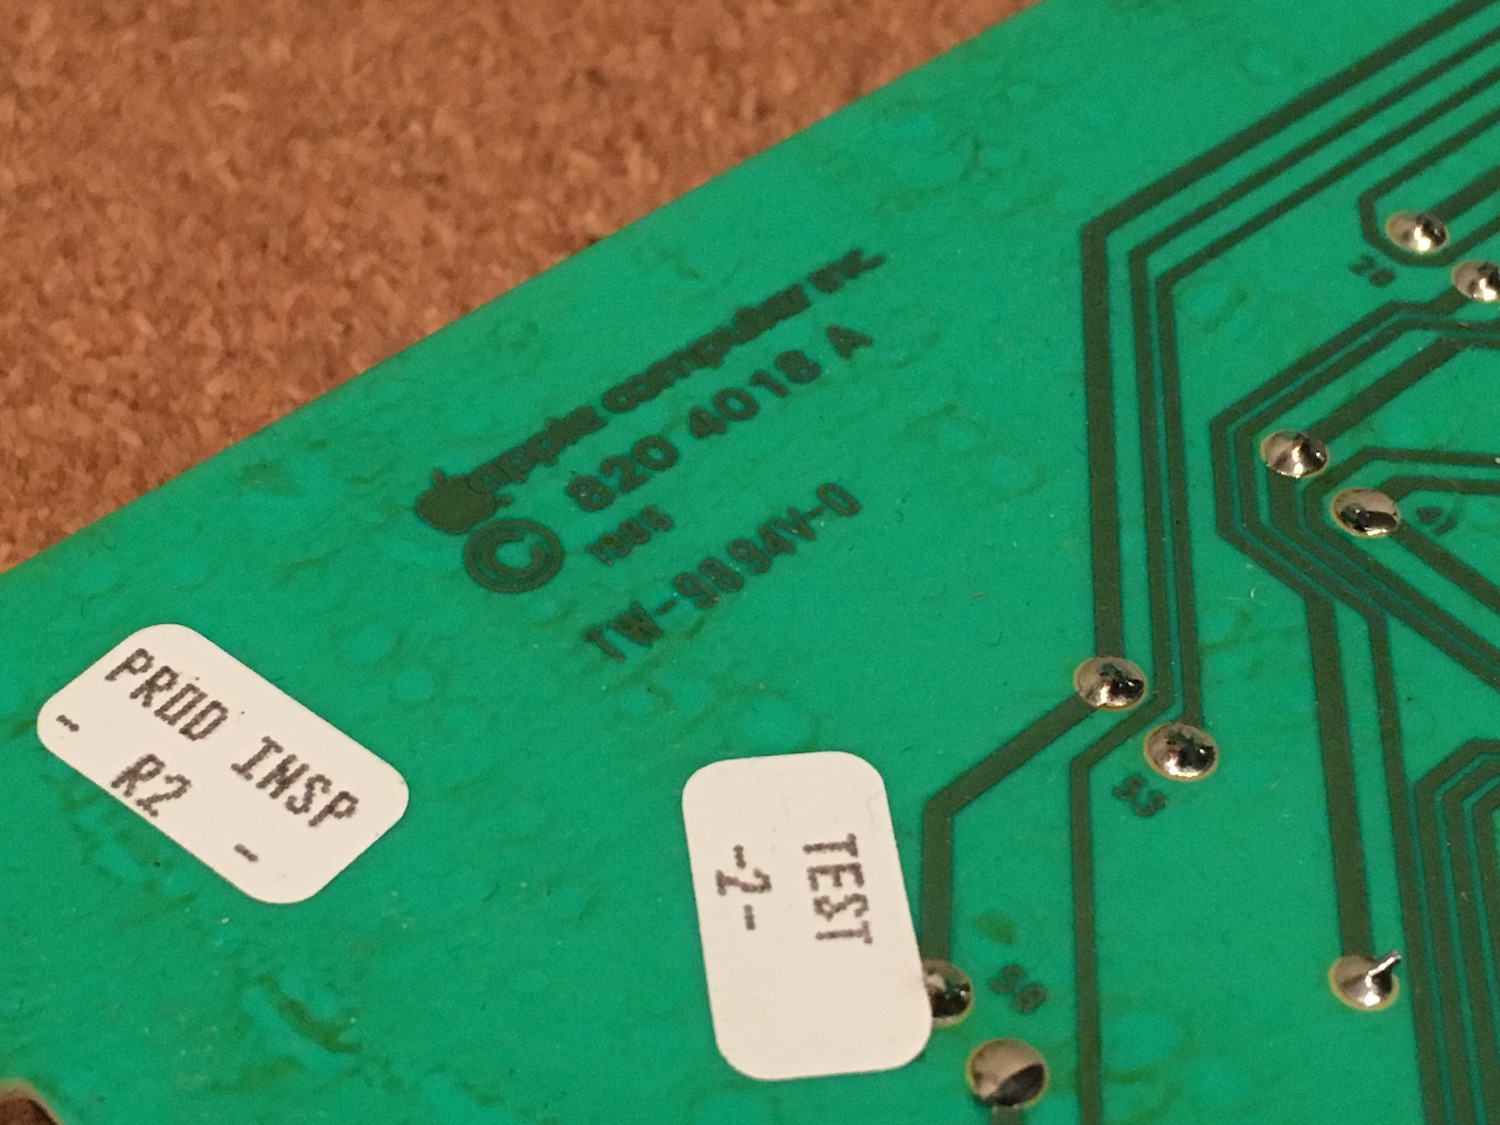
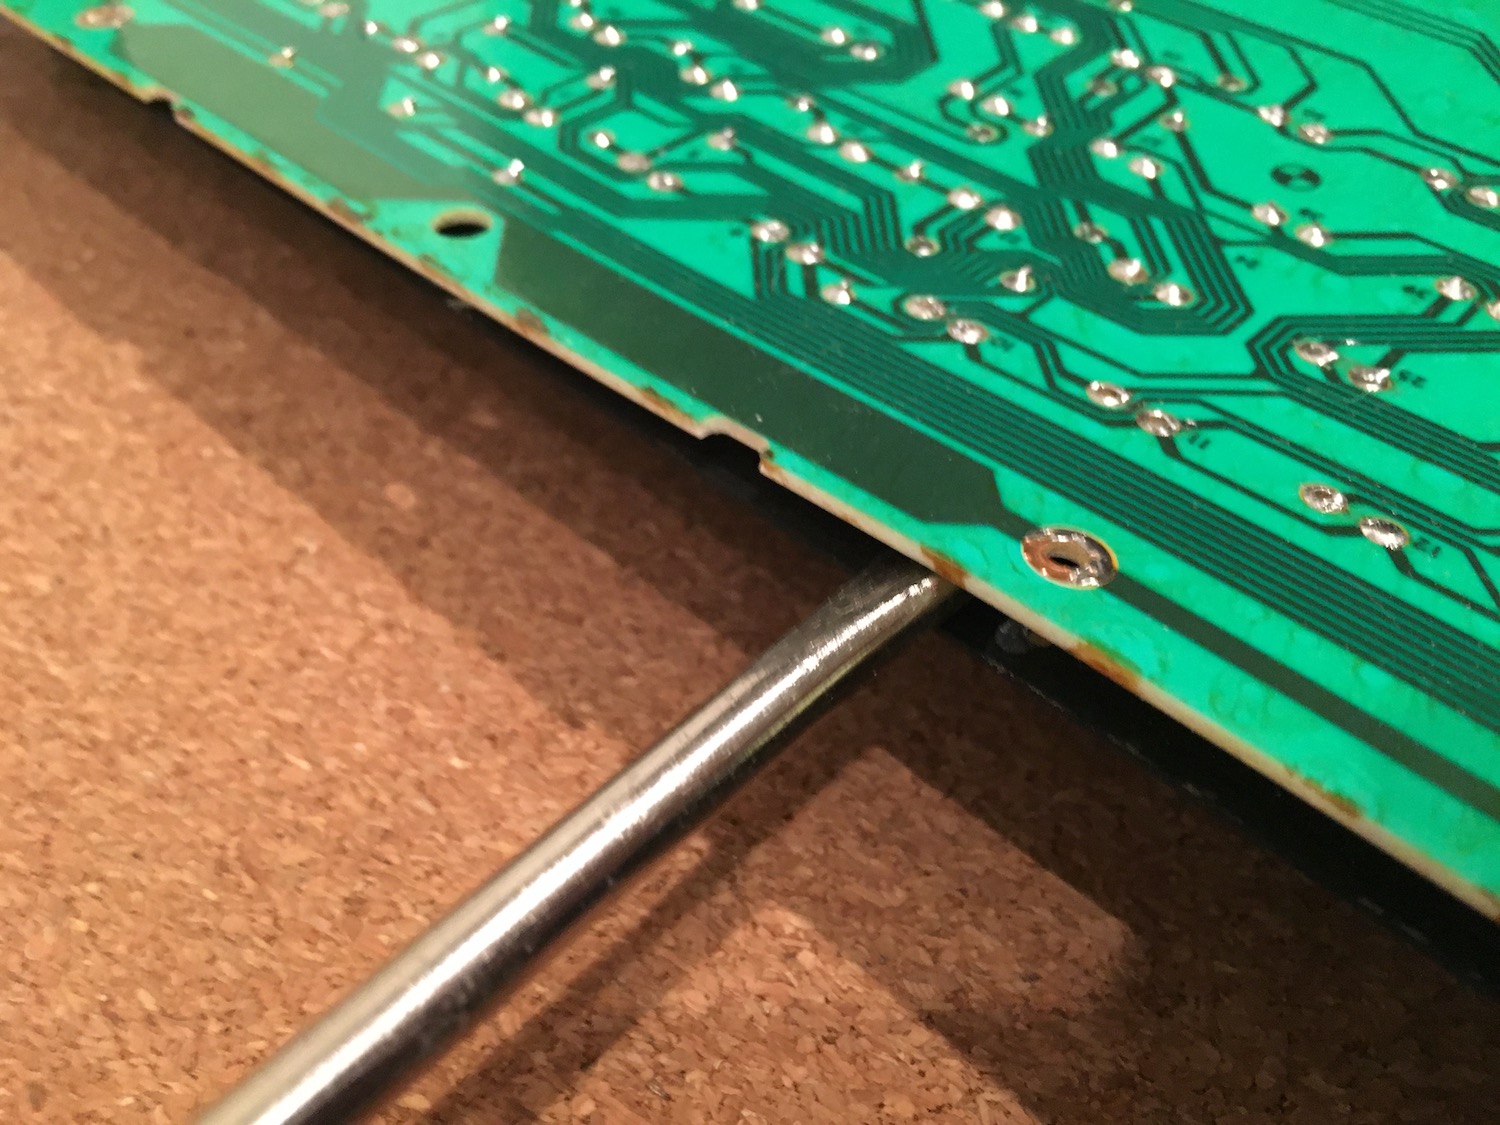
I ran the serial number of the keyboard and learned that this was the 24,277th keyboard manufactured during the 31st week of 1986. This 30 year old keyboard was before surface mount components, and if you look closely you can see that the circuit board is single-sided.
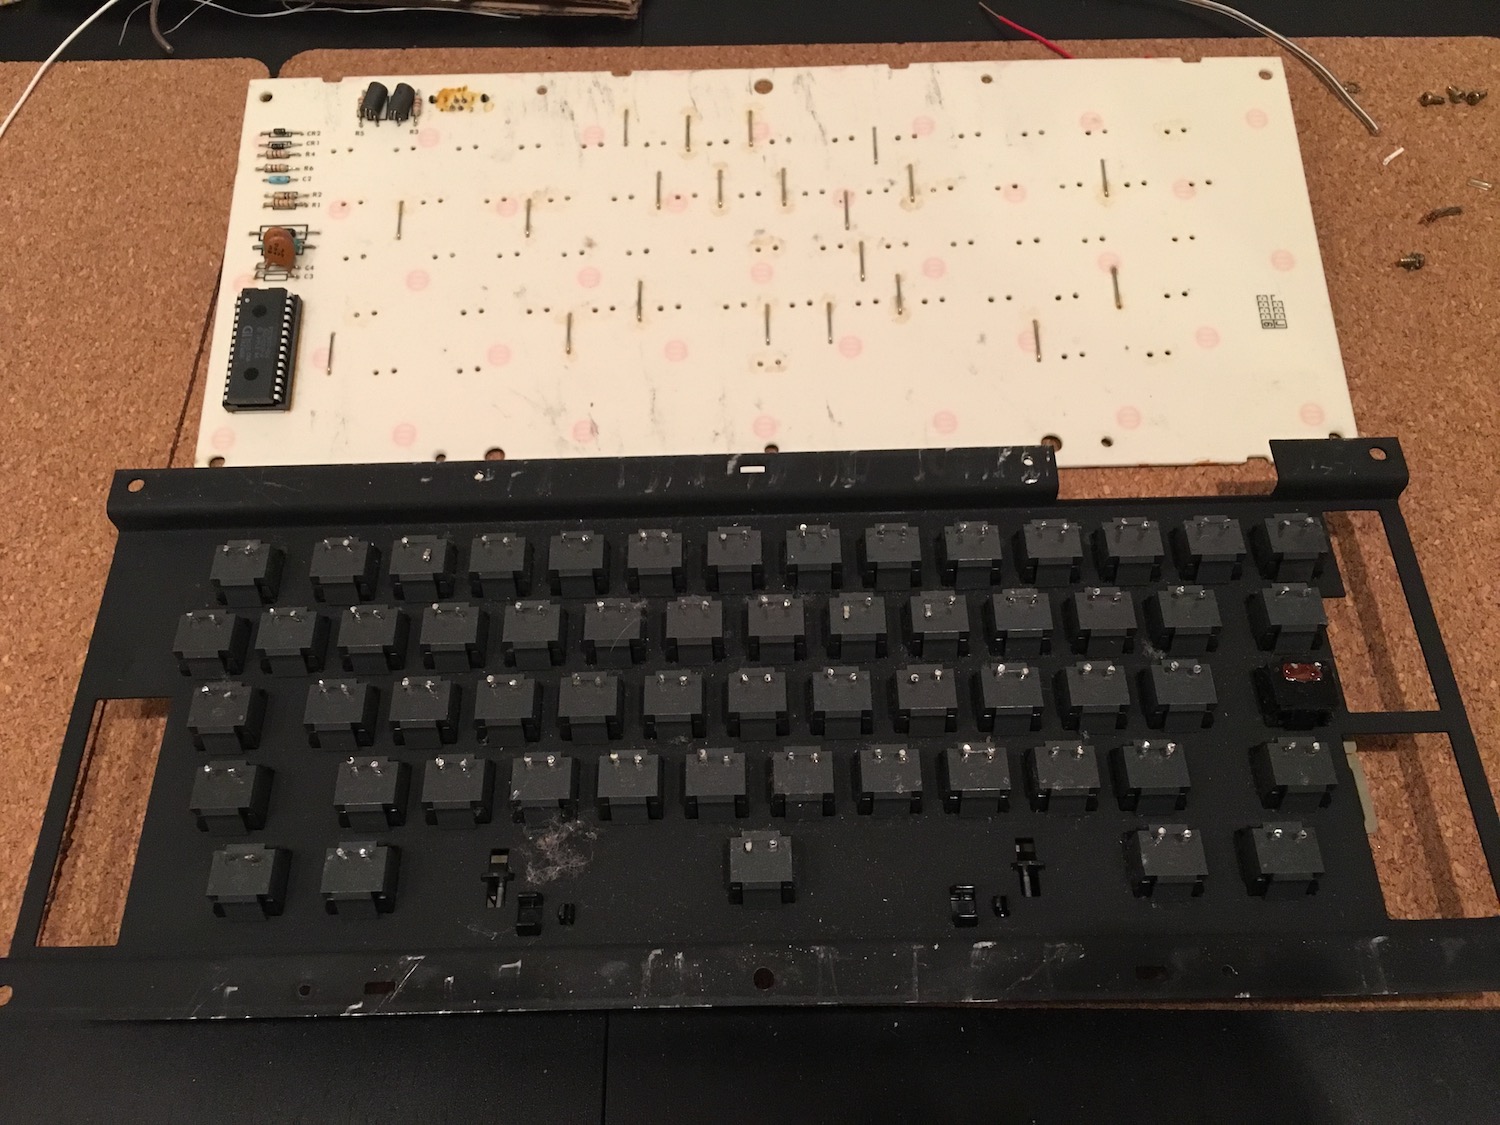
After getting the keyboard out of the case, I needed to remove the circuit board. I was excited to get started on the project, and decided to forgo ordering solder wick and instead do it all by hand. This wasn’t the best decision, but I was still able to get the board off without spending too much time on it. I removed the keycaps and got started. I used a screw driver to apply a little pressure between the layers as the solder melted.
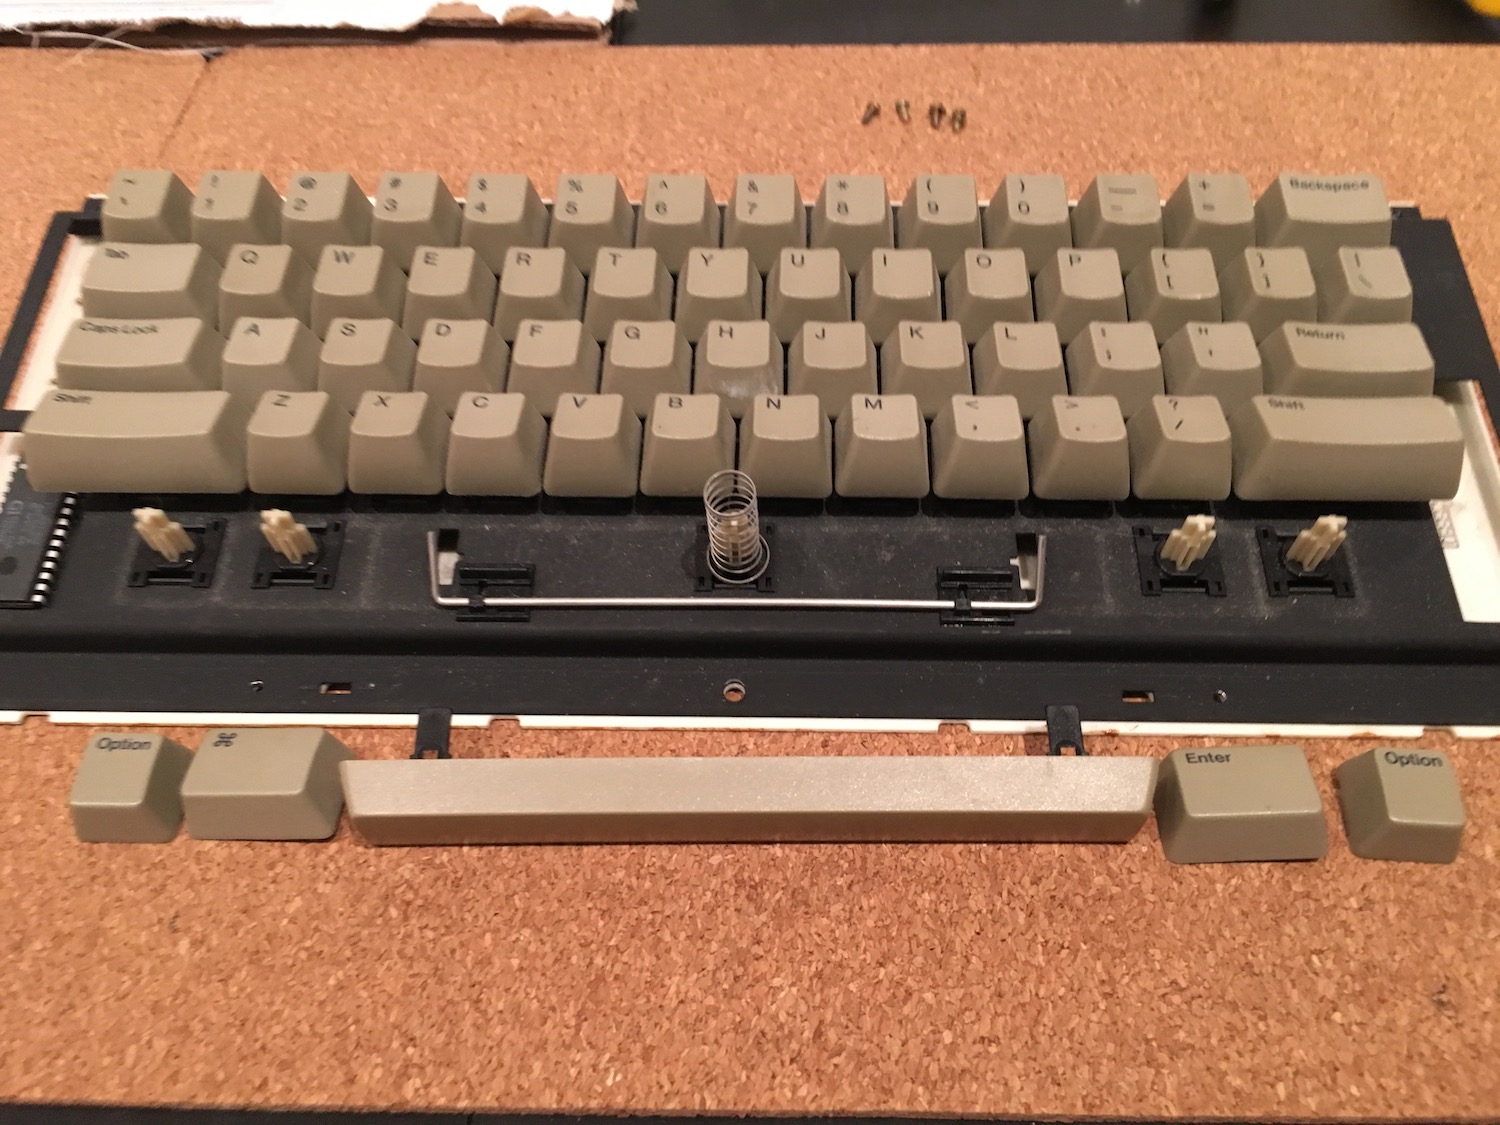
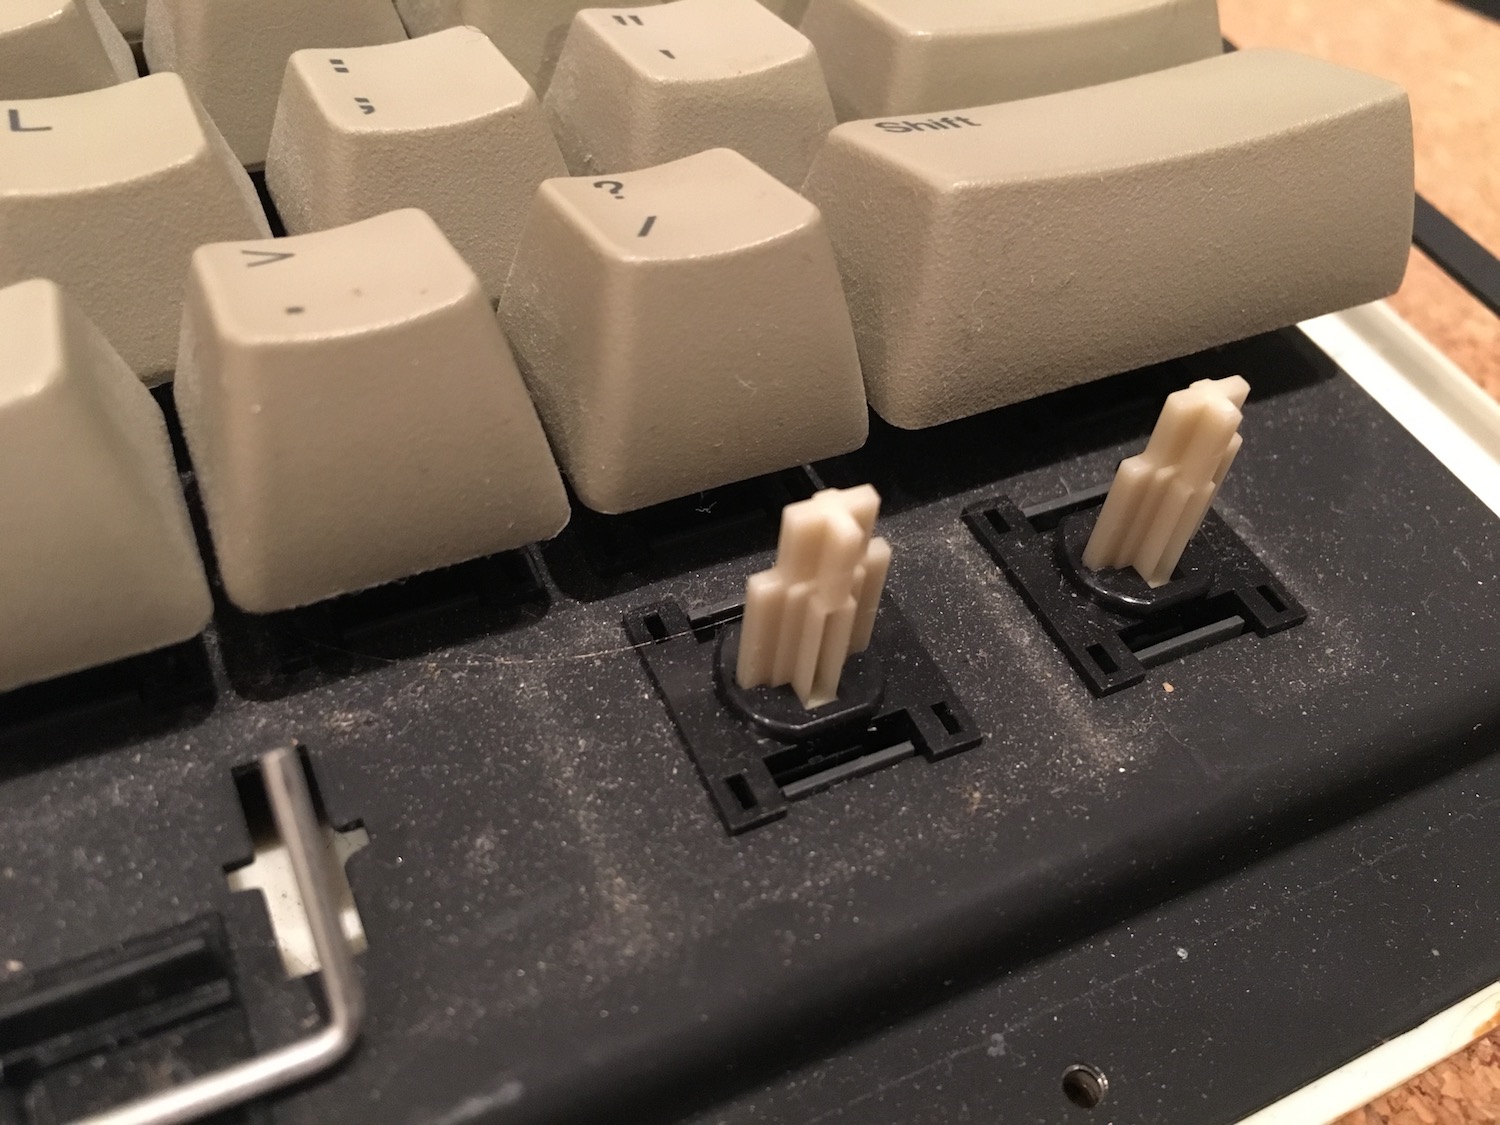
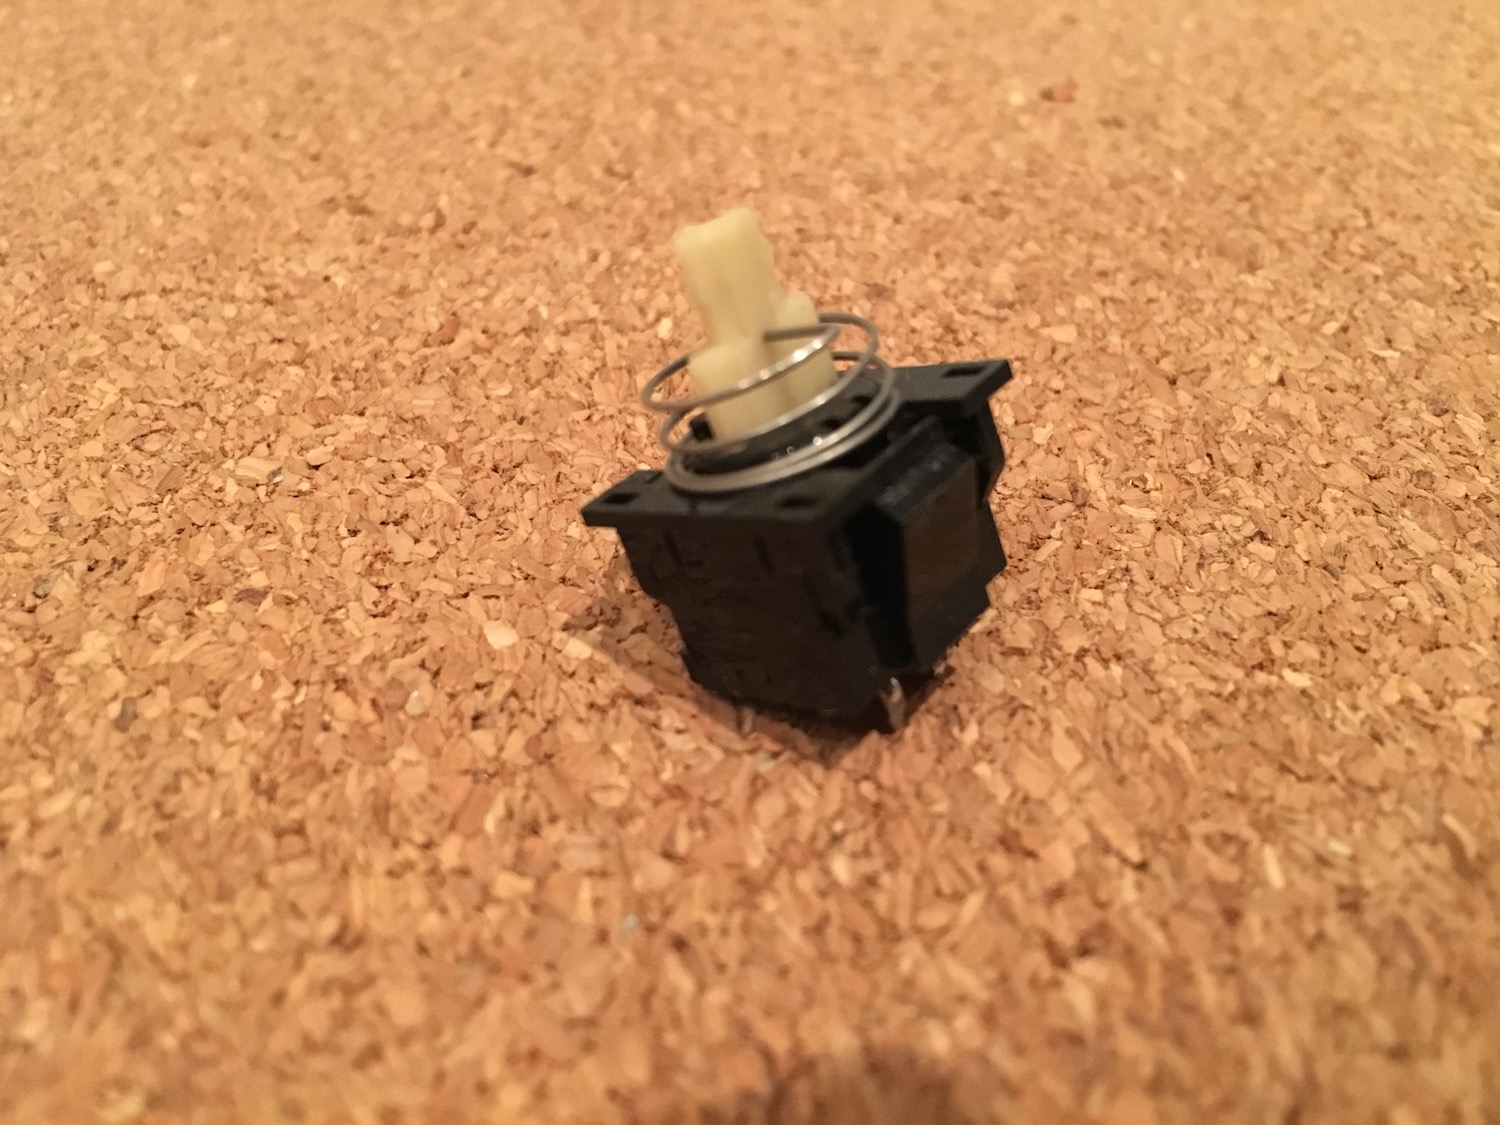
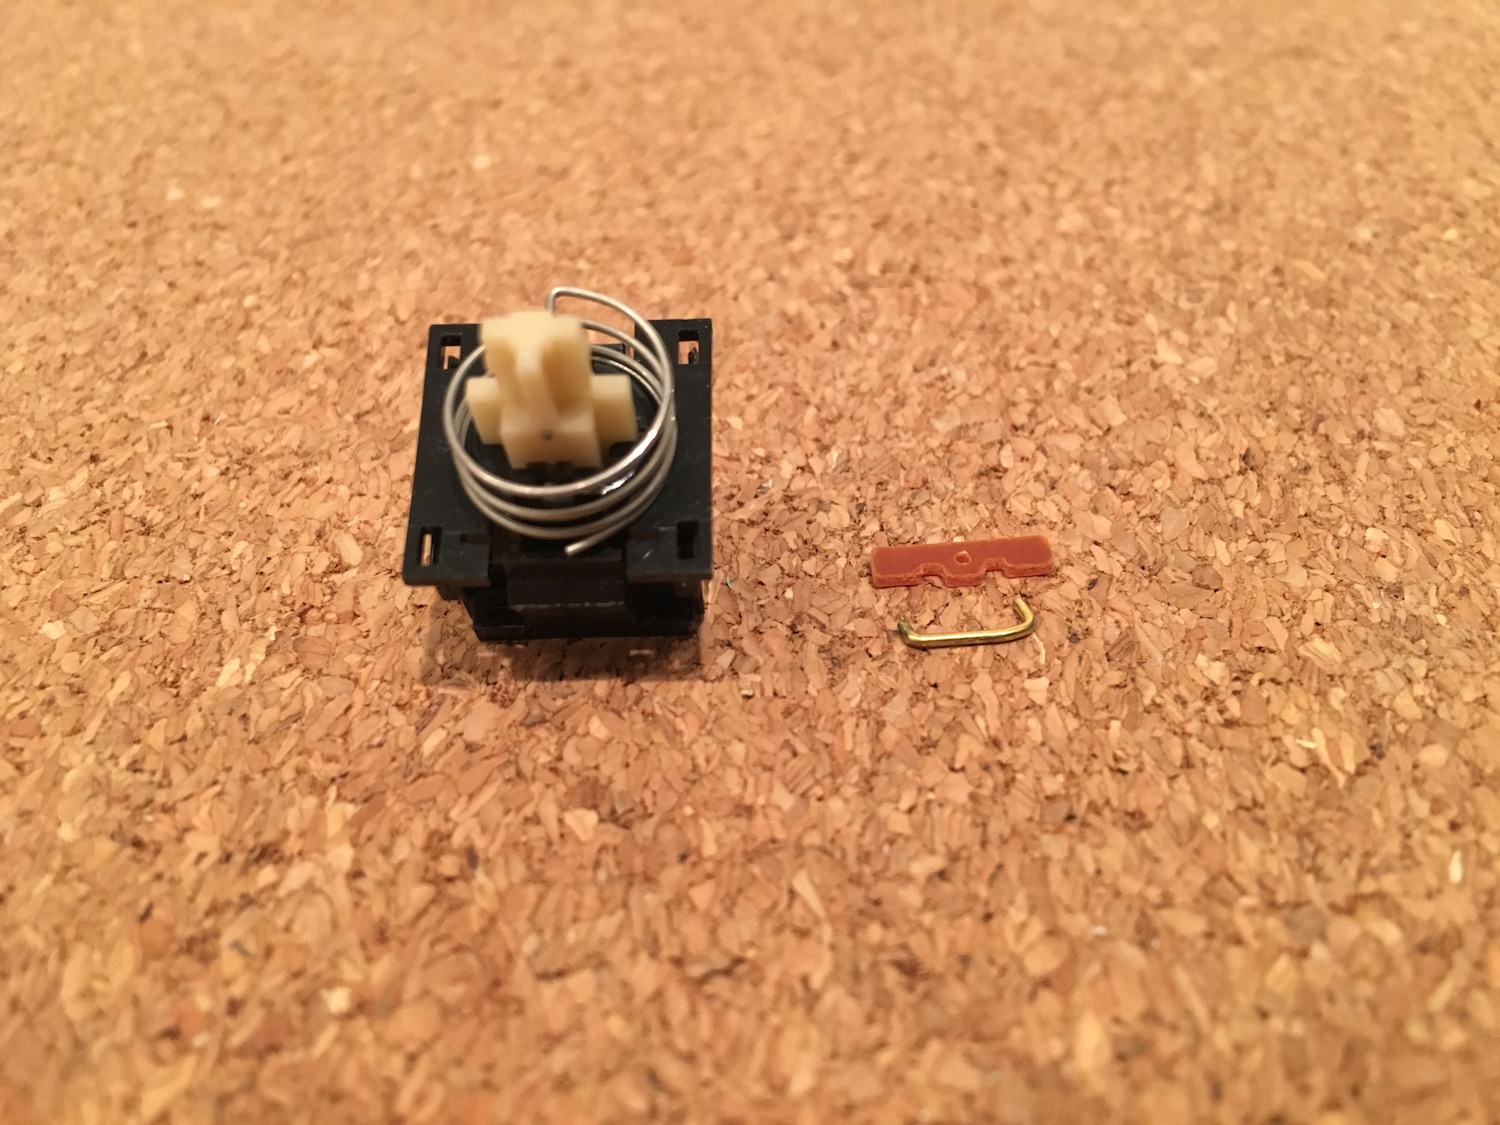
The original caps lock key was a physical switch. It would lock down and when pressed again the key would come back up. To get the layout to work properly, I needed the caps lock key to act as control and come back up when you stopped pressing it. I had to disassemble the original key and remove the locking mechanism.

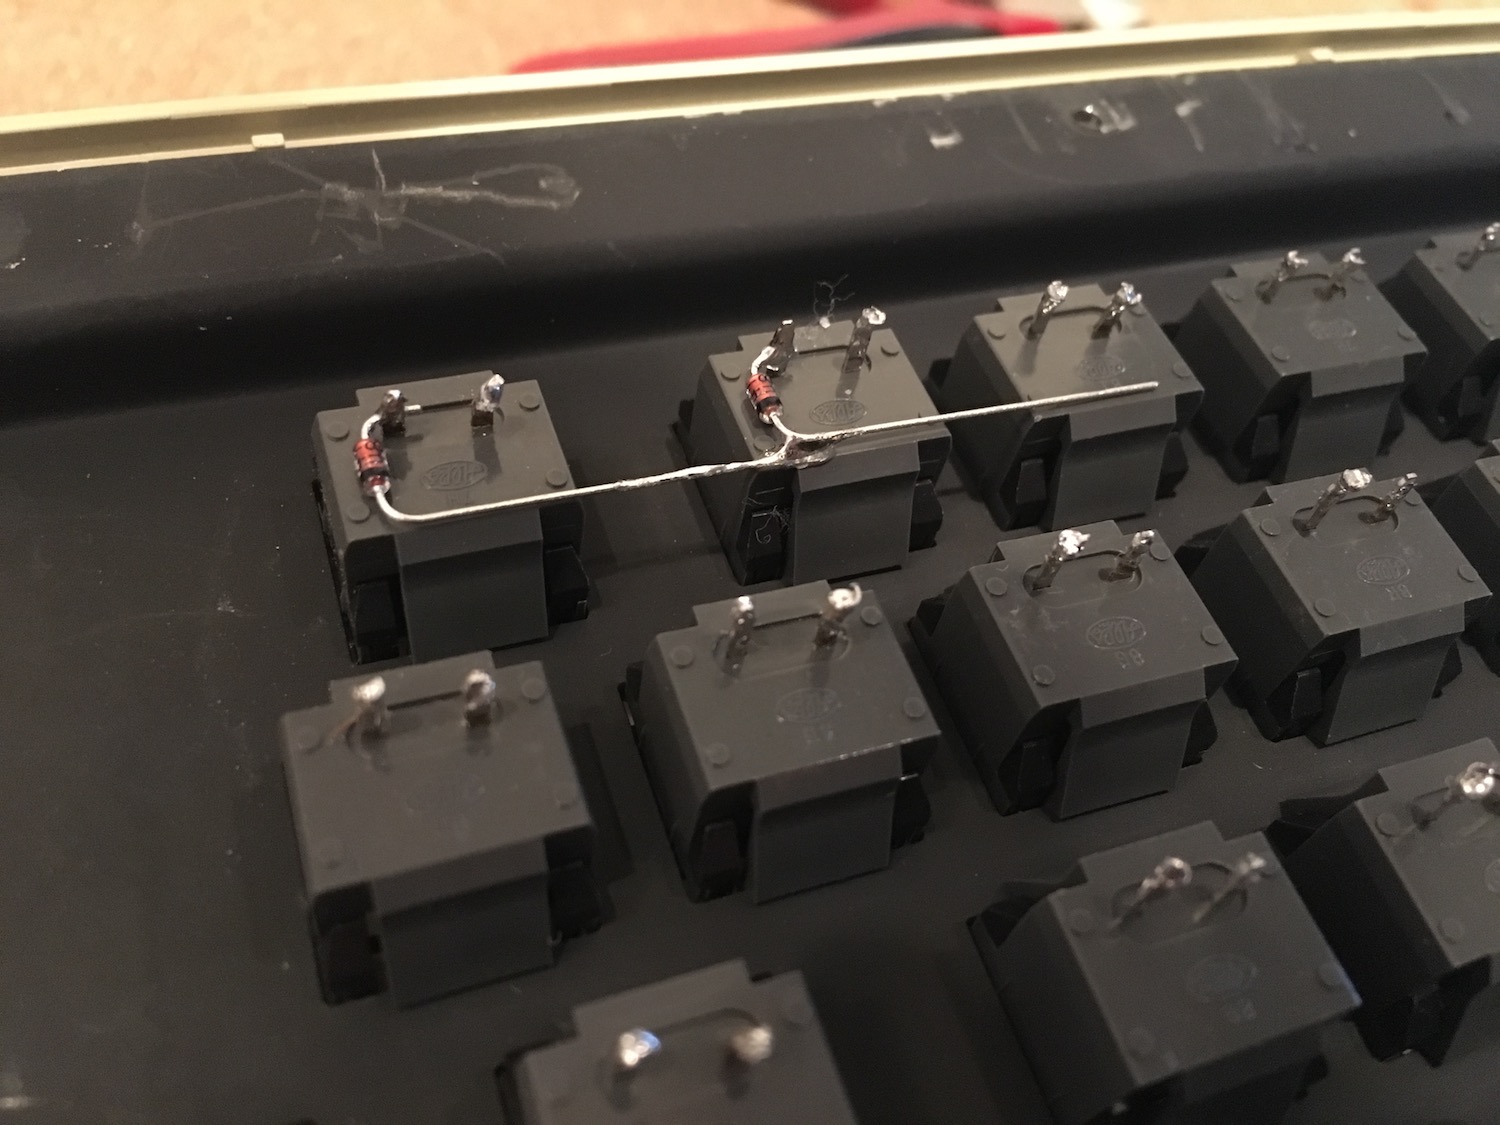
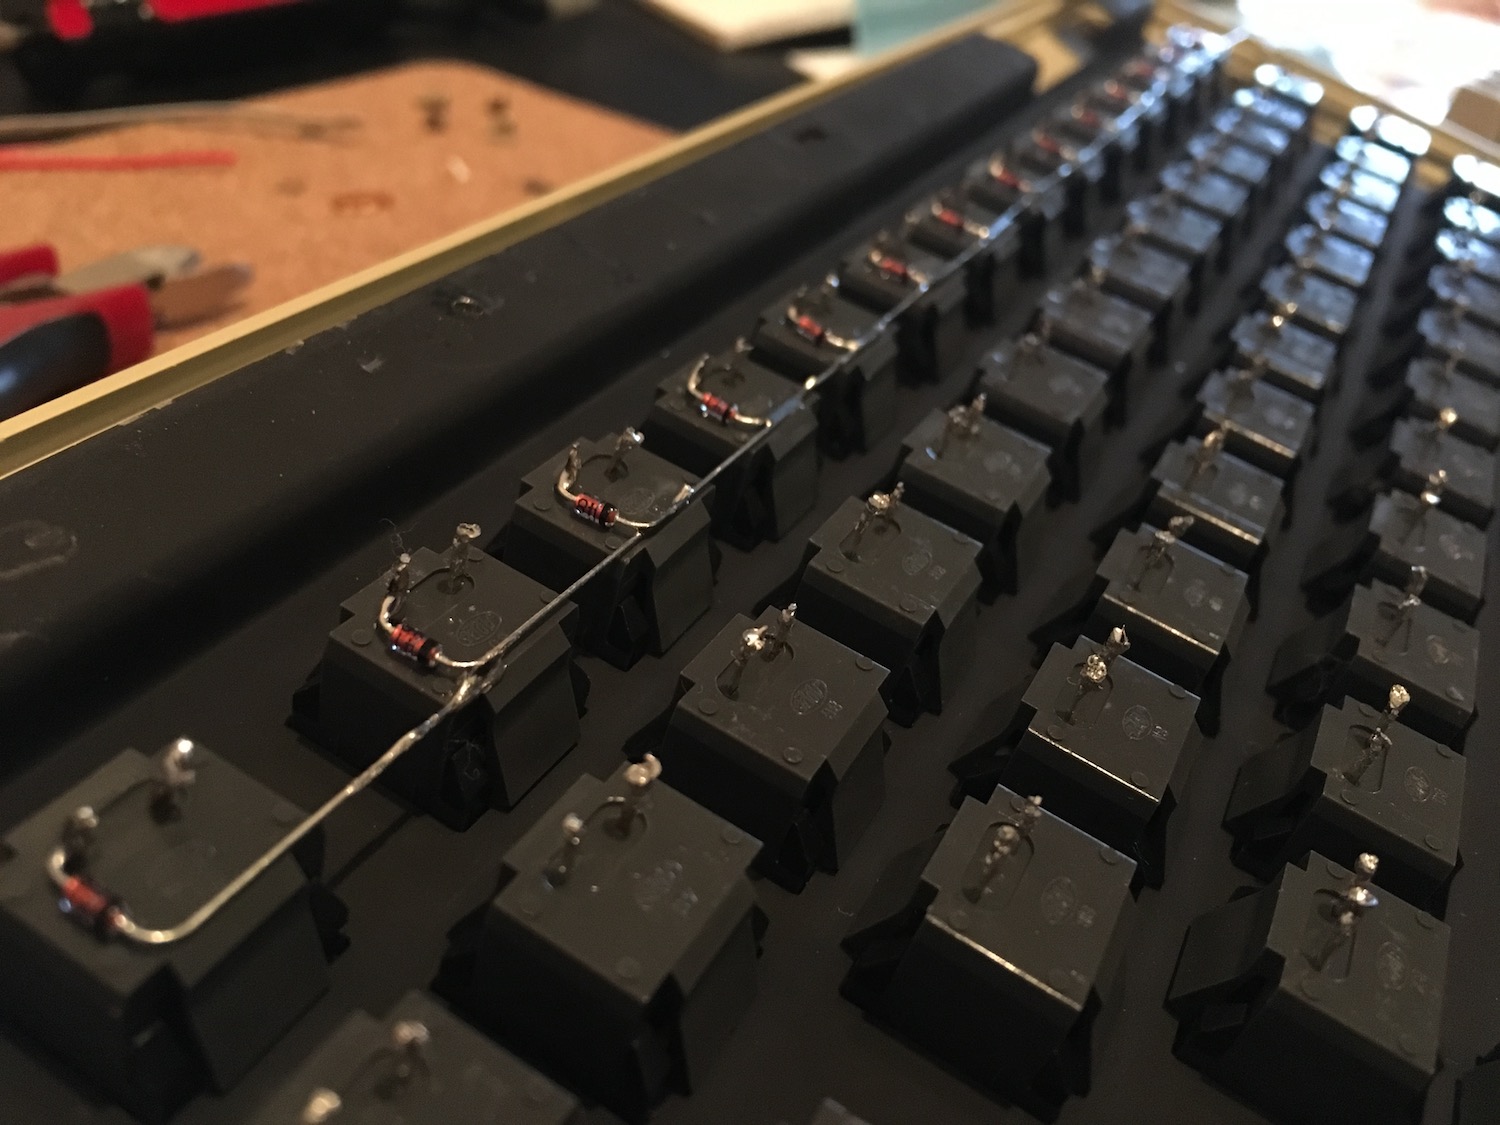
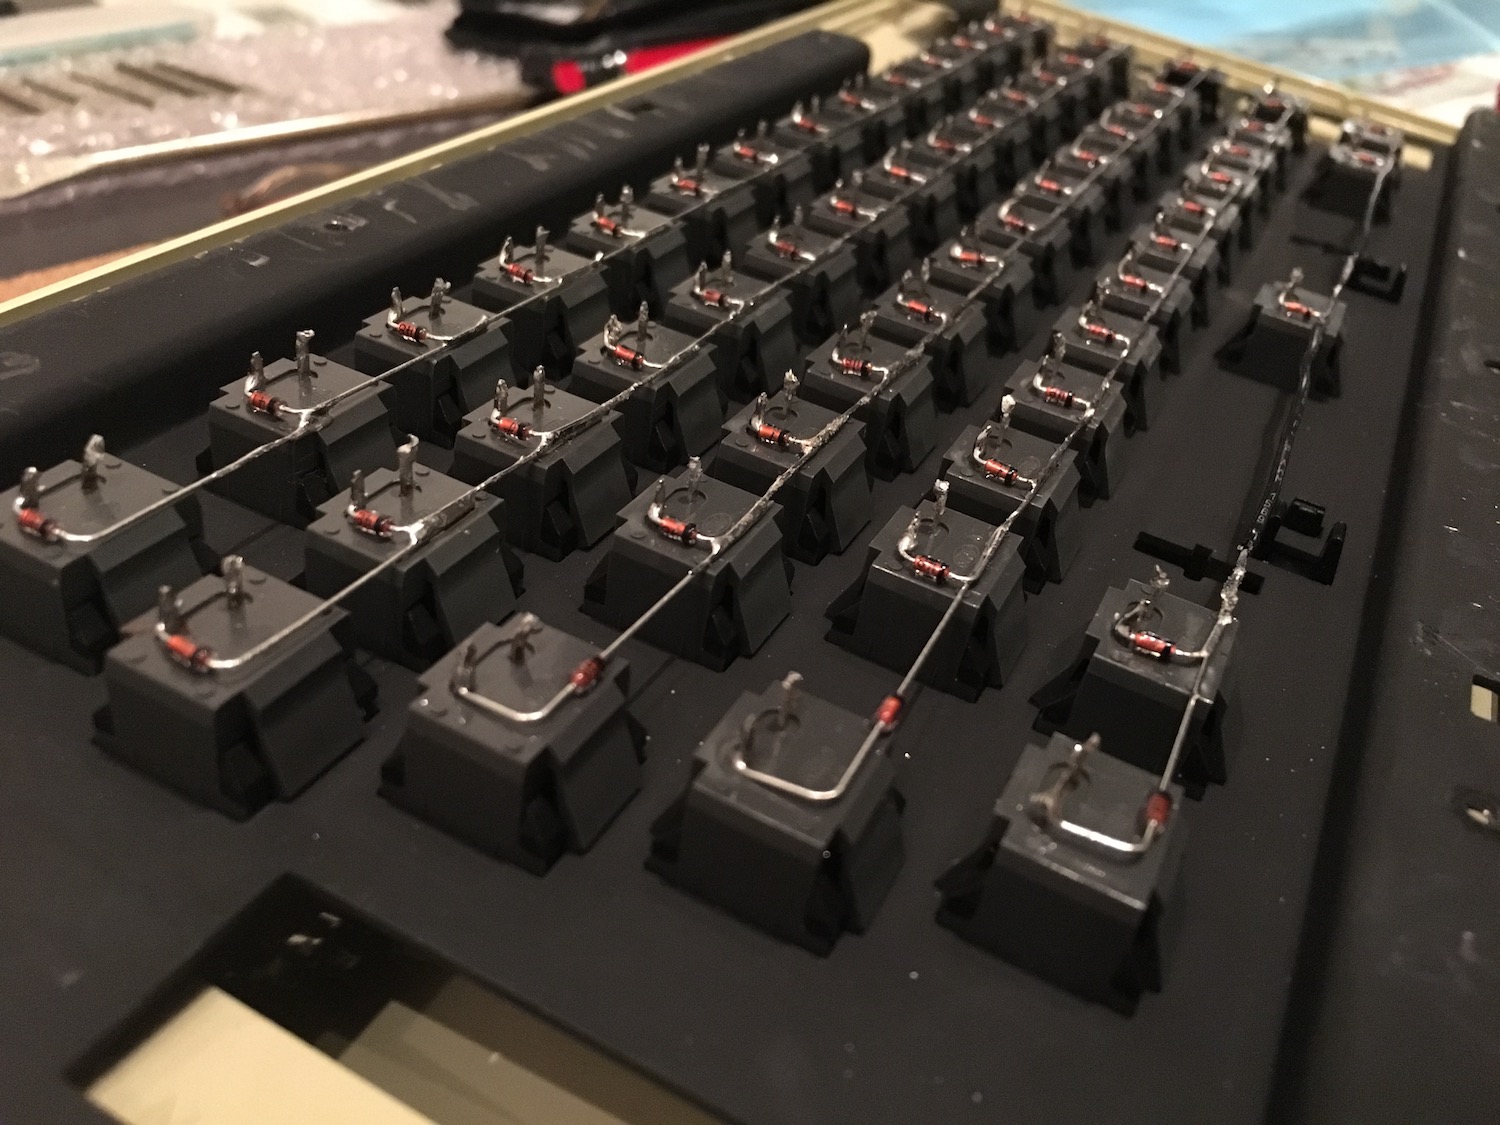
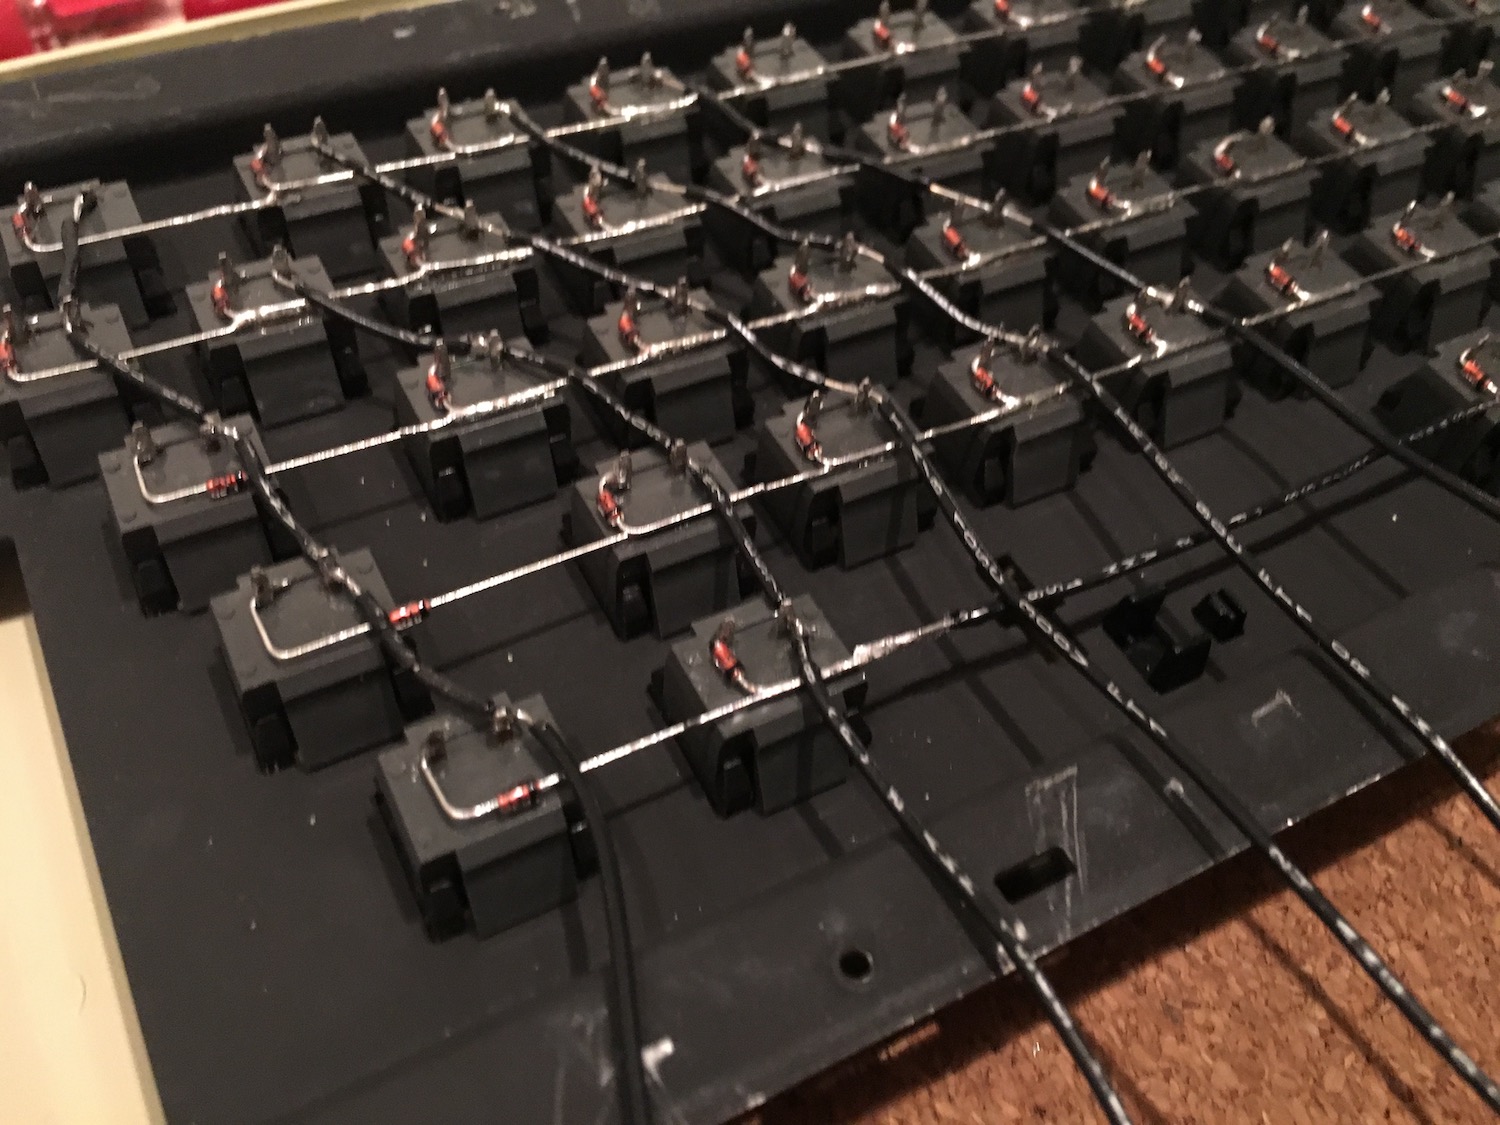
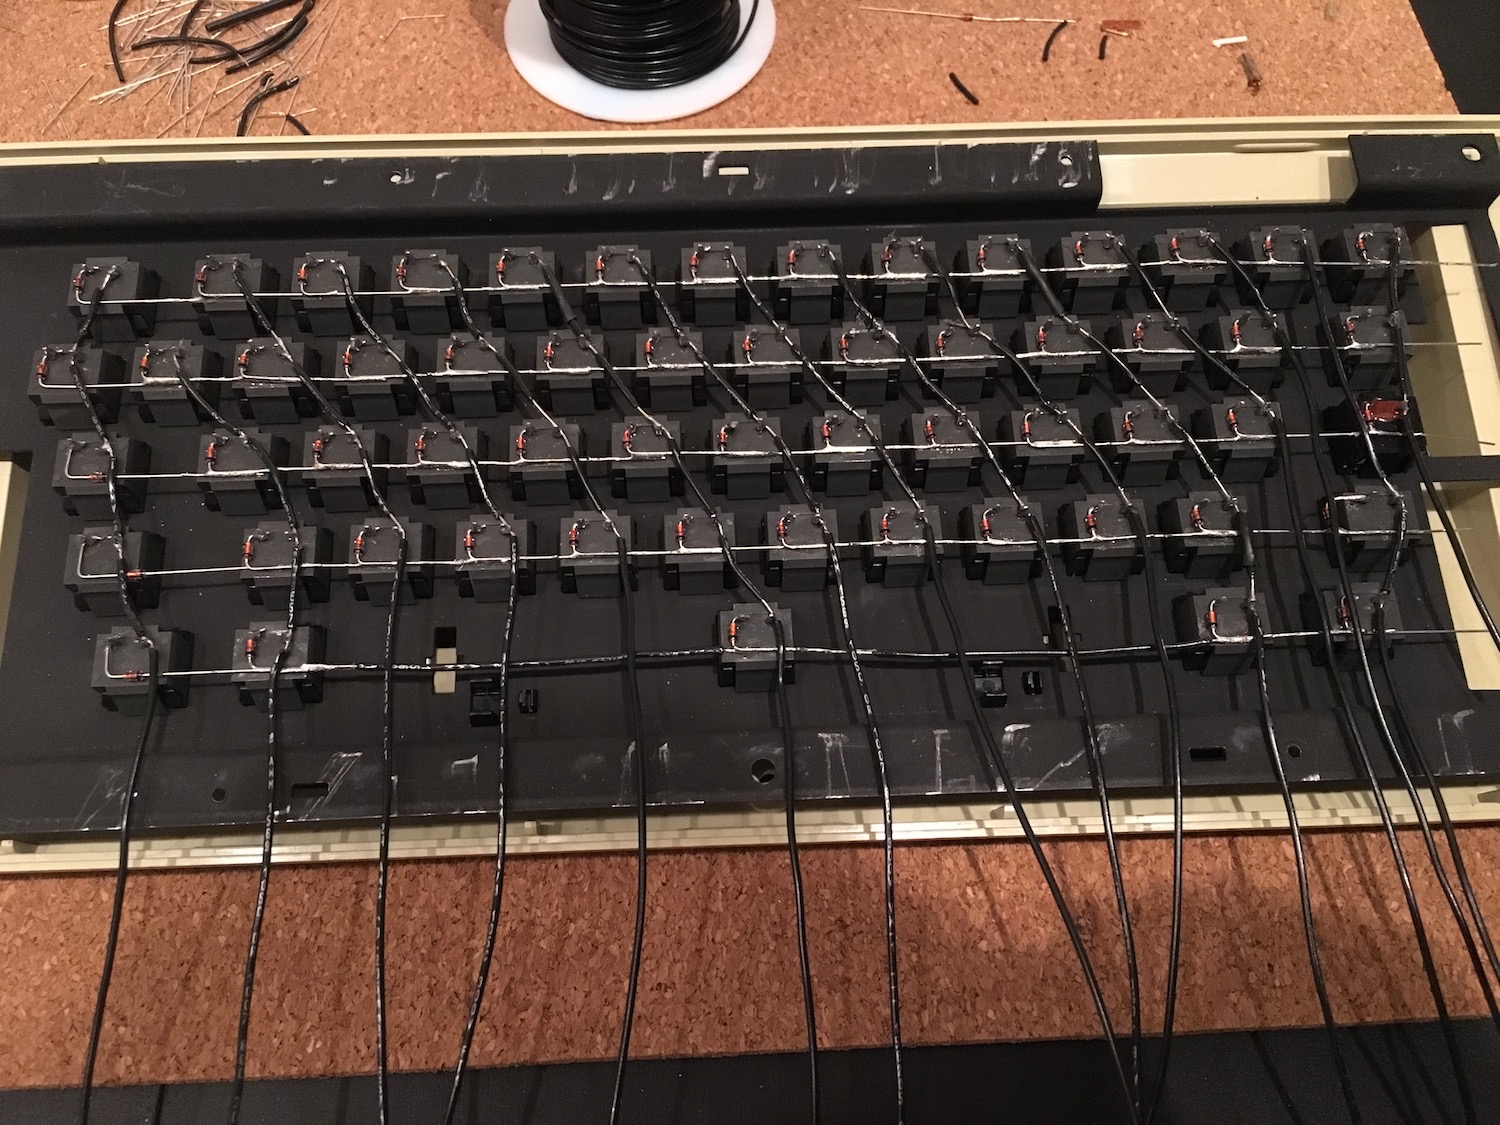
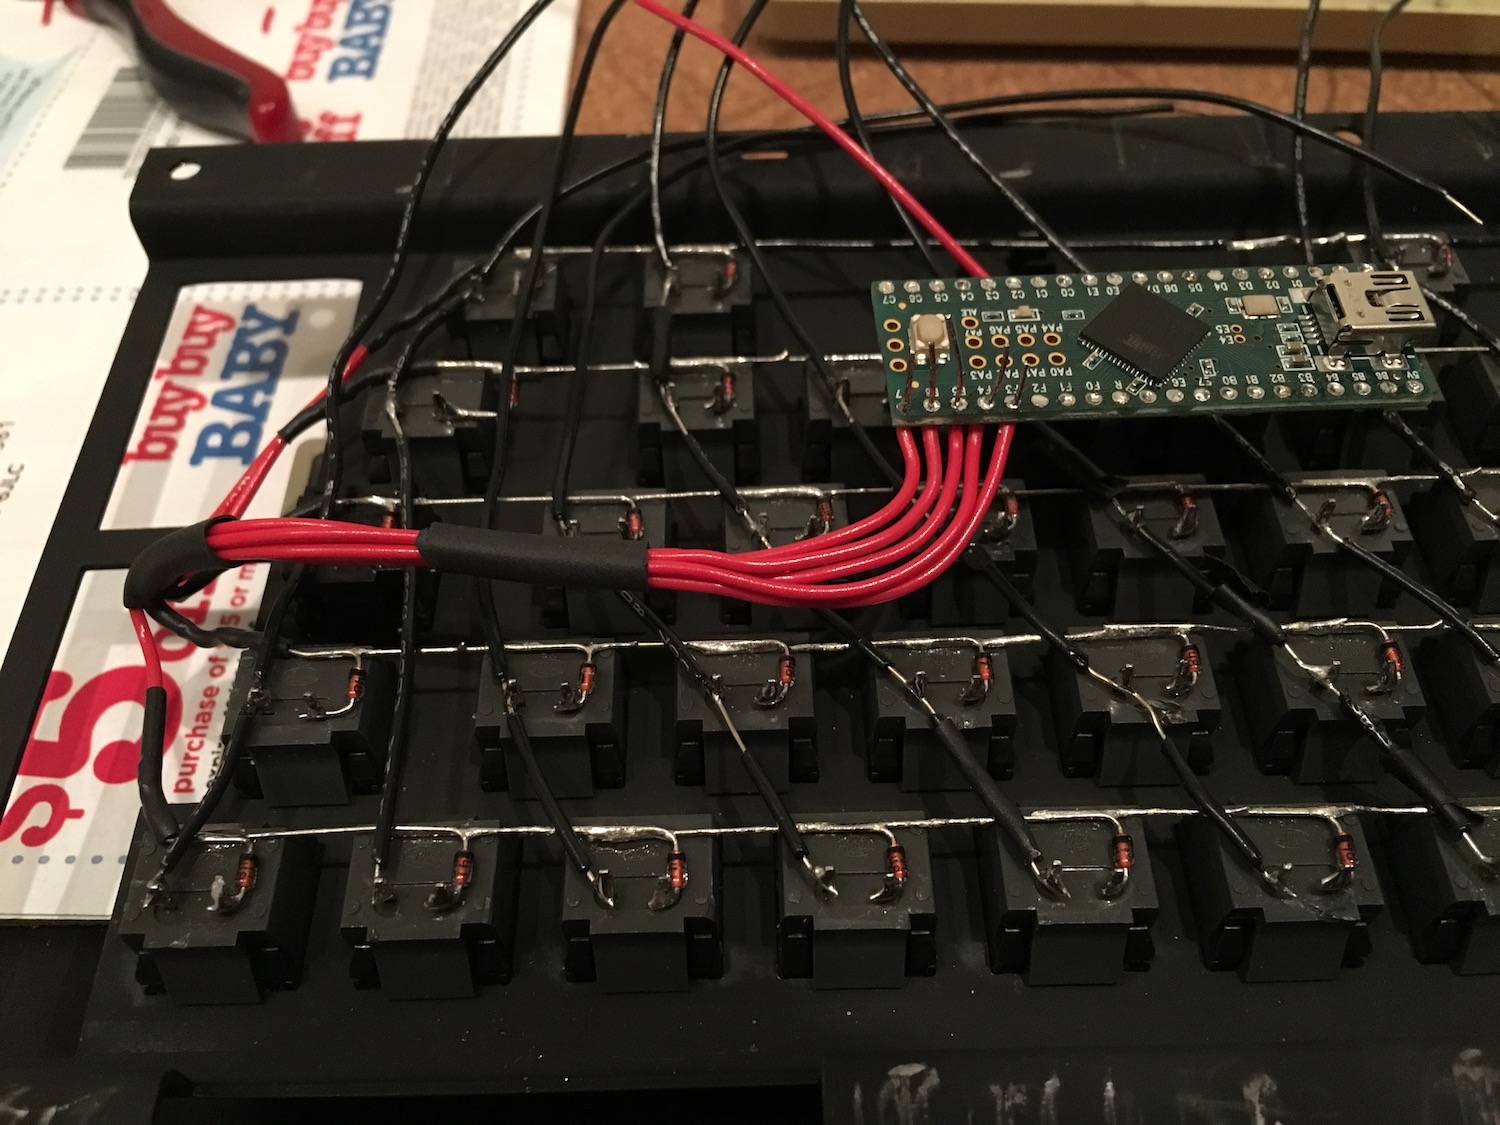
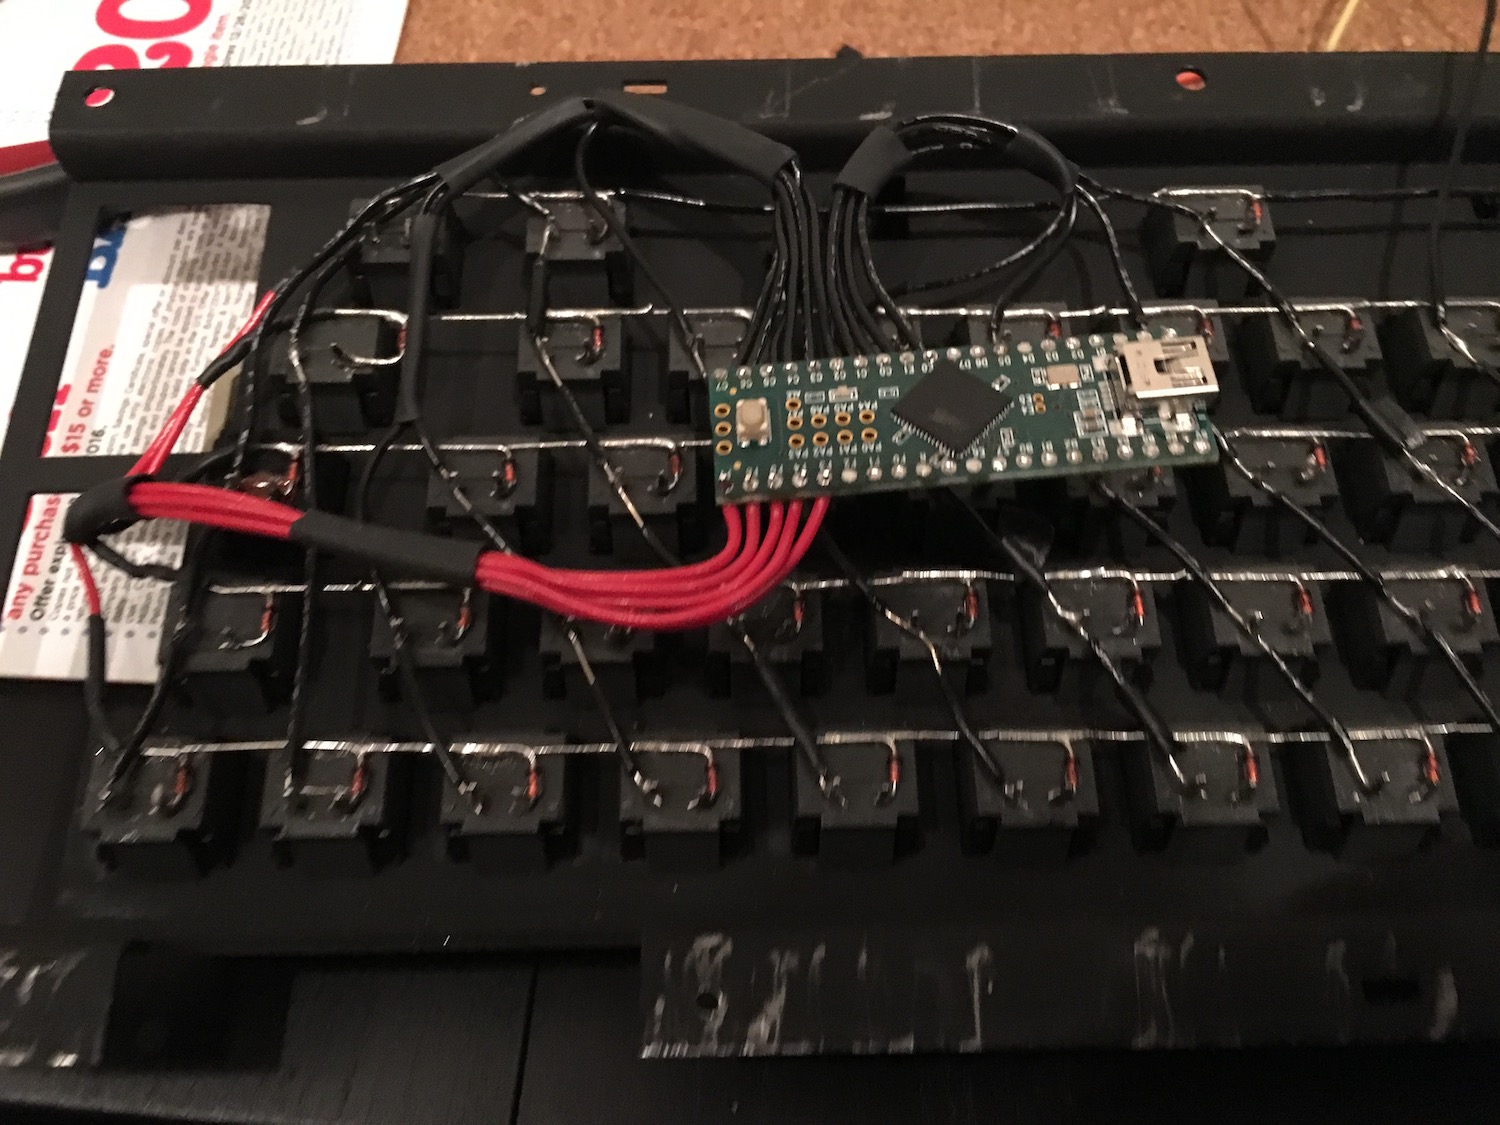
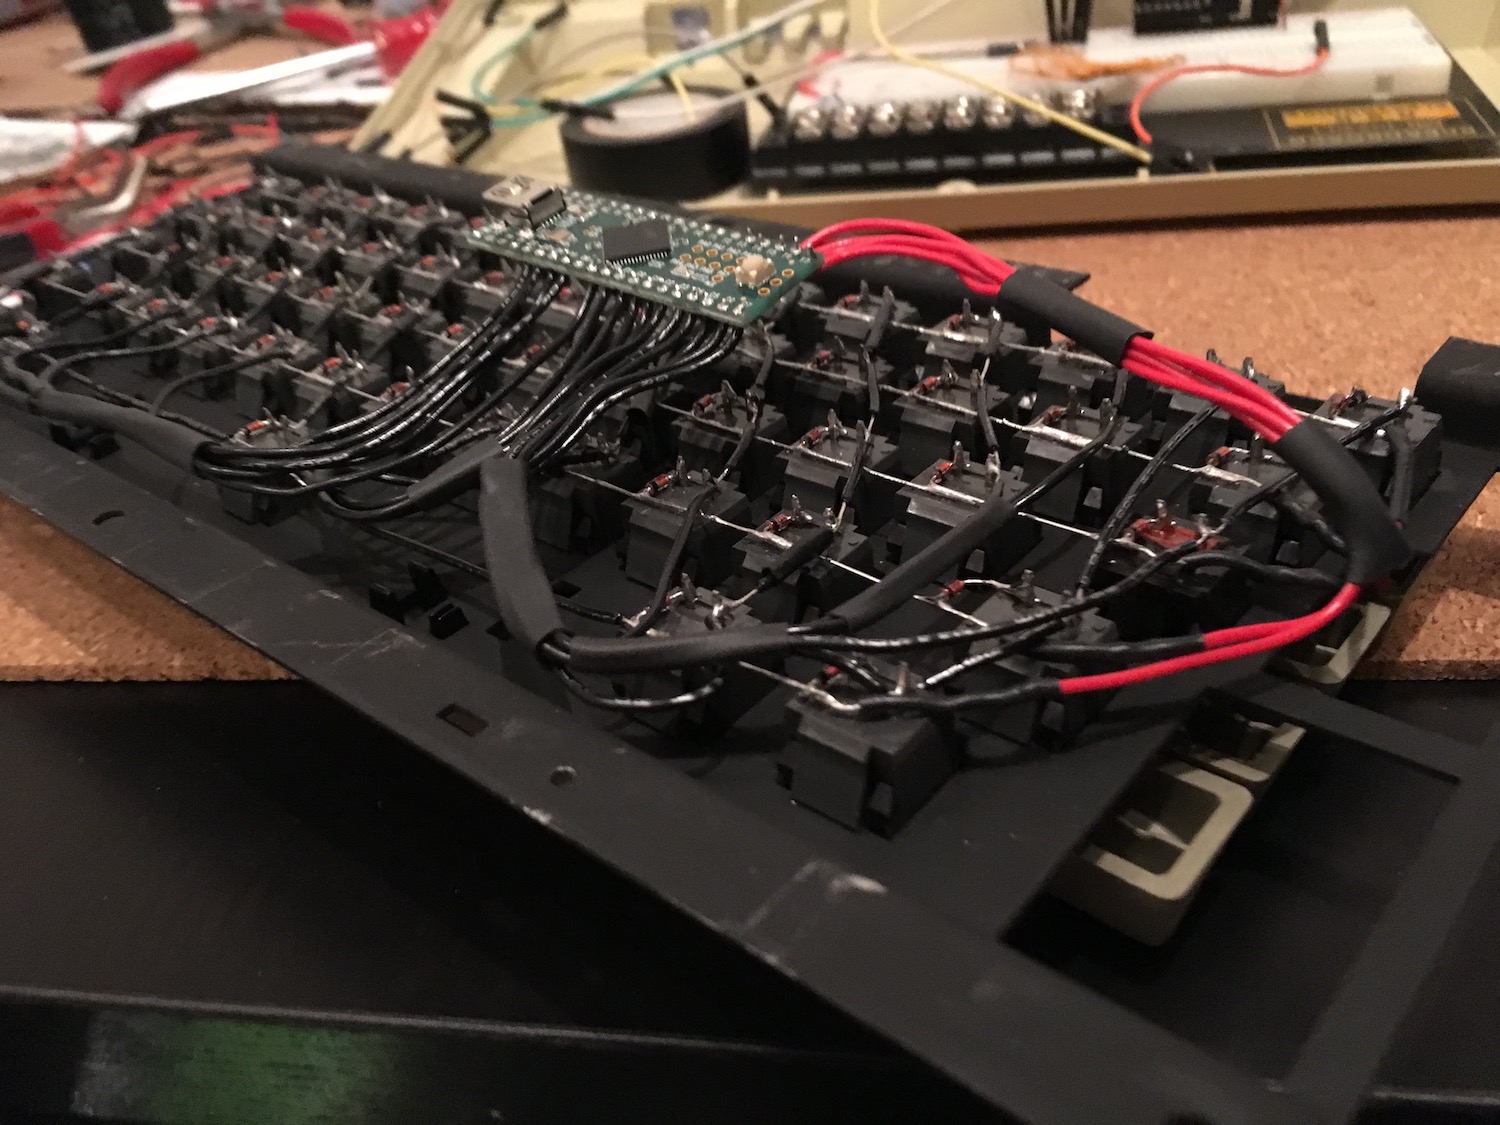
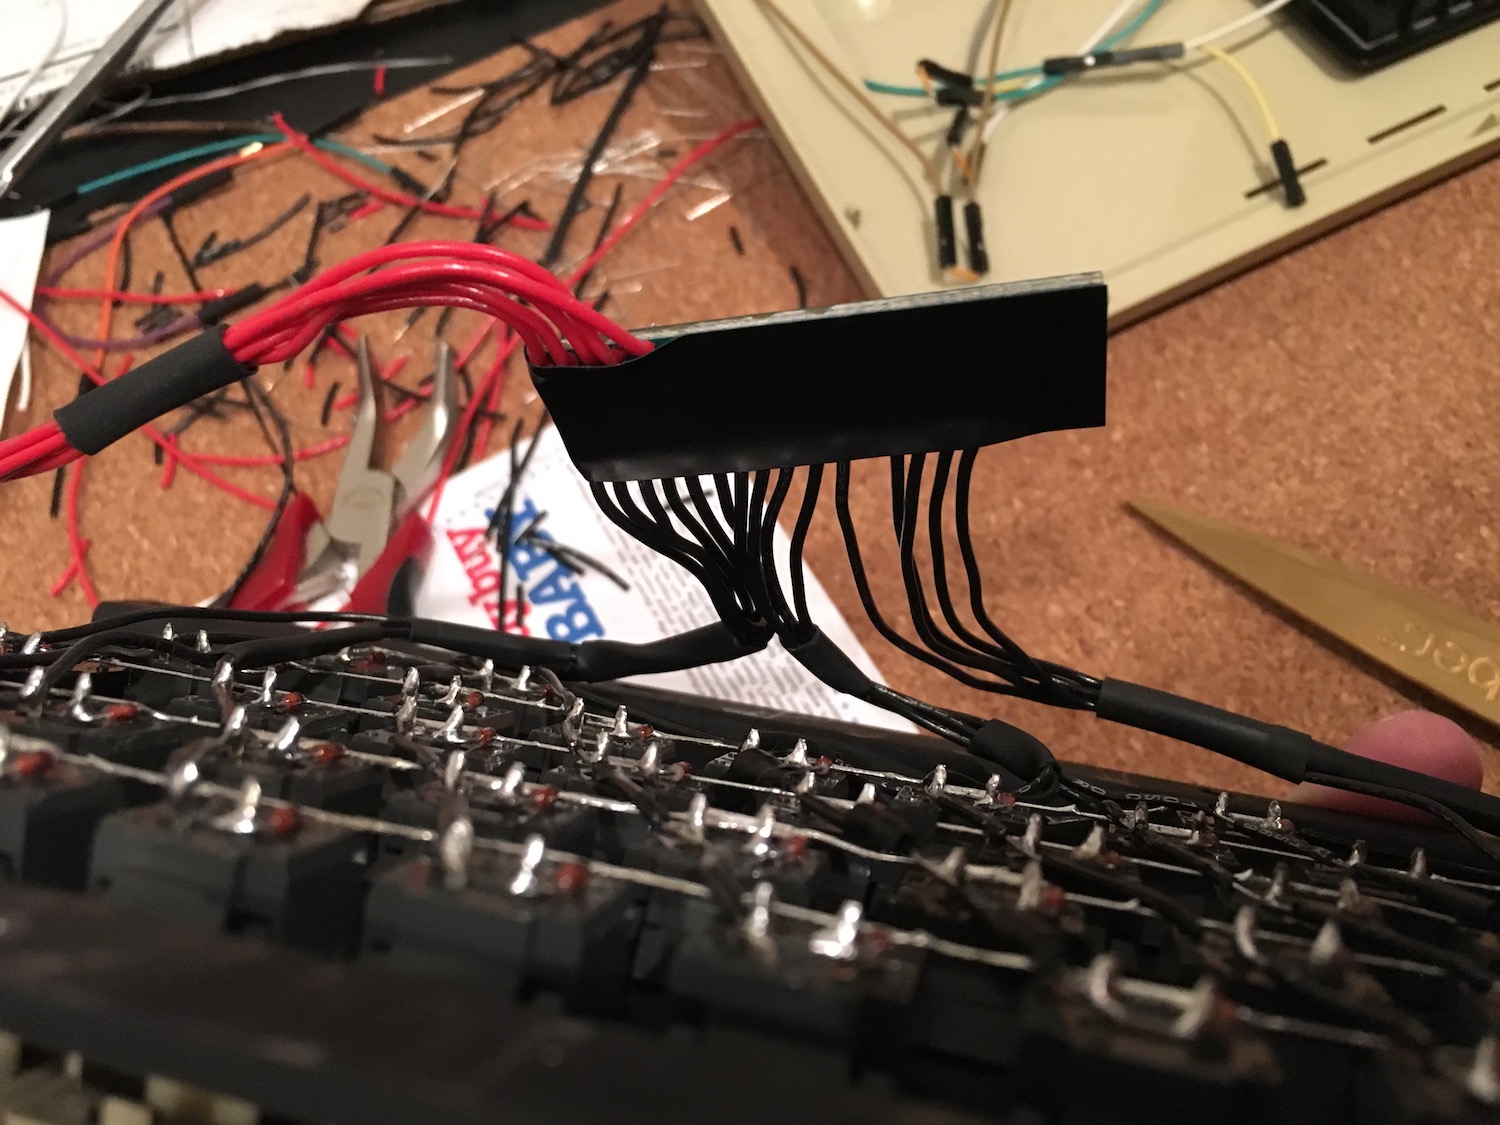
Next I wired all the keys into their new lattice, and verified everything with the teensy 2.0++
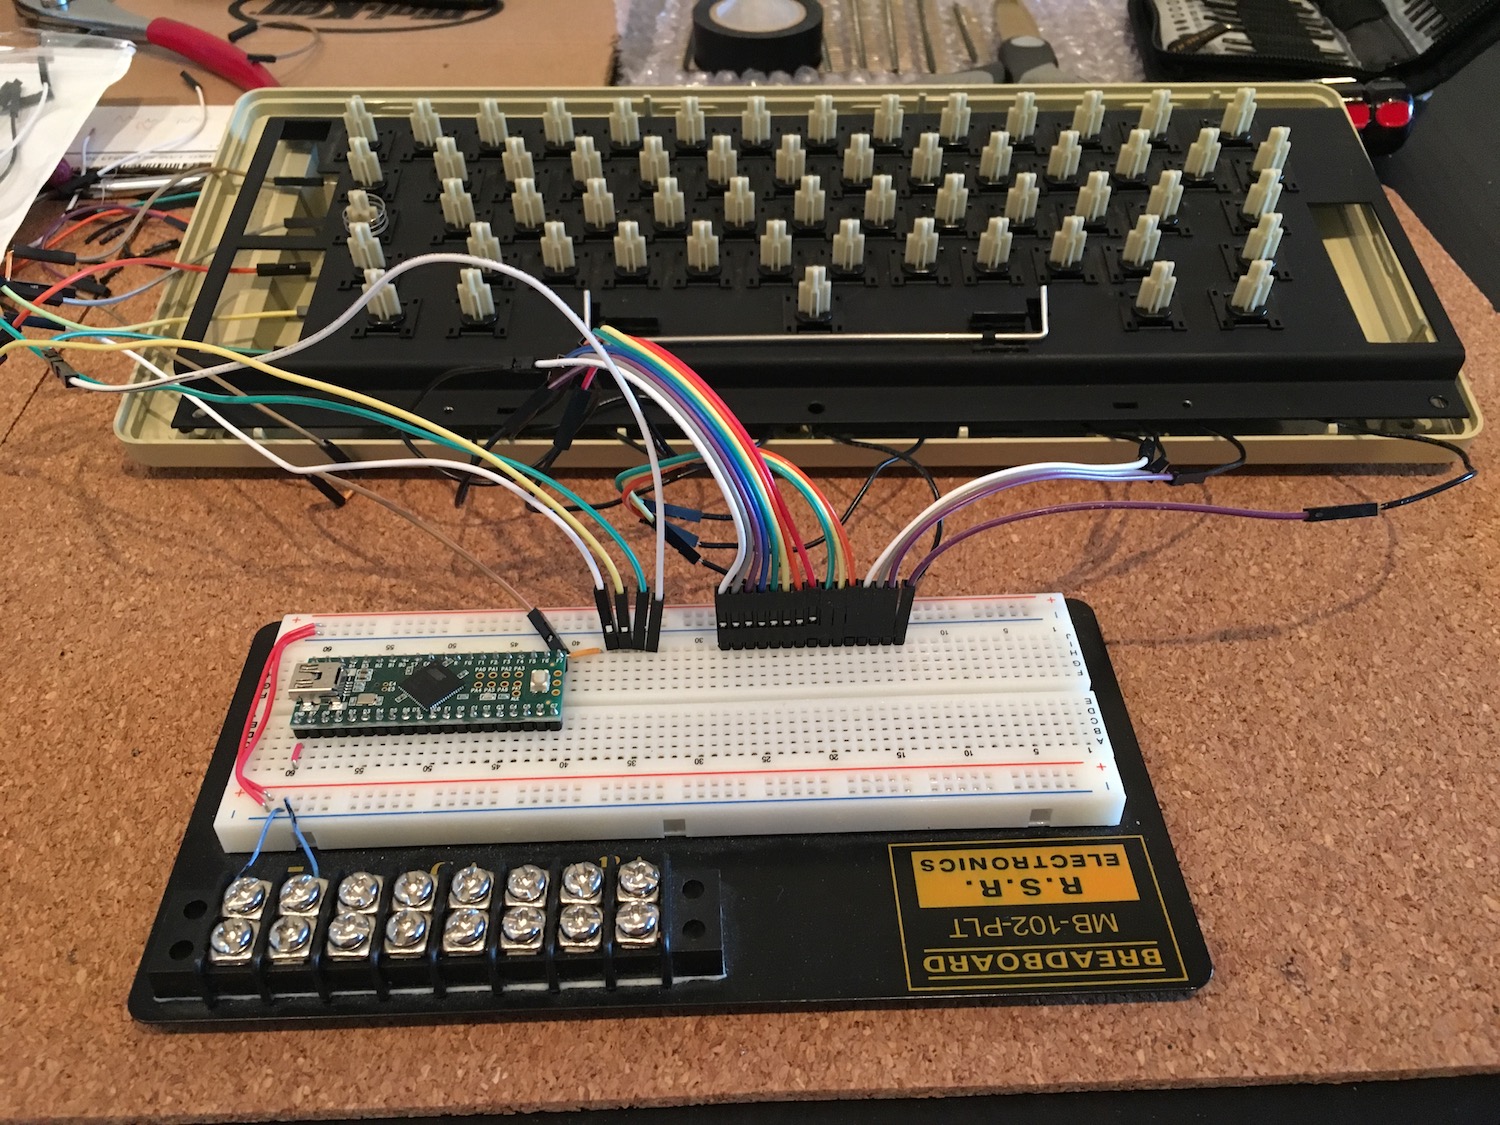
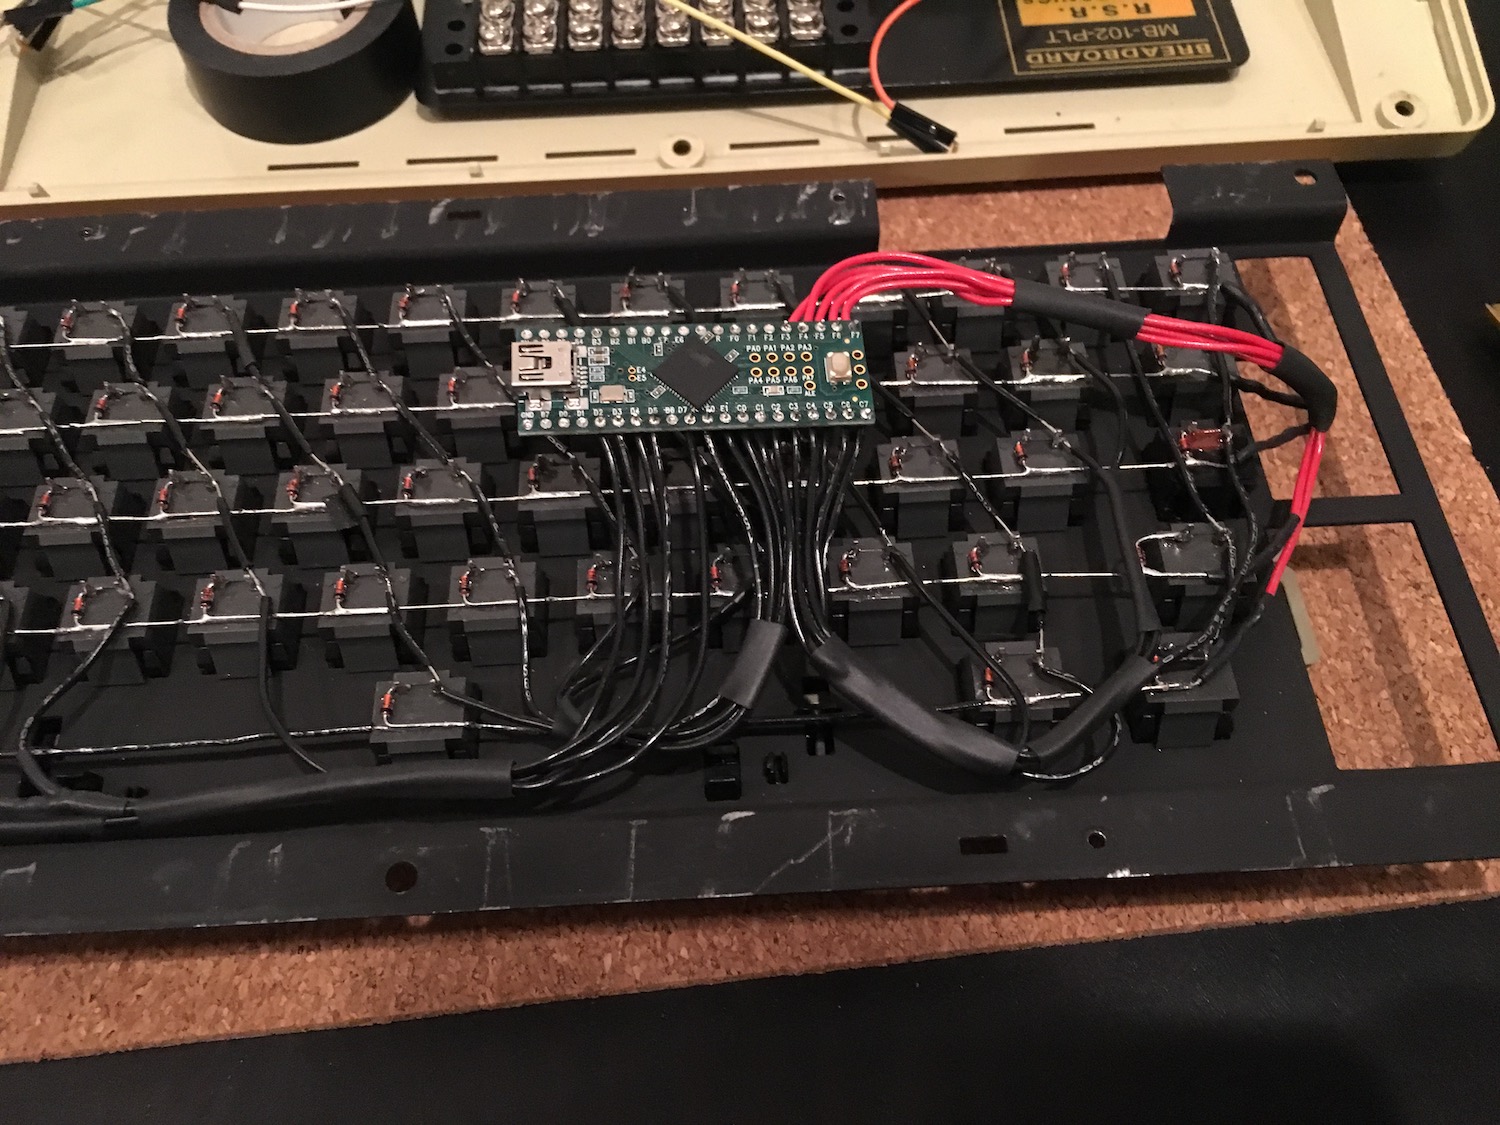
Once everything was verified and the few poor connections were corrected I wired the teensy to the plate and covered the back with a layer of electrical tape to prevent shorts.

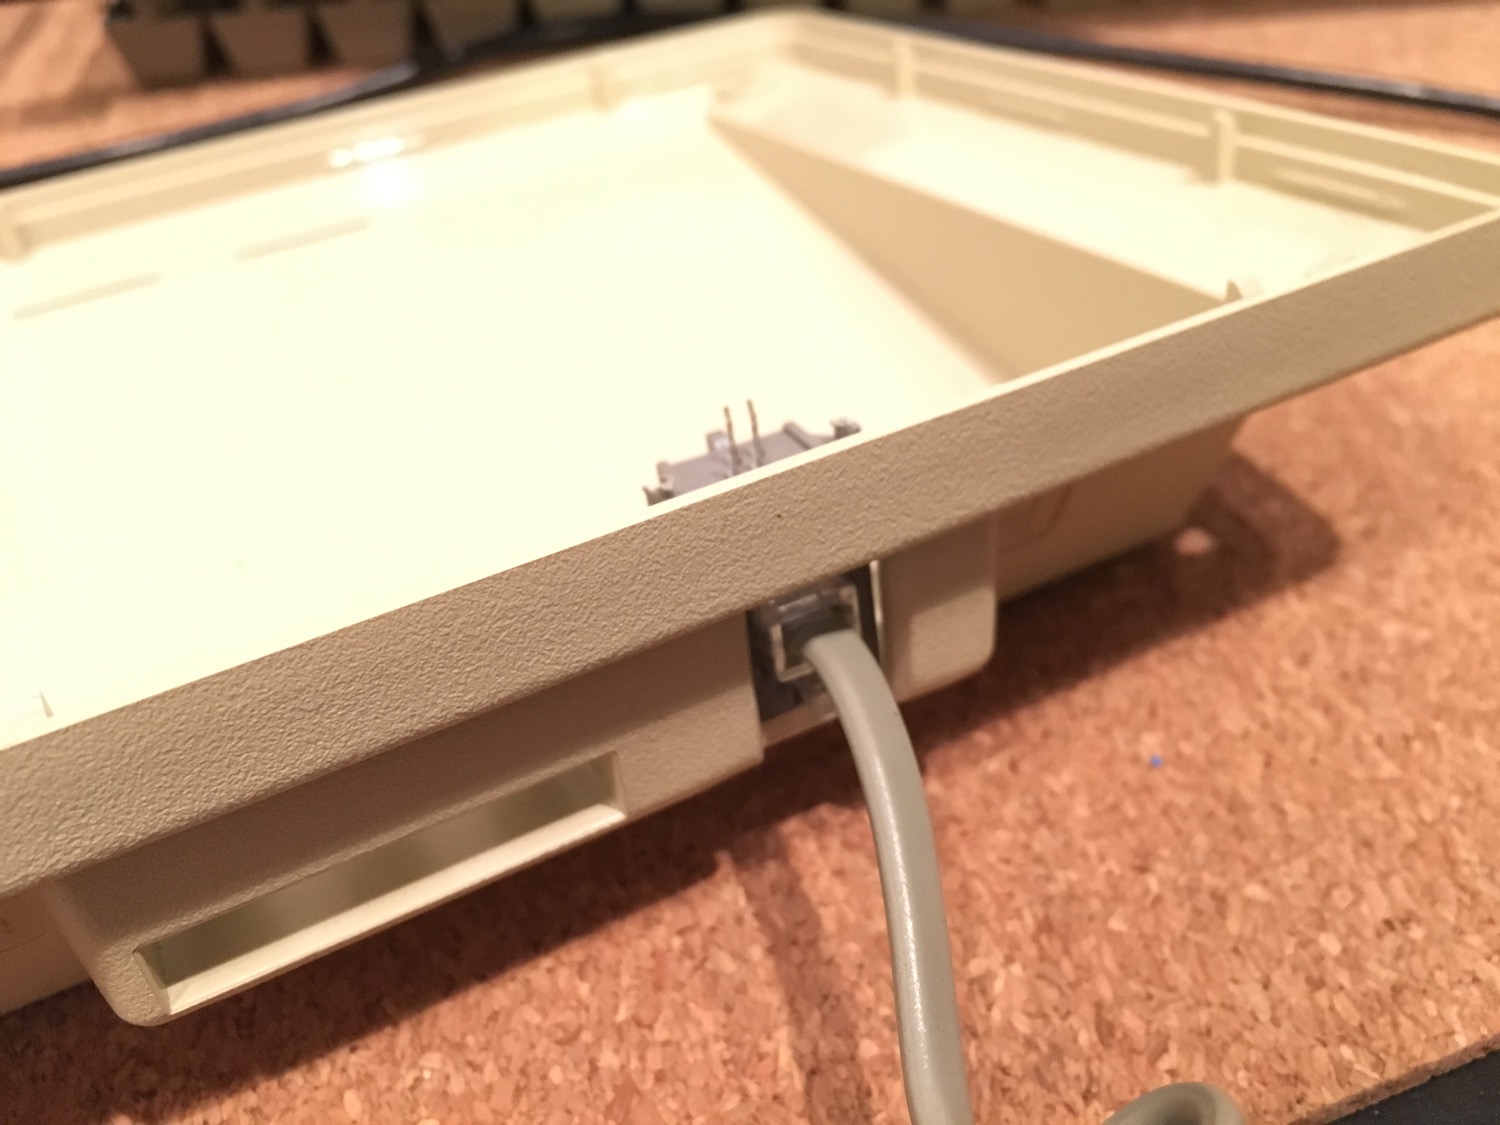
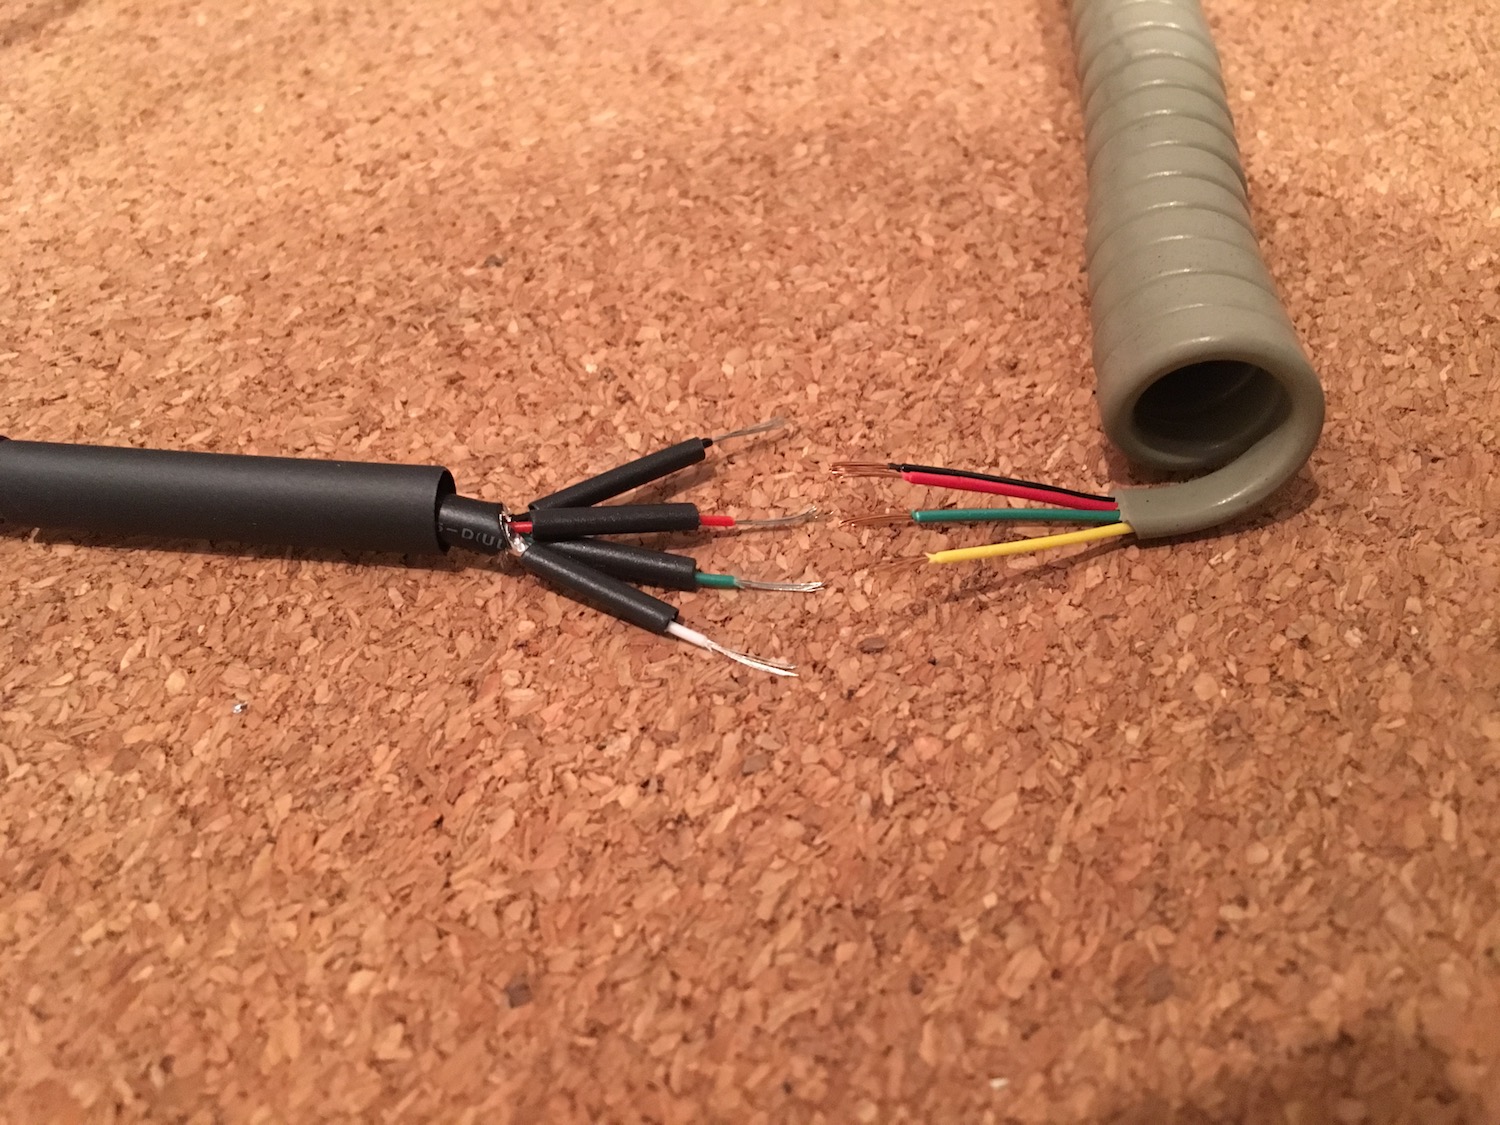
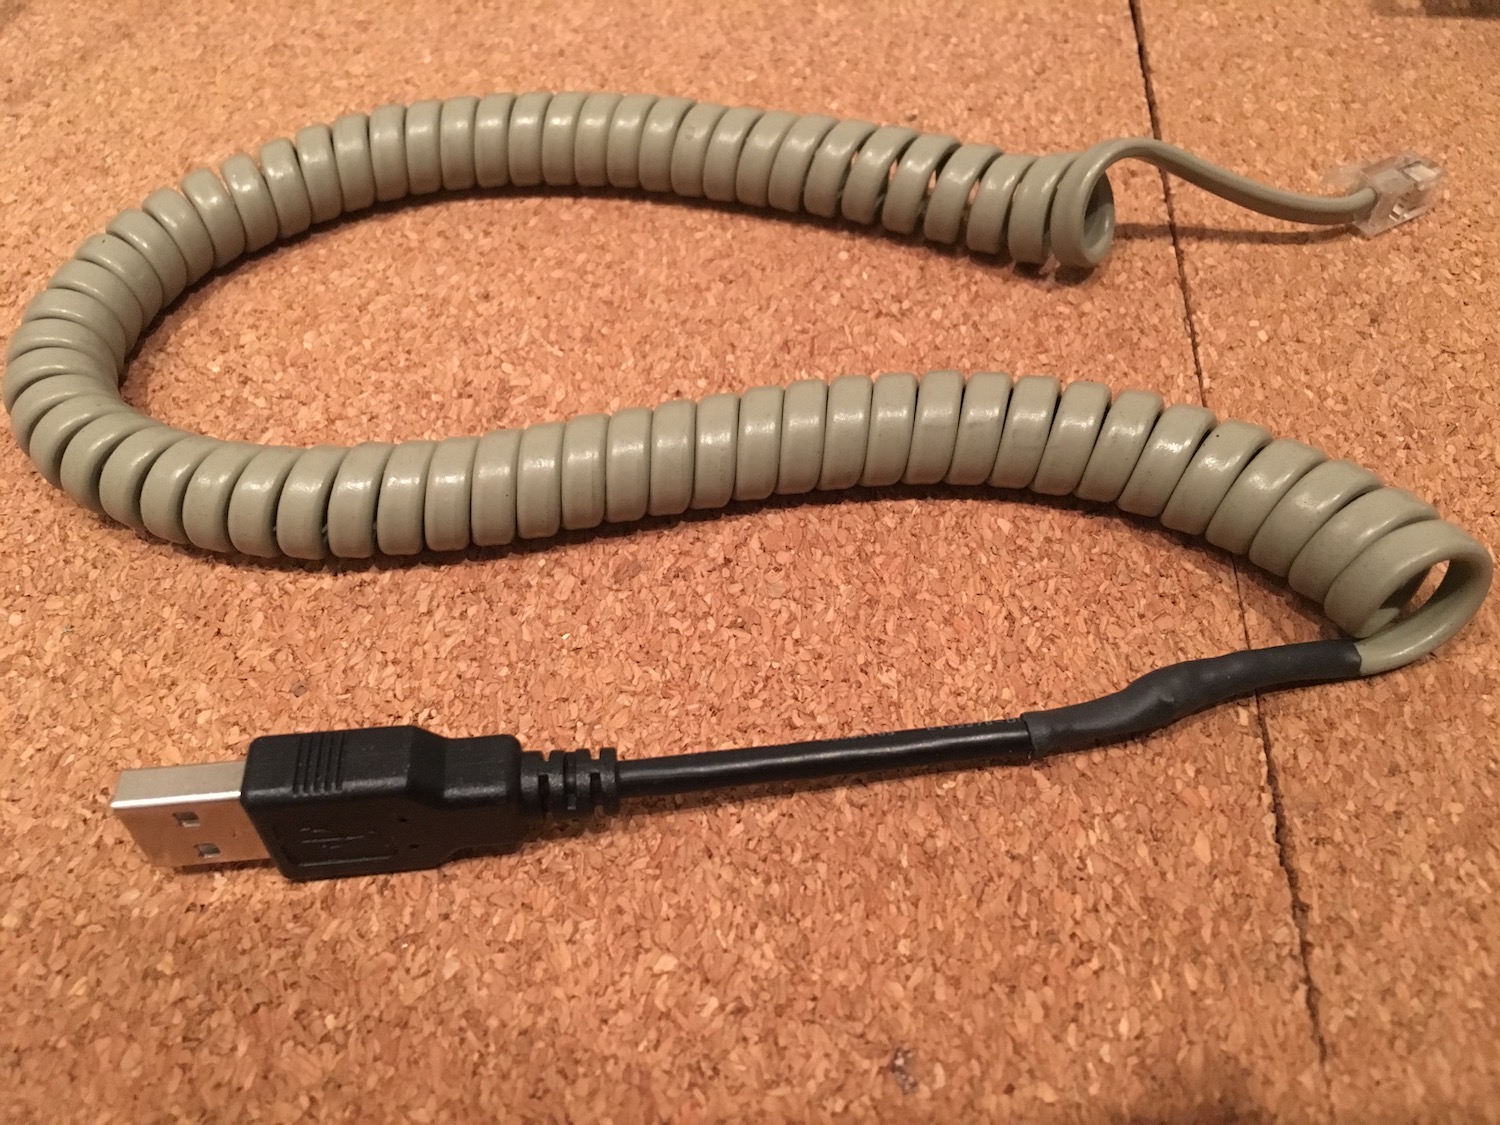
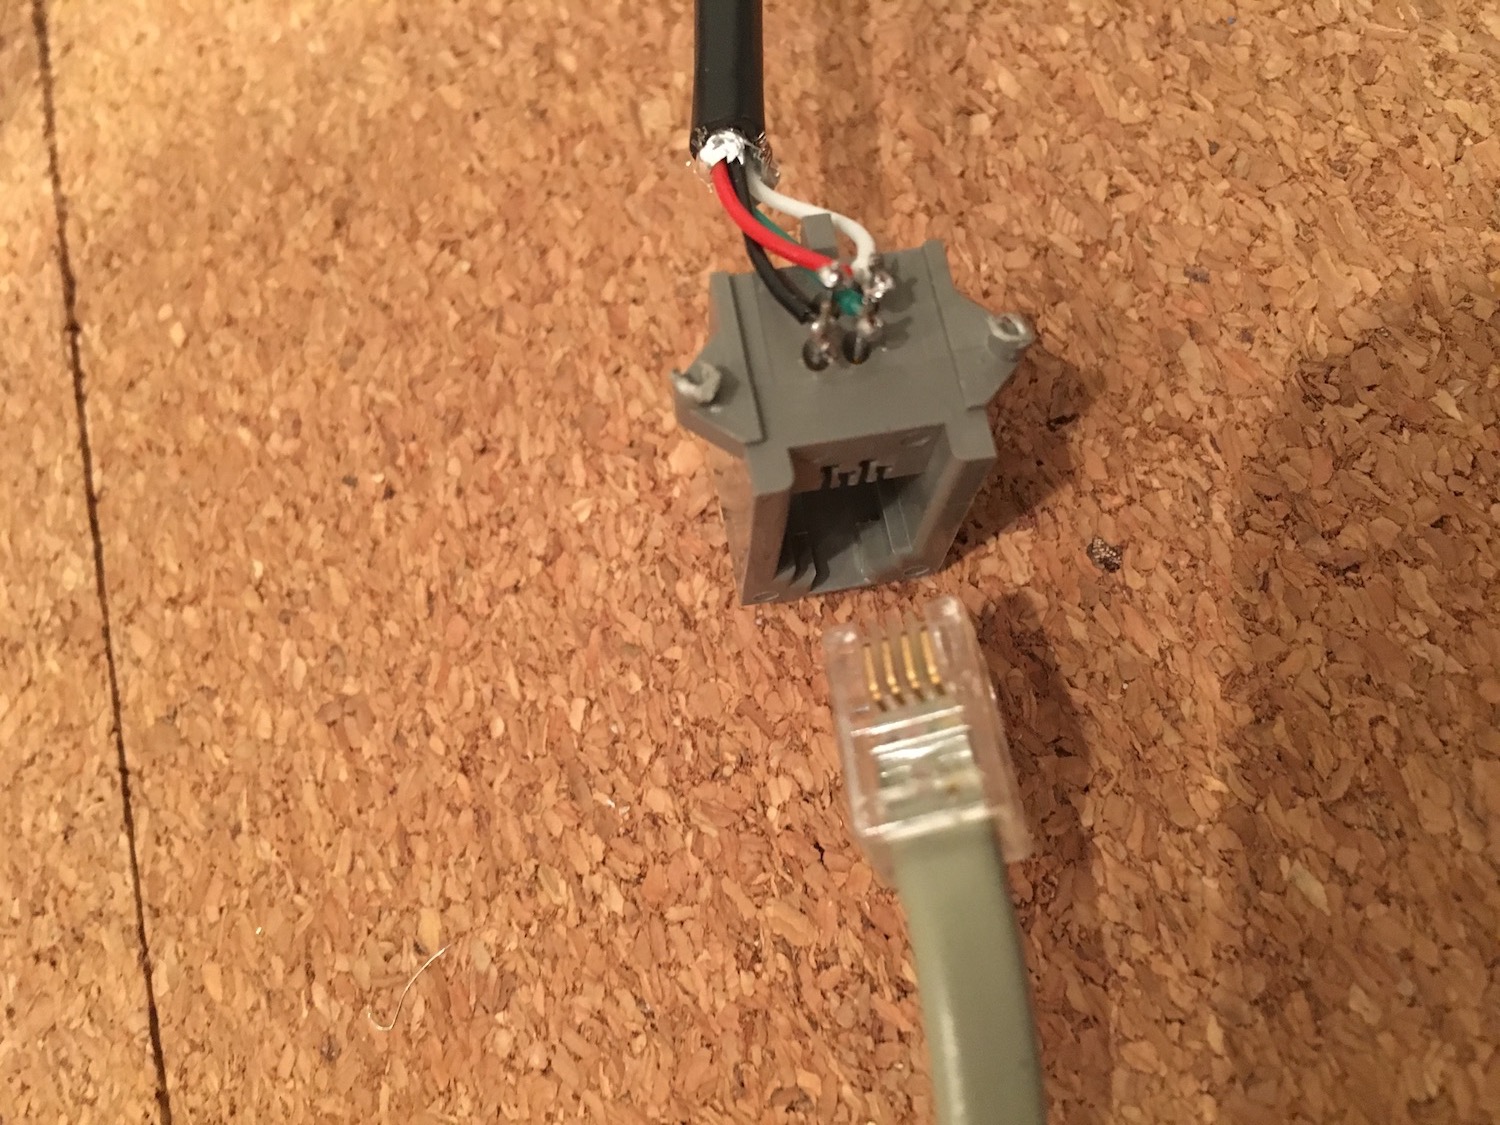
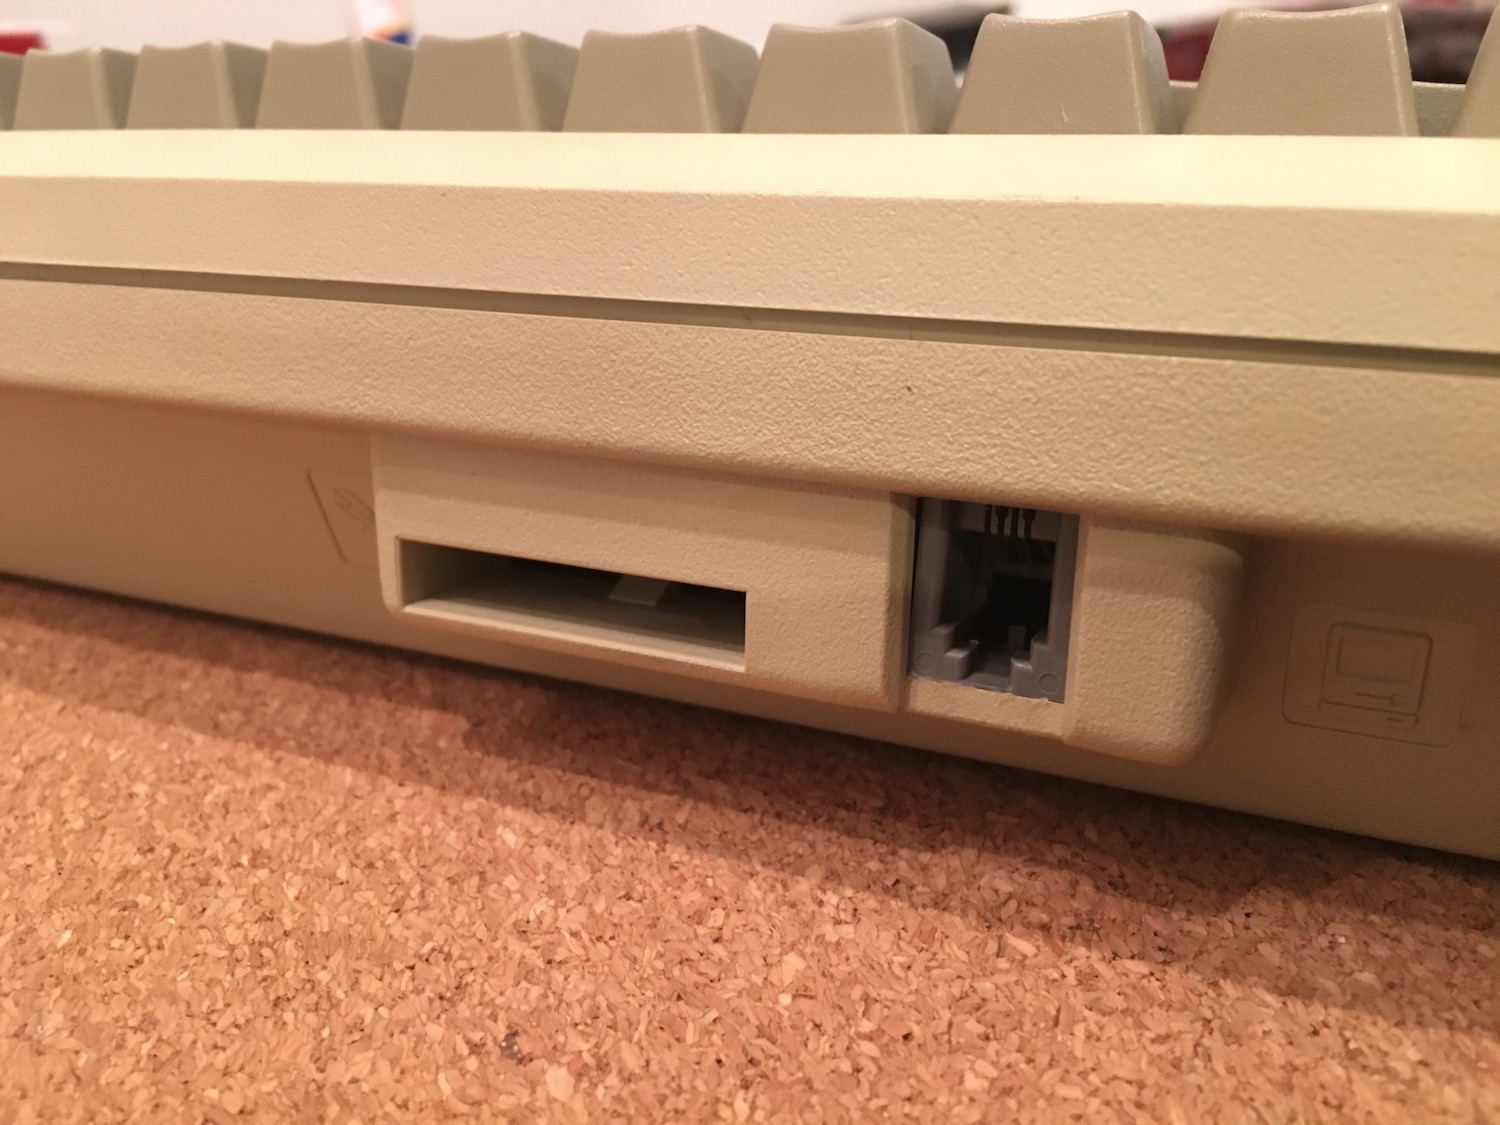
The final step was cable management. The original M0110 cable had four pins which meant that I could convert it to usb pretty easily. I used the original plug and wired half of a mini usb cable to it inside the case. Outside of the case one end of the original cable was replaced with a usb plug.

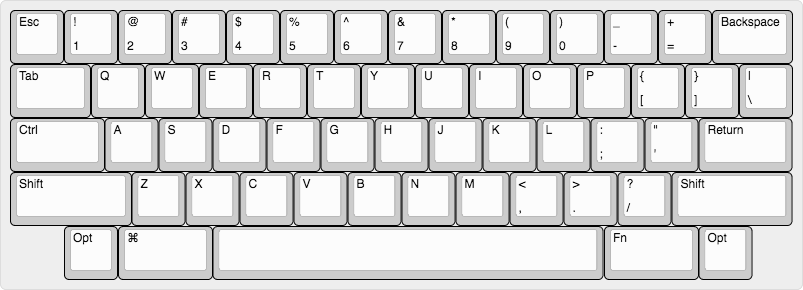
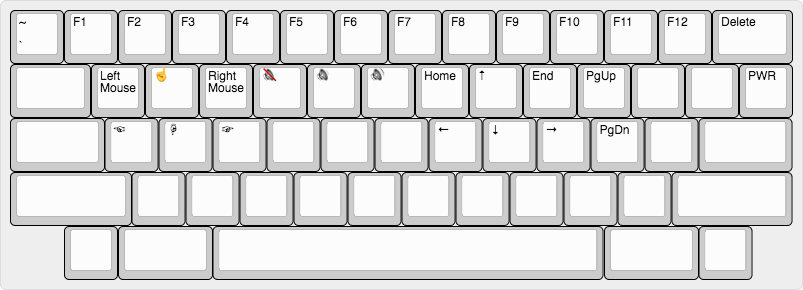
To make sure I’d be able to use all the keys available on a modern keyboard I mapped the enter key to the left of the space bar to a function key and added a second layer. I programmed the teensy using QMK with the layouts below.
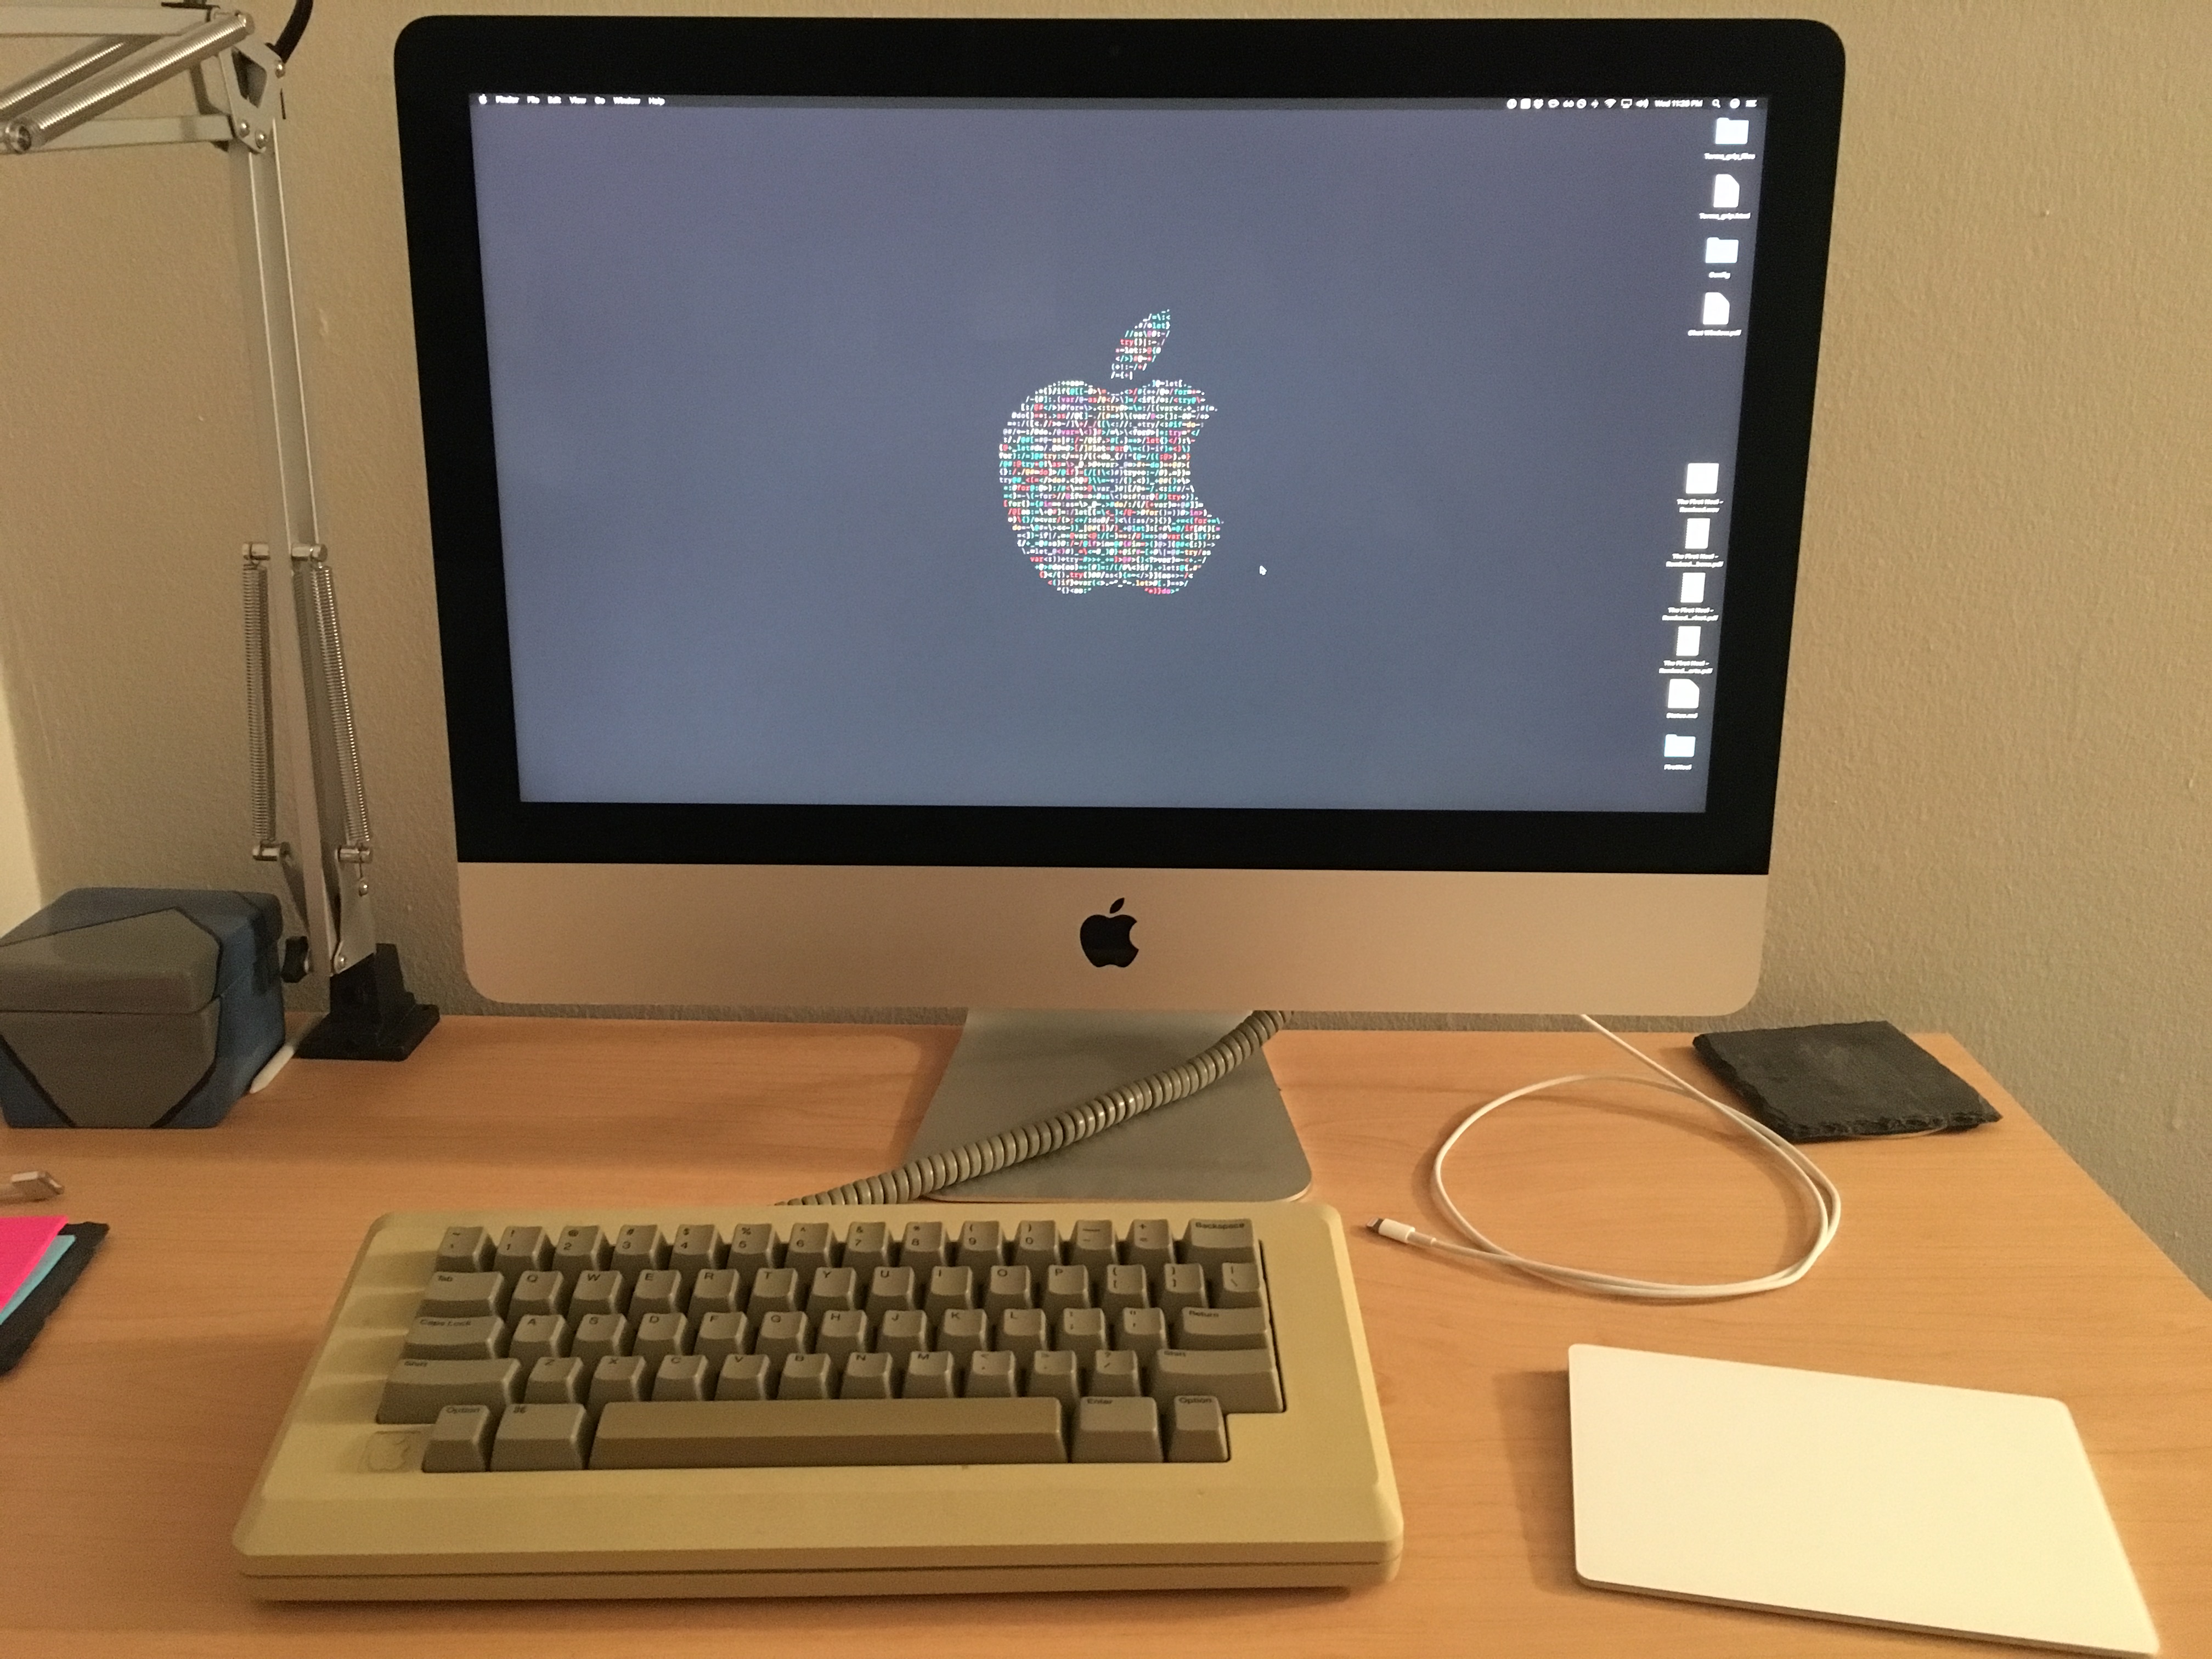
And it all works!